HousePlantJoy is supported by our audience. When you purchase through one of our links, we may earn a small affiliate commission. As an Amazon Associate I earn from qualifying purchases. Your cost is not affected.
==================
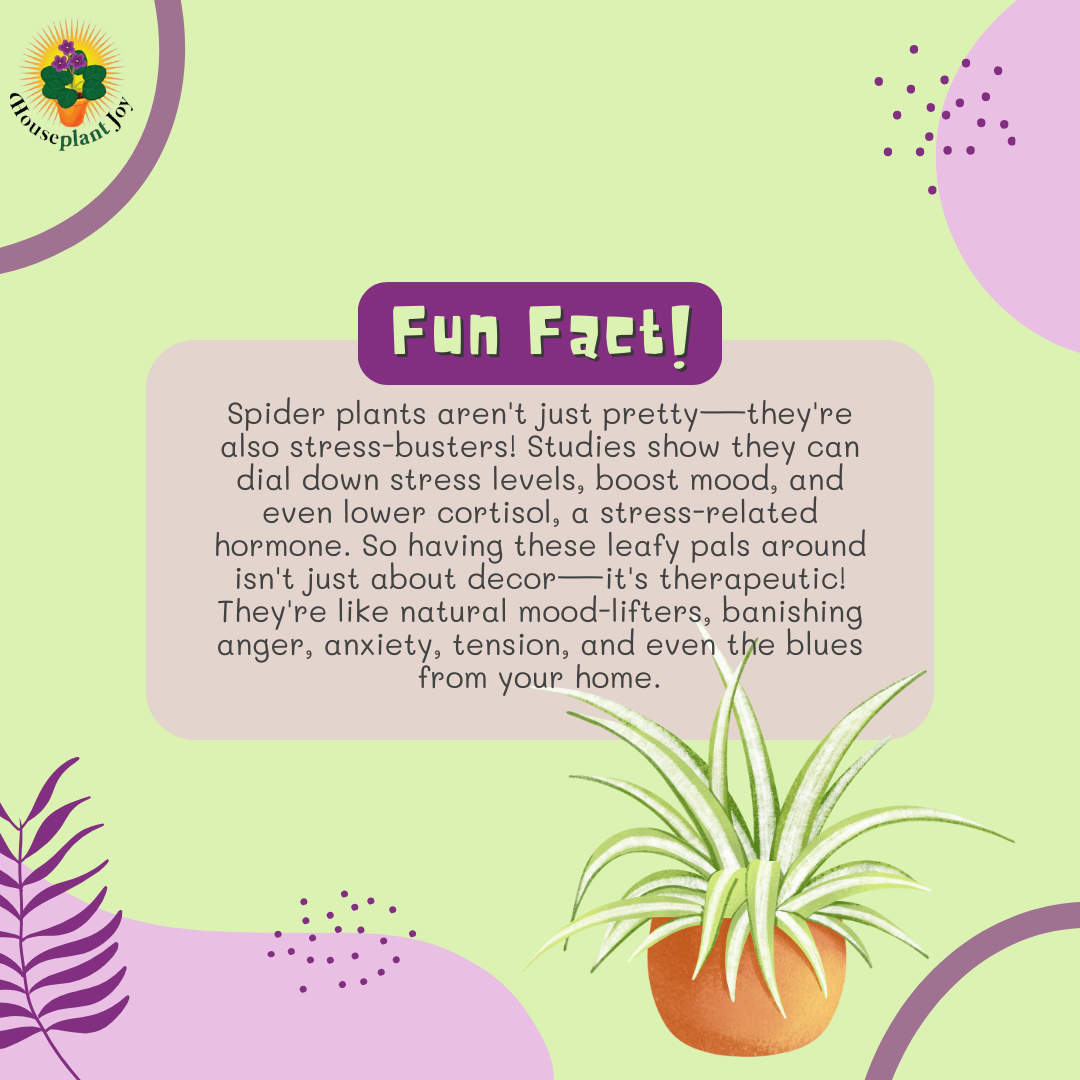
Spider plants, scientifically known as Chlorophytum comosum, are popular houseplants known for their vibrant foliage and air-cleansing properties. While these plants can be grown in soil like traditional houseplants, they also thrive when grown in water. Water cultivation, also known as hydroponics, is an exciting and rewarding way to grow spider plants. It not only simplifies the growth process but also creates a visually stunning display of roots.
If you’re new to water cultivation or want to try something different with your spider plant, this blog will provide you with tips and techniques for growing spider plants in water successfully.
Understanding Spider Plant Water Cultivation
To understand spider plant water cultivation, it’s essential to grasp the concept of growing plants in water instead of soil. Spider plants, with their long, arching stems and clusters of small, spider-like plantlets, adapt well to water growth. When placed in a glass of water, spider plants develop an elaborate root system that becomes a beautiful focal point of the plant.
Water growth simplifies the root development process, providing the plant with the necessary nutrients for growth without soil medium.
The Concept of Growing Spider Plants in Water
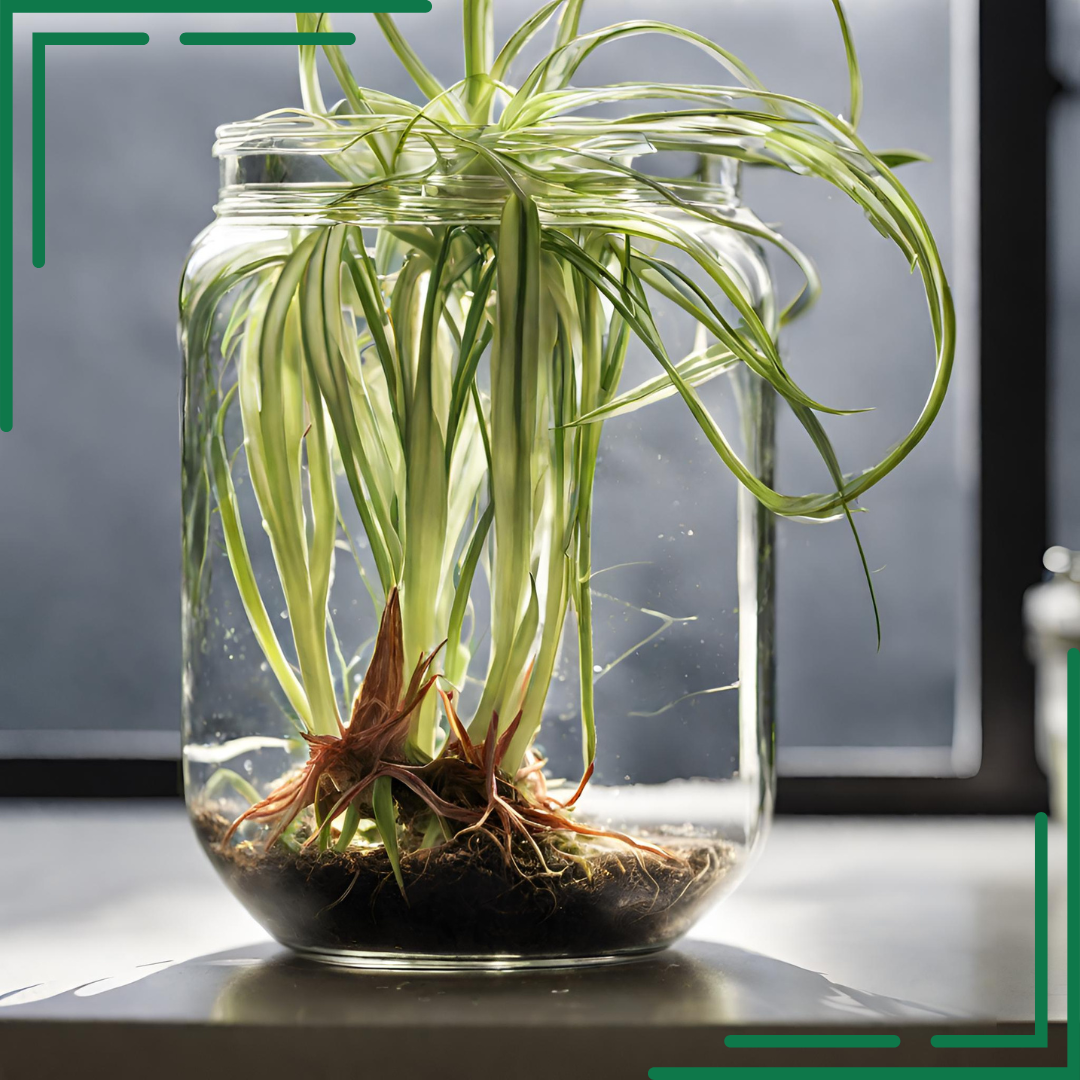
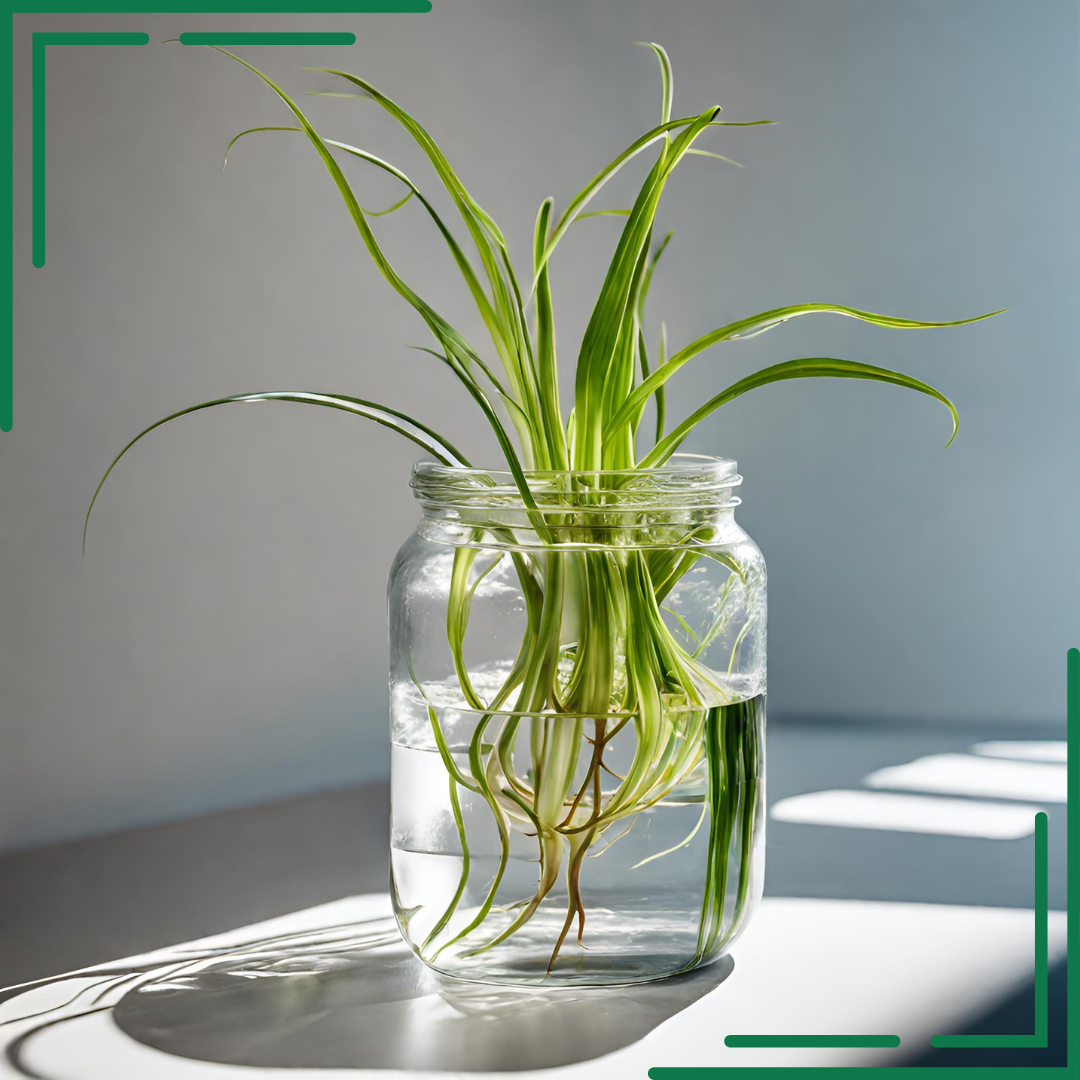
The idea of growing spider plants in water is as simple as it sounds. All you need is a glass of water, indirect sunlight, and a spider plant cutting. Carefully remove a spider plant cutting, making sure it has a few roots attached. Place the cutting in a glass of water, ensuring only the roots are submerged. Keep the glass in a bright location with indirect sunlight, allowing the plant to absorb light without direct exposure. Over time, you’ll witness the growth of the cutting’s roots, creating a beautiful display of green foliage.
Importance of Starting with Baby Spider Plants
When growing spider plants in water, starting with baby spider plants, also known as offsets or spiderettes, is highly beneficial. These small plants are produced by the mother plant as it matures and sends out runners. Baby spider plants have excellent growth potential and adapt quickly to water growth. By using baby spider plants, you can ensure quick root development and increase the chances of successful growth in water. The mother plant will continue to produce fresh spider plants, allowing you to propagate multiple plants from a single source.

Preparations for Growing Spider Plant in Water
Before you begin growing your spider plant in water, it’s important to make a few preparations. First, choose the right growing vessel, such as a glass jar, that allows for easy monitoring of root growth. Second, gather the necessary equipment and tools, including sharp and clean scissors, a clear glass vessel, distilled water, pebbles or skewers, and materials for maintaining humidity. Ensuring you have the essential materials and equipment ready will help set the stage for successful water cultivation of your spider plant.

Choosing the Right Growing Vessel
Choosing the right growing vessel is crucial for the success of growing spider plants in water. Opt for a clear glass vessel, such as a jar, that allows you to monitor root growth and the clarity of the water. Clear glass vessels also maximize light exposure, which is essential for root development. When selecting a growing vessel, make sure it is clean and free of any residue or contaminants.
Avoid using tap water, as it may contain chemicals that can harm the plant. Instead, use distilled or filtered water to provide a clean growing medium. Additionally, ensure the vessel is placed in an area with indirect light to prevent root rot and maintain optimal growth conditions for the spider plant.
Necessary Equipment and Tools
To grow spider plant babies in water successfully, you will need a few essential equipment and tools.
Start with a pair of sharp and clean scissors for cutting spider plant offsets. A clear glass vessel, such as a jar, is necessary for holding the water and supporting the plant cutting. Distilled water is preferable over tap water, as it provides a clean and mineral-free medium for growth. You may also need pebbles or small rocks to support the spider plant cutting in water, ensuring stability and root development.
Finally, maintaining humidity is important for spider plants, so consider having materials like a humidity tray or misting bottle on hand.
Essential Materials Required
When growing spider plants in water, certain materials are necessary for a successful cultivation process. Essential materials include distilled water, pebbles or small rocks, a clean glass vessel, high-quality soil, and proper drainage. Distilled water is preferred over tap water to avoid potential mineral buildup that could hinder plant growth.
Pebbles or small rocks create stability and support for spider plant cuttings, preventing them from toppling over in water. A clean glass vessel allows for easy monitoring of root growth, while high-quality soil becomes important when it’s time to pot the spider plant cutting after water growth. Proper drainage is crucial for a healthy root system, ensuring excess water can escape and prevent root rot.
Step-by-Step Guide to Grow Spider Plant in Water
Now that you have the necessary preparations and materials, let’s dive into a step-by-step guide to growing spider plant babies in water. Following these steps will ensure proper growth and development of your spider plant cutting. From filling your jar with water to adding the cutting, and providing the correct light exposure, each step plays a vital role in the success of water cultivation of spider plants.
How to Fill Your Jar with Water
To begin growing your spider plant babies in water, fill your chosen glass jar with distilled water. Avoid using tap water, as it may contain chlorine and other chemicals that can harm the plant. If distilled water is not readily available, let tap water sit out overnight to allow any chlorine to evaporate before using it. Fill the jar with enough water to submerge the spider plant roots of the spider plant cutting. Keeping the water clean and free of contaminants is essential for healthy growth and development of your spider plant in water.
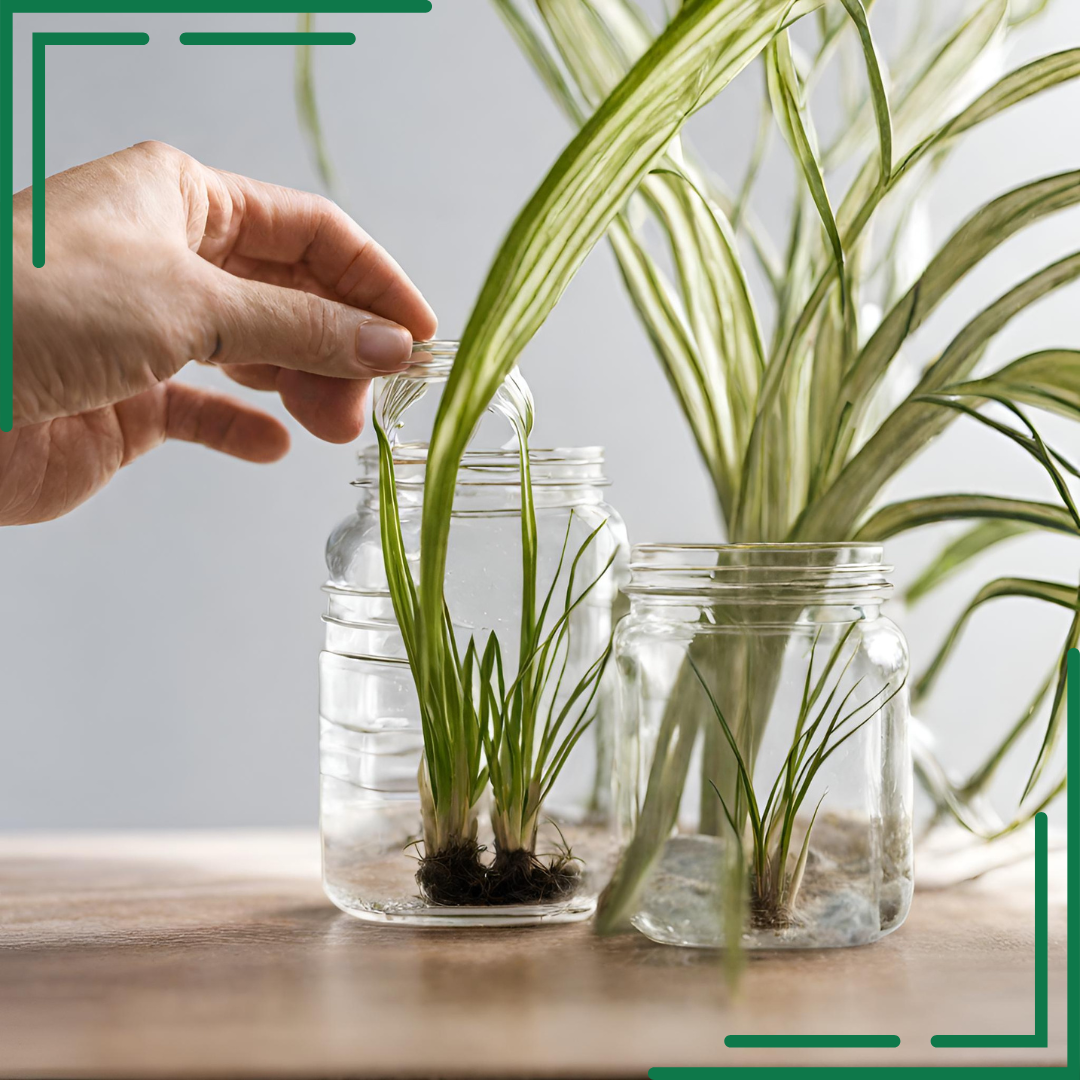
Gathering Your Spider Plant Cuttings
Before diving into water cultivation, you’ll need spider plant cuttings to grow new spider plants. Gather these cuttings from a mature spider plant, also known as the mother plant. Look for spider plant offsets, baby spider plants, or spiderettes that have developed roots or are beginning to grow roots.
These cuttings are typically attached to long stems that extend from the mother plant. Carefully remove the spider plant cutting using sharp, clean scissors, making sure to include a portion of roots for successful water growth. Gather multiple spider plant cuttings if you wish to propagate several new spider plants in water.
Adding the Cutting to the Jar
Once you have your spider plant cutting, it’s time to add it to the jar of water. Gently place the cutting in the water, ensuring that only the part with roots is submerged. The roots of the spider plant cutting need access to water to absorb nutrients and facilitate growth. Place the jar in a location with indirect light, ensuring that the cutting receives adequate light exposure without direct sunlight.
Avoid placing the cutting in direct sunlight as it can lead to leaf burn or brown tips on the spider plant’s leaves. Monitor the water level, removing any brown leaf tips or debris, and change the water weekly to ensure a clean and healthy environment for the spider plant cutting.
Correct Placement for Light Exposure
Proper light exposure plays a crucial role in the growth of water-cultivated spider plants. Find a spot with indirect sunlight, such as near a window, where the spider plant cutting can receive bright but filtered light. Direct sunlight can be too intense and may cause leaf burn or brown tips on the spider plant’s foliage.
Keep in mind that spider plants naturally grow under the canopies of trees in their native habitats, so they prefer indirect light. Maintaining consistent light exposure will support healthy growth of your water-cultivated spider plant, resulting in lush foliage and well-developed roots.
Nutrient Solution for Water-Grown Spider Plants
While spider plants can grow in water alone, adding a nutrient solution to the water can provide additional benefits for their growth and development.
A nutrient solution is a mixture of essential plant nutrients, typically in liquid form, that can supplement the water-grown spider plants’ nutritional needs. Introducing a nutrient solution allows the plants to access vital elements necessary for healthy growth, including macronutrients and micronutrients. Selecting a suitable nutrient solution and understanding how to add it to the water are important considerations when growing spider plants in water.
Selecting the Right Nutrient Solution
When selecting a nutrient solution for your water-grown spider plants, it’s important to choose one specifically designed for houseplants. Look for a balanced formula that provides an adequate supply of macronutrients, such as nitrogen, phosphorus, and potassium. These essential nutrients support plant growth, root development, and overall health.
Opt for a fertilizer suitable for foliage plants, as spider plants primarily display foliage. Avoid using fertilizers designed for flowering plants, as they may contain higher levels of phosphorus, which isn’t as beneficial for leafy growth.
Adding the Nutrient Solution to the Jar
To add the nutrient solution to your water-grown spider plants, follow the instructions provided with the specific fertilizer you’ve chosen. Measure out the appropriate amount of nutrient solution based on the size of your jar and the concentration recommended by the manufacturer. Gently pour the nutrient solution into the water, ensuring that the spider plant’s roots have access to the added nutrients.
It’s important not to overfill the jar with the nutrient solution, as this can lead to waterlogging of the cutting’s roots, causing potential root rot. After adding the nutrient solution, gently mix it into the water to distribute the essential elements evenly, helping the spider plant absorb them effectively.
The Importance of Changing the Nutrient Solution Weekly
Regularly changing the nutrient solution for your water-grown spider plants is essential for their long-term health and root development. Over time, the nutrient solution can become depleted, and various substances may accumulate, potentially harming the plant’s root system. By changing the nutrient solution weekly, you ensure a fresh supply of nutrients, promoting continuous growth and root health.
Additionally, regular water changes eliminate any potential buildup of harmful substances, helping to prevent root rot and other plant issues. Consistently replacing the nutrient solution supports the overall well-being of your water-grown spider plants, allowing them to thrive and flourish.
Spider Plant Care in Water
Caring for rooted spider plants in water requires attention to detail and regular maintenance. While water growth simplifies the care process, certain aspects, such as monitoring root health and preventing root rot, are crucial. Additionally, brown tips on spider plant leaves may indicate issues that need to be addressed. Understanding how to properly care for water-grown spider plants will help keep them healthy, vibrant, and thriving in their aquatic environment.
Regular Check-up and Maintenance of Cuttings
Regular check-ups and maintenance of water-grown spider plant cuttings are important to ensure their continued growth and health. Regularly examine the cutting for any signs of new growth, root development, or potential issues. Check the water level and clarity, ensuring it remains at an appropriate level for the roots to thrive.
Remove any decaying plant matter or debris from the water, keeping it clean and free of potential contaminants. Inspect the roots of the cutting for any signs of root rot, stunted growth, or discoloration. Consistent check-ups and maintenance of water-grown spider plant cuttings will support robust growth and a thriving root system.
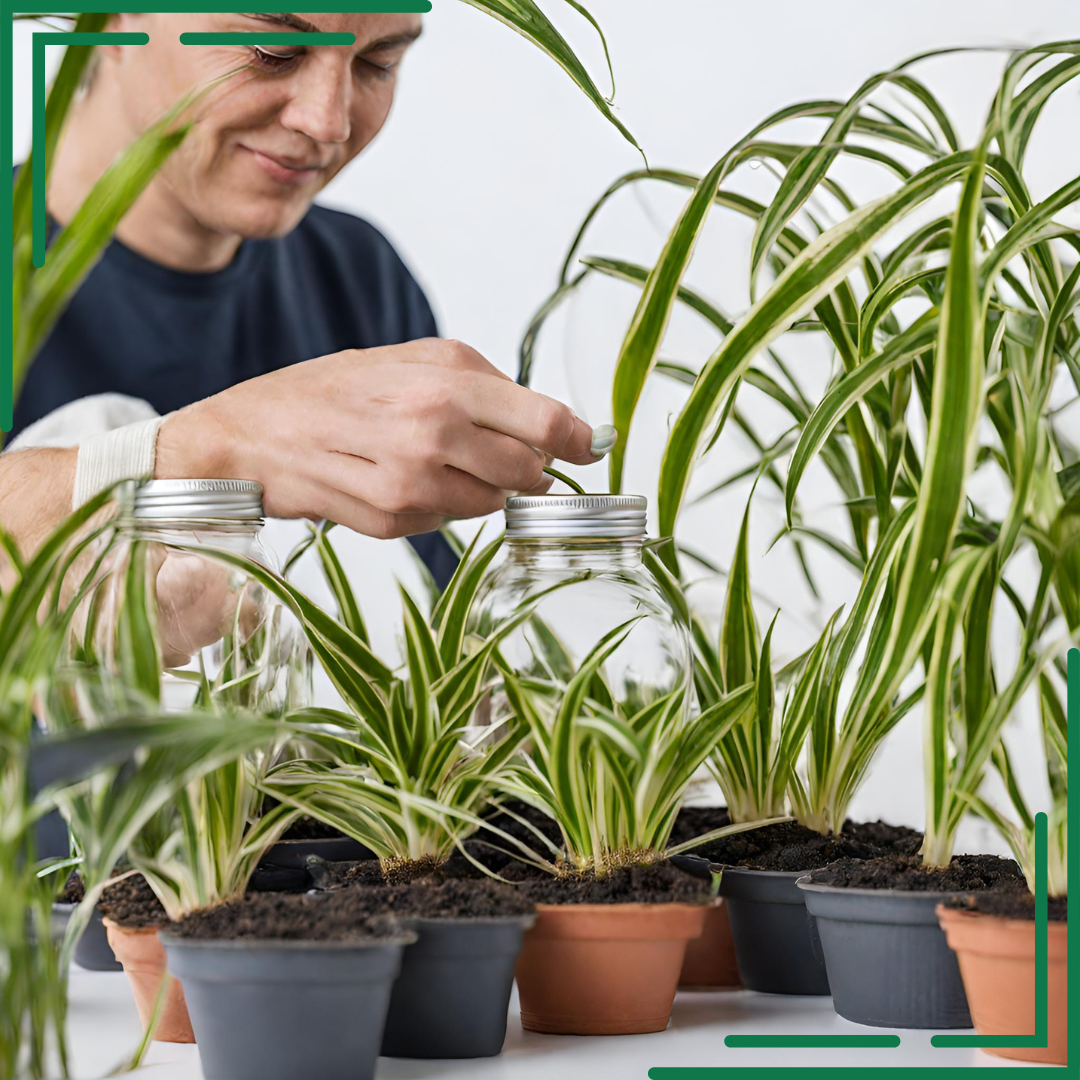
Recognizing the Need for Soil
While spider plants can thrive in water, there may come a time when they require soil to continue growing and flourishing. Recognizing the need for soil is essential for the long-term health and growth of your spider plant. As the spider plant cutting develops mature roots, they may outgrow water growth and benefit from a growing medium of soil.
Signs that the plantlet is ready for soil include roots becoming well-established and water growth becoming insufficient for continued growth potential. Knowing when and how to transition your water-grown spider plant to soil will ensure its ongoing development and provide a suitable environment for long-term growth.
Advantages and Disadvantages of Growing Spider Plants in Water
Growing rooted spider plants in water offers various advantages and disadvantages compared to traditional soil cultivation. Understanding these can help you decide if water growth is a suitable option for your spider plants. Water cultivation provides a visually appealing display of roots, simplifies root development, and eliminates the need for soil. However, potential drawbacks include potential lack of nutrients, overgrowth, algae growth, water quality issues, and the absence of soil benefits. Consider these factors when deciding whether water cultivation is the right approach for your spider plants.
Benefits of Water Cultivation
Water cultivation of spider plants offers several benefits, making it an attractive option for plant enthusiasts. Benefits of growing spider plants in water include:
- Minimal soil mess and easier maintenance compared to soil-grown plants.
- Better control of water and nutrient absorption, allowing for efficient plant growth.
- Enhanced visual appeal with the display of intricate root systems in water.
- Increased humidity around the plants, which can benefit spider plants and other tropical houseplants.
- Fewer risks of pests and diseases commonly associated with soil, leading to healthier plants.
Potential Drawbacks of Hydroponic Spider Plants
While water cultivation of spider plants has its advantages, there are also potential drawbacks to consider. These include:
- Possible lack of essential nutrients, requiring careful attention to nutrient supplementation.
- Potential overgrowth of spider plants, making them difficult to manage and requiring frequent pruning or repotting.
- Algae growth in standing water, which can be unsightly and potentially harmful to the plant.
- Water quality issues if not properly maintained, resulting in stunted growth or plant decline.
- Loss of soil benefits, such as improved drainage, moisture retention, and root anchorage.
Is it Possible to Switch from Water to Soil Cultivation for Spider Plants?
If you’ve been growing your spider plant in water and would like to switch to soil cultivation, it is possible to do so. Transferring a spider plant from water to soil requires careful handling and proper acclimation. Here’s how you can successfully transition your spider plant from water to soil:
- Gradually introduce the plant to soil: Mix soil into the water gradually, increasing the soil-to-water ratio over time. This helps the plant adjust to soil conditions without shock.
- Choose well-draining soil: Use a well-draining potting soil specifically formulated for houseplants. Good drainage is essential for preventing root rot and ensuring healthy root development.
- Select a pot with drainage holes: Use a pot with drainage holes to prevent water from pooling at the plant’s roots. Excess moisture can lead to root rot and other issues.
- Water thoroughly after potting: Once you’ve transferred the spider plant to soil, water the plant thoroughly. This encourages root growth and helps the plant establish itself in its new growing medium.
- Place in a bright, indirect light location: After potting, place the spider plant in a location that receives bright, indirect light. This will help the plant adjust to the soil and continue to grow successfully.
- By following these steps, you can switch your water-grown spider plant to soil cultivation, providing it with a new growing medium for long-term health and growth.
Discover the Joy of Water Cultivation
In conclusion, growing spider plants in water offers a captivating and rewarding experience, showcasing the beauty of nature’s resilience in a unique setting.
From the simplicity of water cultivation to the vibrant display of intricate roots, this method provides an opportunity for plant enthusiasts to connect with their green companions in a new way. Whether you’re a beginner or a seasoned gardener, exploring water cultivation can enhance your appreciation for the natural world and bring a sense of joy to your living space.
For more tips, guides, and inspiration on cultivating houseplants, visit our website at HPJ (houseplantjoy.com) and embark on your journey to plant happiness.
Frequently Asked Questions
What is the best type of water to use when growing a spider plant in water?
The best type of water to use when growing a spider plant in water is distilled or filtered water. Tap water may contain chemicals like chlorine and fluoride, which can harm the plant. If distilled or filtered water is not readily available, you can let tap water sit out overnight to allow the chlorine to evaporate before using it.
Remember to change the water in your spider plant’s container every 1-2 weeks to prevent stagnation and maintain a healthy water environment for the plant.
How often should I change the water in my spider plant's container?
It is recommended to change the water in your spider plant’s container every 2-4 weeks. However, if the water appears cloudy or has a foul odor, it should be changed immediately. Using room temperature, filtered, or distilled water is best for spider plant growth.
Additionally, adding a few drops of liquid fertilizer to the water can help promote healthy growth and provide additional nutrients for the plant.
Are there any additional nutrients or supplements that can be added to the water for optimal growth?
Yes, there are additional nutrients and supplements that can be added to the water for optimal growth of water-grown spider plants. You can add a small amount of liquid fertilizer specifically formulated for houseplants to provide essential nutrients. Alternatively, water from fish tanks or aquariums can also serve as an additional nutrient source.
However, it’s important not to overdo it with fertilizer or supplements, as excess nutrients can harm the plant. Regularly changing the water in which the spider plant is growing is also essential for optimal growth, as it helps maintain a healthy environment for the plant.
Join the Plant Joy Community!
Connect with fellow plant lovers, discover engaging content, and stay updated on the latest product reviews by following us on social media:
Join us today and immerse yourself in a community passionate about spider plants and houseplant care!
