
HousePlantJoy is supported by our audience. When you purchase through one of our links, we may earn a small affiliate commission. As an Amazon Associate I earn from qualifying purchases. Your cost is not affected.
==================
Welcome, fellow gardening enthusiasts! Today, we’re delving into the wonderful world of cacti and their unique needs for replanting. The cacti are popular additions to many households with their prickly charm and incredible resilience. But, the process of replanting these spiky wonders requires finesse and understanding. Fear not, though, because we’ve got you covered! In this guide, we’ll walk you through the art of cactus replanting, sharing essential tips and tricks to ensure your prickly friends thrive in their new homes. So, grab your gardening gloves, and let’s embark on this green-thumbed journey together: Cactus Replanting – How to Replant Your Prickly Friends!
When Is the Right Time to Repot Your Cactus?
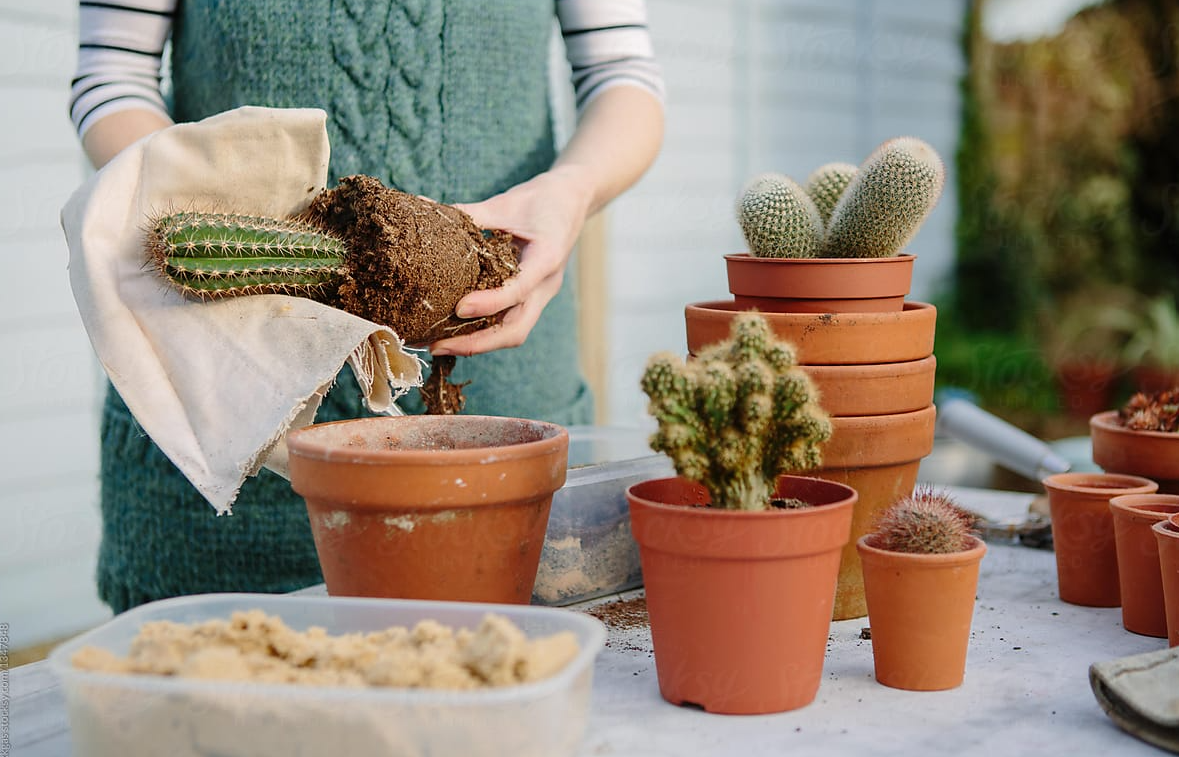
Photo by: Best Gardening
Cactus plants, those delightful and slow-growing, low-maintenance plants, usually don’t require frequent repotting. Typically, every 2-4 years or when they’ve outgrown their current pot is a good rule of thumb for cactus replanting.
So, how do you discern when your cactus needs a new home? There are a few signs:
Roots Peeking Out
If you spot roots creeping through the drainage holes, your cactus craves more space to spread its roots.
Leaning or Toppling Over
Is your cactus tilting or falling? This might be due to it outgrowing its pot or the soil drying up, causing instability.
Dry and Powdery Soil
When the soil is dry and the plant is slow-growing, it’s a sign that the nutrients have been exhausted. Your cactus could benefit from a fresh start in a new pot filled with nutrient-rich soil.
Stunted Growth or Absence of Bloom
If your cactus isn’t growing or flowering despite your best efforts, issues like root rot, pests, or nutrient deficiencies might be at play.
As for the best time to offer your prickly companion a new abode, mid-spring would be the best way to repot a cactus. Mid-spring is an excellent time to consider repotting your cactus as it enters its active growing phase, ensuring a smoother transition to a new environment and aligning with its natural growth cycle. However, if your cactus urgently needs a change, please don’t worry; you can repot it anytime. Just ensure it receives the tender, loving care it deserves!
Ready to take your cactus replanting to the next level? Meet our organic pots – they’re like a cozy home for your prickly pals, ensuring they thrive and bloom in style. Unlock the secret to happy cacti today! #ads #commissionsearned
Essential Equipment for Transplanting Your Cactus
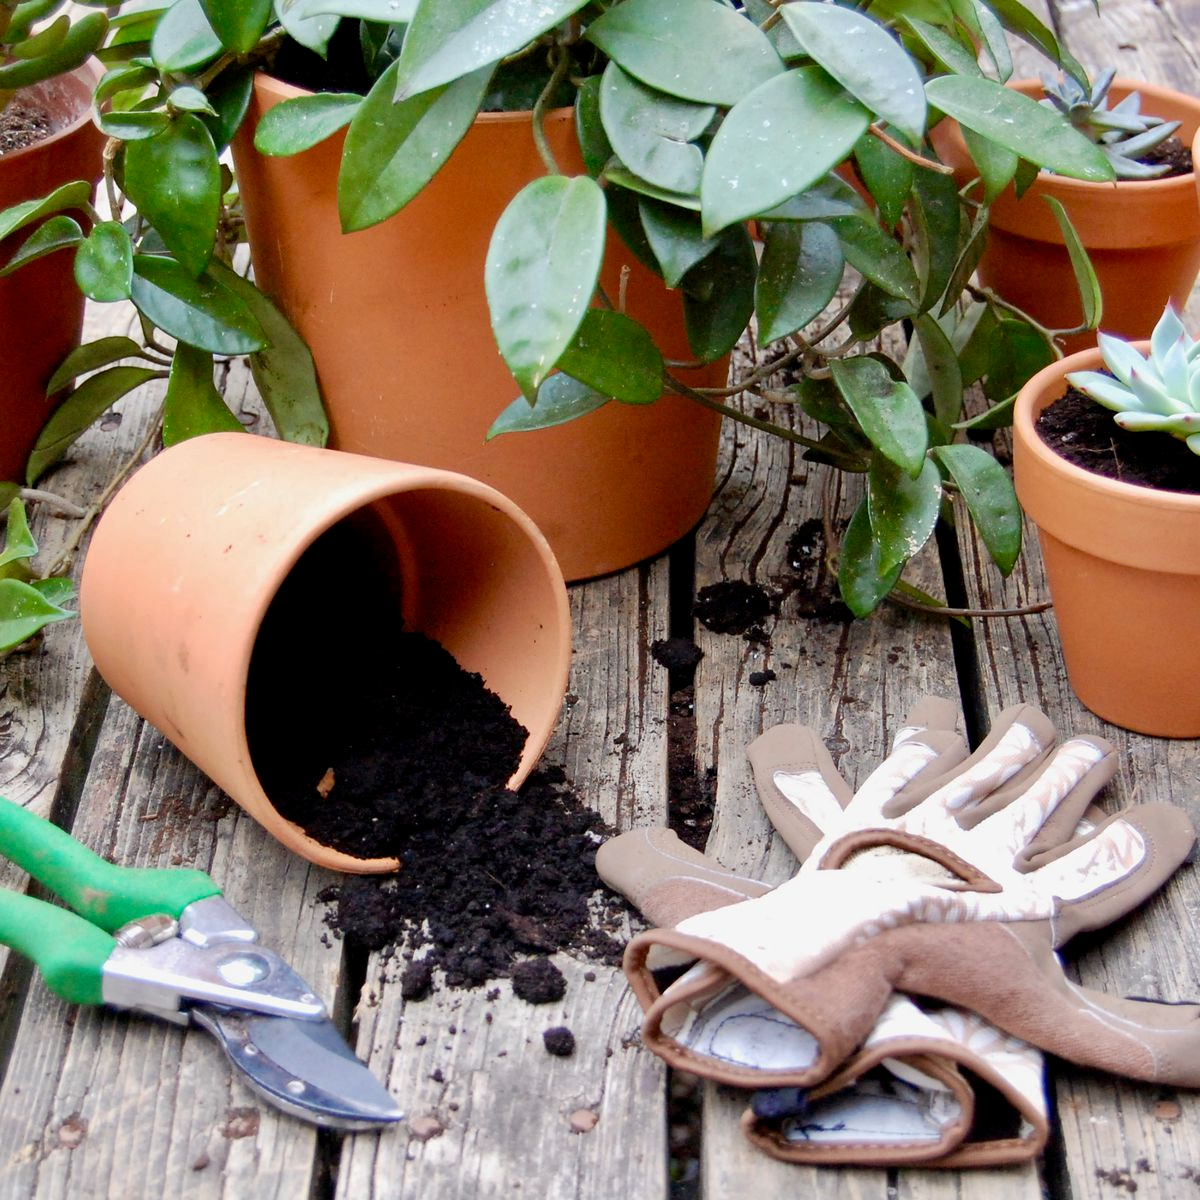
Photo by: Food52
When it’s time to repot your cactus and give it a fresh start, having the right tools and techniques on hand can make the process much smoother and safer, especially when dealing with those sharp spines! Here’s your guide to successful cactus replanting:
Thick Gardening Gloves
First things first, protect your hands with thick gardening gloves. These will shield your skin from the cactus’s prickly defenses, ensuring you can handle it comfortably and safely.
Larger Pot or Container
Your cactus needs room to grow, so that you can opt for a larger pot or container. Aim for a bit bigger than the current one, ensuring your cactus has space to spread its roots and thrive.
Drainage Holes
Whatever container you choose, please ensure it has drainage holes at the bottom. Providing adequate drainage is crucial to avoid excess water accumulation and the risk of root rot.
Special Soil Mix
You can prepare your cactus’s new home by filling the bottom with fresh and well-draining new soil. This provides a healthy foundation for your cactus to grow and thrive. Invest in a unique soil mix designed for cacti and succulents. This well-draining mix allows excess water to escape and keeps the roots dry, which is crucial for cacti’s health.
Kitchen Tongs and Dull Knife
Are you dealing with a particularly prickly cactus? Kitchen tongs can be incredibly helpful for carefully handling the plant without risking any thorn-induced injuries. You can also use a knife to loosen the cactus from its pot.
Newspaper or Rolled Towel
Here’s a handy trick: grab a towel or some old newspaper for extra protection while handling your cactus. Wrapping the cactus in these materials creates a barrier between your skin and those prickly spines. Plus, it gives you a better grip on the cactus, reducing the risk of accidentally dropping it. Safety first!
With these tools and techniques, you’re all set to repot your cactus into its bigger pot, providing a comfortable and healthy new home.
Cactus Replanting: Here’s Your Step-by-Step Cactus Repotting Guide
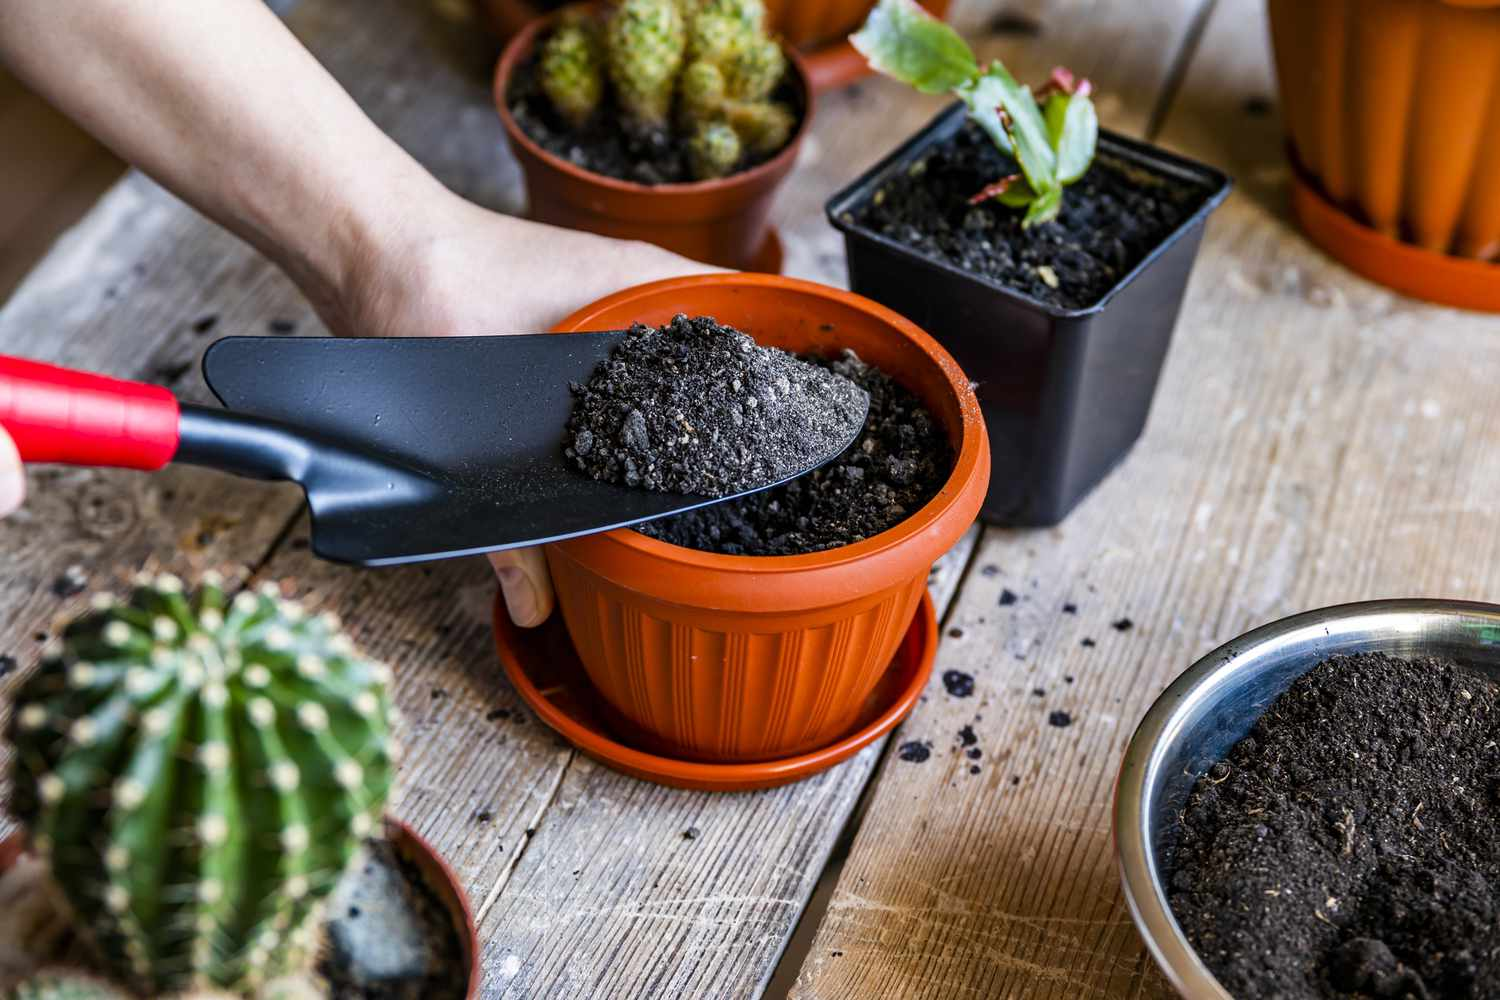
Photo by: The Spruce
Let’s dive into the art of cactus replanting safely and without causing harm to yourself or your beloved plant.
2. Remove the Cactus From Its Old Pot
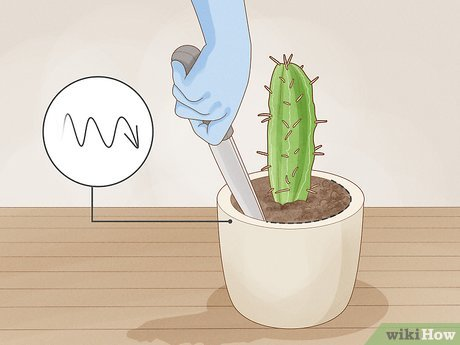
Photo by: wikiHow
If your cactus seems snug in its pot, a general rule is to gently remove it by loosening the soil around the edges with a dull knife. To handle prickly cacti, consider wrapping them in several layers of newspaper or using a towel. These layers make grabbing easier and act as a barrier between your skin and the spine. Once prepared, Carefully loosen the root ball from the old pot by gently wiggling it, then lay the cactus flat on your work surface.
If you’re dealing with a cactus pup without roots, sharp, clean gardening shears can help you separate it from the main plant. For tall cacti, having a friend to assist you in lifting and moving the cactus safely is a must. Remember, teamwork and careful handling are crucial for successfully replanting cacti when repotting.
4. Examine the Roots Closely, and Trim Them if Needed
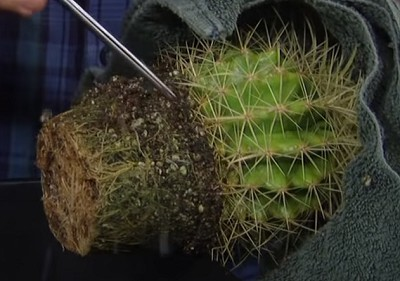
Photo by: Florida Yards
While you have the roots exposed, inspecting them for any signs of pests or diseases is a good practice. If you find any dead or broken roots, trim them away. Similarly, if there are too many roots, you can also thin them out as necessary.
6. Place the Cactus Into Its New Pot
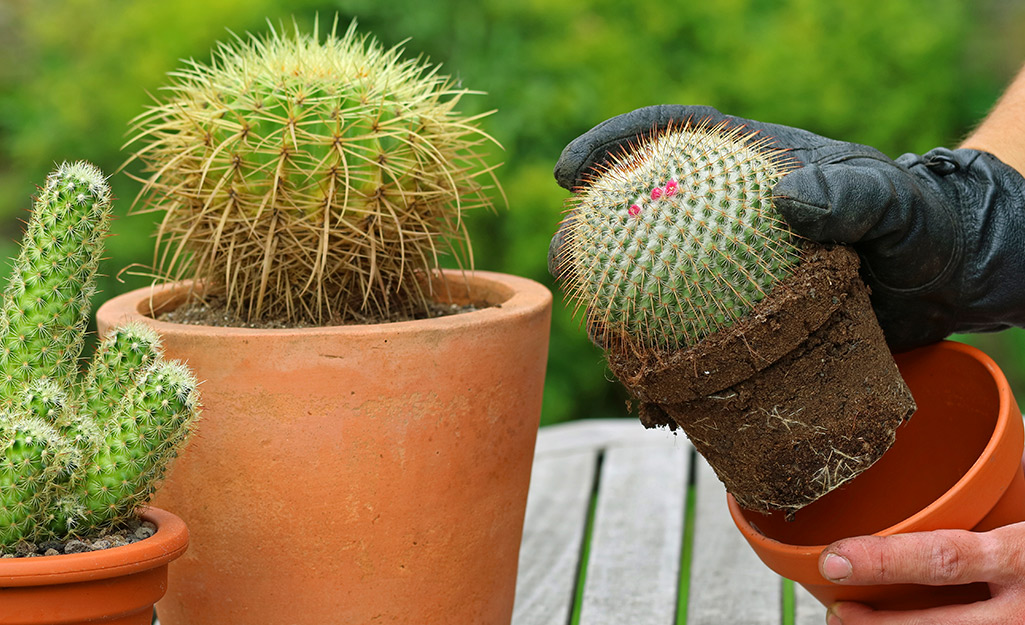
Photo by: The Home Depot
You can begin by layering the bottom of the pot with a blend of cactus and potting soil, ensuring your cactus sits at the same depth as it did in its previous home. You can create a blend of fresh soil perfect for your cactus if you need to. Using a towel or newspaper for a gentle touch, carefully place the cactus in the pot. You can hold it steady while you add more soil around it.
Remember, your freshly transplanted cactus doesn’t need a drink right away. Give it about a week to adjust to its new surroundings before you resume your regular watering routine. Apply fertilizer to ensure your cactus stays healthy and pest-free if needed during this crucial cactus replanting process. It’s like giving your plant a little health check, ensuring it starts its new journey in the best possible way!
Now, when it comes to light, these desert plants are sun-lovers! Find a sunny spot, preferably a windowsill, where it can get direct sunlight. If you’re lucky enough to live in a warm area, consider letting your cactus bask outdoors during the summer. That direct sunshine will work its magic and encourage some astounding new growth!
1. Get Your Tools and Supplies Ready
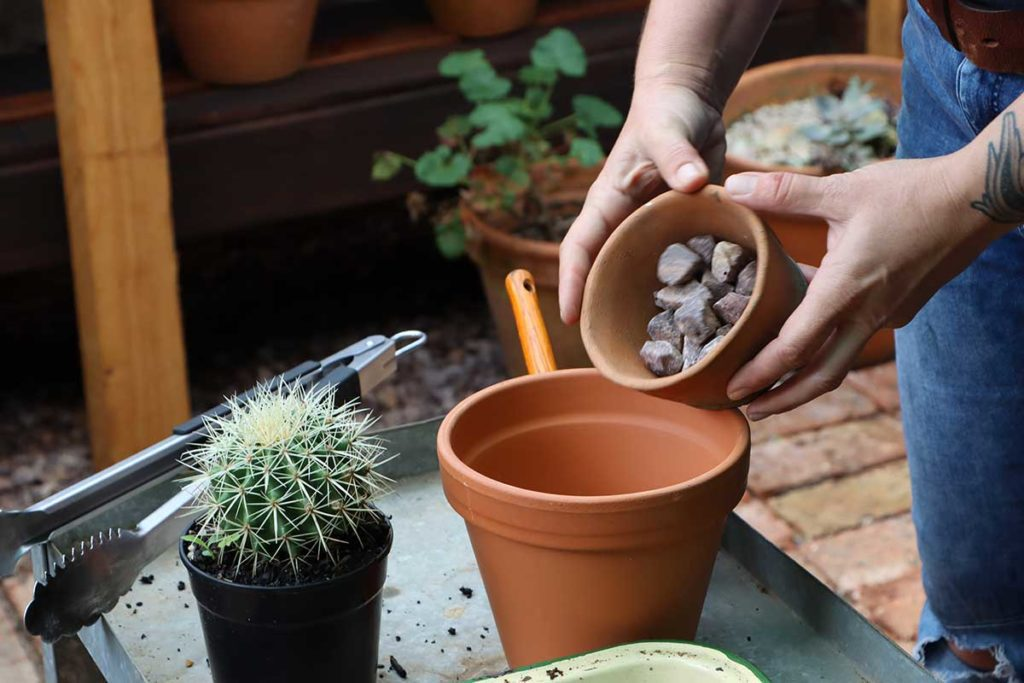
Photo by: The Gardener
When repotting a cactus, the tools you need depend on the size and spikiness of your plant and the specific cacti species you’re dealing with. More miniature cacti might not require much more than a sturdy pair of gloves. More enormous or prickly cacti could need additional protective gear like towels or newspapers to handle them safely. Regardless of the size or type, wearing thick, protective gloves is necessary when dealing with cacti, ensuring your hands are shielded from those sharp spines.
3. Loosen the Root Ball and Remove the Old Soil
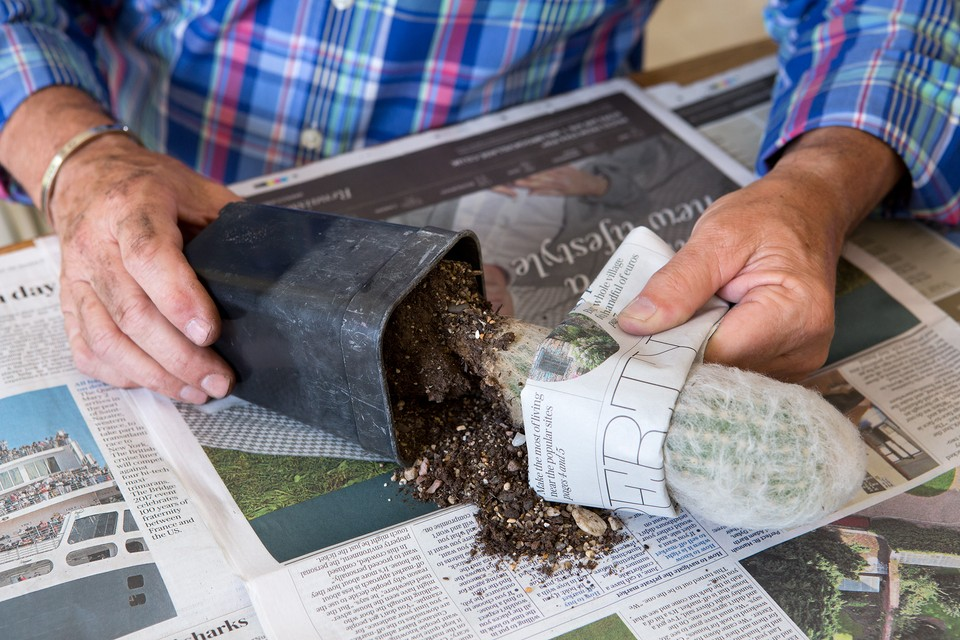
Photo by: Gardeners World
Once you’ve removed the cactus from its previous pot, the next step is to loosen the root ball and remove the old soil gently. This part can be delicate, depending on how tightly packed the roots are. So, take it nice and slow, and be mindful not to damage too many roots. Patience is key!
5. Select the New Pot for Your Cactus
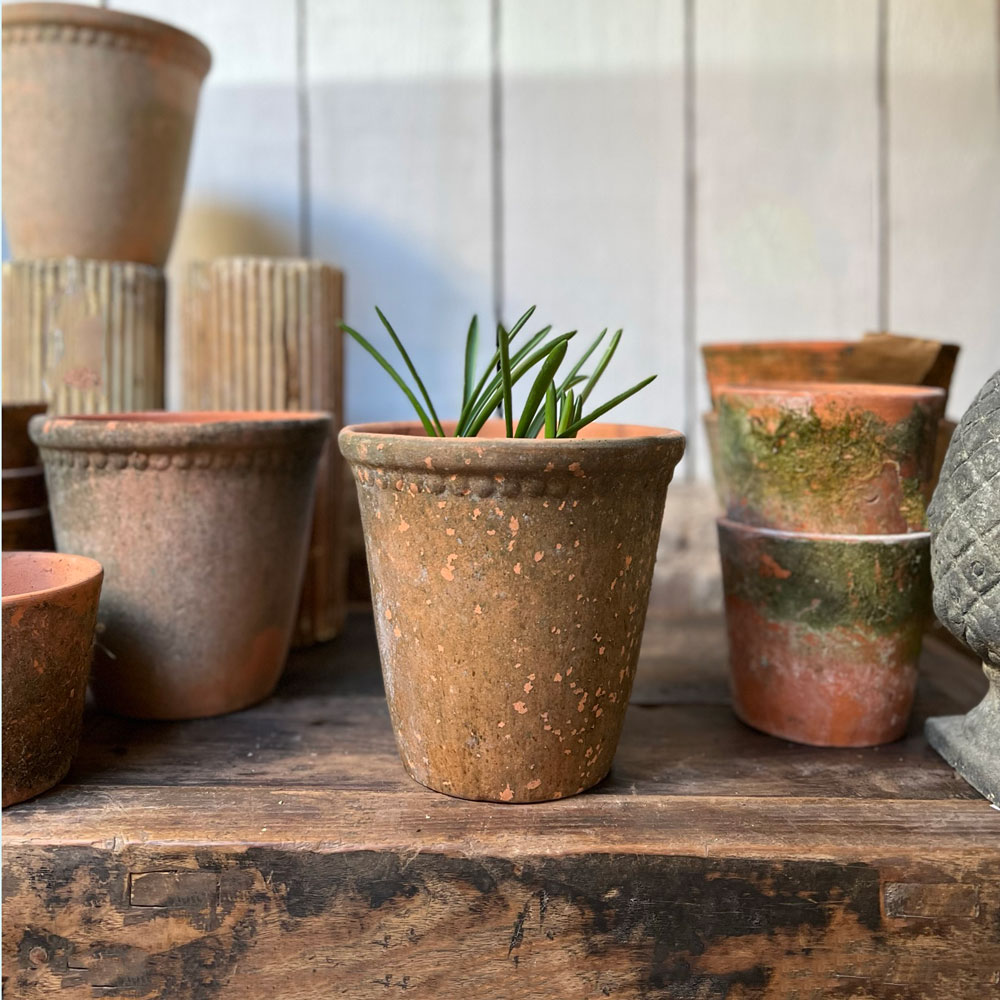
Photo by: Home Barn
If you worry about overwatering, terracotta pots are an excellent choice for your cactus. Specifically designed as cactus pots, terracotta pots naturally absorb excess moisture from the soil, making them perfect for preventing too much water from reaching your plant’s roots. Indeed, you can opt for a pot with a drainage hole at the bottom to ensure adequate water drainage. It’s all about creating the ideal environment for your prickly companion!
7. Add Some Decorative Elements
Photo by: Houmse
Add a top dressing like small or colorful stones when sprucing up your space with plants. It’s like adding a finishing touch to your plant, similar to putting on jewelry. While it’s not a must, it elevates the overall look and adds a charming touch to your green friend!
Here’s an additional video on how to repot a cactus
HOW TO REPOT A CACTUS LIKE A PRO? | CHOOSING A RIGHT POT | By: AzFlora ENG
Discover the secret to thriving cacti with our premium organic soil mix – the perfect choice for healthy growth and vibrant blooms. Elevate your cactus replanting game with nature’s best, now available at your fingertips! #ads #commissionsearned
Here’s an additional video on how to repot a cactus
HOW TO REPOT A CACTUS LIKE A PRO? | CHOOSING A RIGHT POT | By: AzFlora ENG
Cactus Replanting: Nurturing Prickly Friends to Flourish in New Homes
Replanting your cactus can be rewarding and straightforward if done with care and attention to detail. Understanding the signs that your cactus needs a new home, such as roots peeking out or stunted growth, is crucial in ensuring the health and vitality of your prickly companion. Timing your replanting during mid-spring aligns with the cactus’s natural growth cycle, although repotting can be done anytime.
Equipping yourself with the right tools, including thick gardening gloves, a larger pot with drainage holes, and a well-draining soil mix designed for cacti, is essential for a successful replanting experience. Taking time to handle the cactus gently, removing it from its old pot, loosening the root ball, and inspecting the roots for health issues are all vital steps. Choosing an appropriate new pot and providing your cactus with the right amount of sunlight post-replanting are also critical factors in its successful transition.
By following these steps and adding decorative elements like stones, you provide your cactus with a new, comfortable home and enhance the aesthetic appeal of your living space. So, armed with knowledge and care, go ahead and replant your prickly friends, ensuring they continue to thrive and bring joy to your gardening endeavors! Happy planting!
FAQs
How Do I Care for the Cactus After Replanting?
Let your cactus adjust for about a week before resuming regular watering. Please place it in a sunny spot with direct sunlight. Outdoor sun exposure is excellent in warm weather.
Can I Replant My Cactus if It's Not Mid-spring?
You can replant your cactus at any time of the year if it shows signs of needing a new pot; be gentle and cautious during the process.
?? Houseplant Lovers Unite! ??
Welcome to the HouseplantJoy blog, your ultimate destination to dive into the captivating world of houseplants and gardening tips. Whether you’re a plant enthusiast or just starting your green journey, our Facebook page is here to nurture your passion for leafy and lush.
? Hey there, green thumbs and plant enthusiasts! Are you looking to add a touch of nature to your life? ?? Look no further than Houseplant Joy! ??
?? Let’s grow together! Follow us on Facebook, Instagram, and Twitter to embark on an exciting journey of houseplant bliss. ??
Facebook: Dive into the world of houseplants and tips at facebook.com/houseplantjoyblog. ??
Instagram: Immerse yourself in a visual feast of stunning houseplant inspiration at instagram.com/houseplantjoy20. ??
Twitter: Stay in the loop with our green community and stay updated on the latest trends in the houseplant world at twitter.com/HouseplantJoy. ??
Stay in the loop with the Houseplant Joy community on Twitter, your go-to source for all things houseplants and gardening trends. We are your green companions on this exciting journey, keeping you updated on the latest happenings in the ever-evolving world of indoor greenery.
? Why Should You Join Us? ?
? Get insider secrets: Unearth the best-kept secrets to keep your plants thriving and blooming like never before. ??
? Expert advice: Gain access to our team on Facebook, Twitter, and other social media channels, and meet our gardening experts eager to help you on your plant journey. ???
? Engage with like-minded souls: Connect with fellow plant lovers, exchange stories, and build a supportive community. ??
?? Join us today! Follow Houseplant Joy on Facebook, Instagram, and Twitter for daily inspiration and a blooming good time! ?? #HouseplantJoy #GreenThumbsUnite #HouseplantLove
