
HousePlantJoy is supported by our audience. When you purchase through one of our links, we may earn a small affiliate commission. As an Amazon Associate I earn from qualifying purchases. Your cost is not affected.
==================
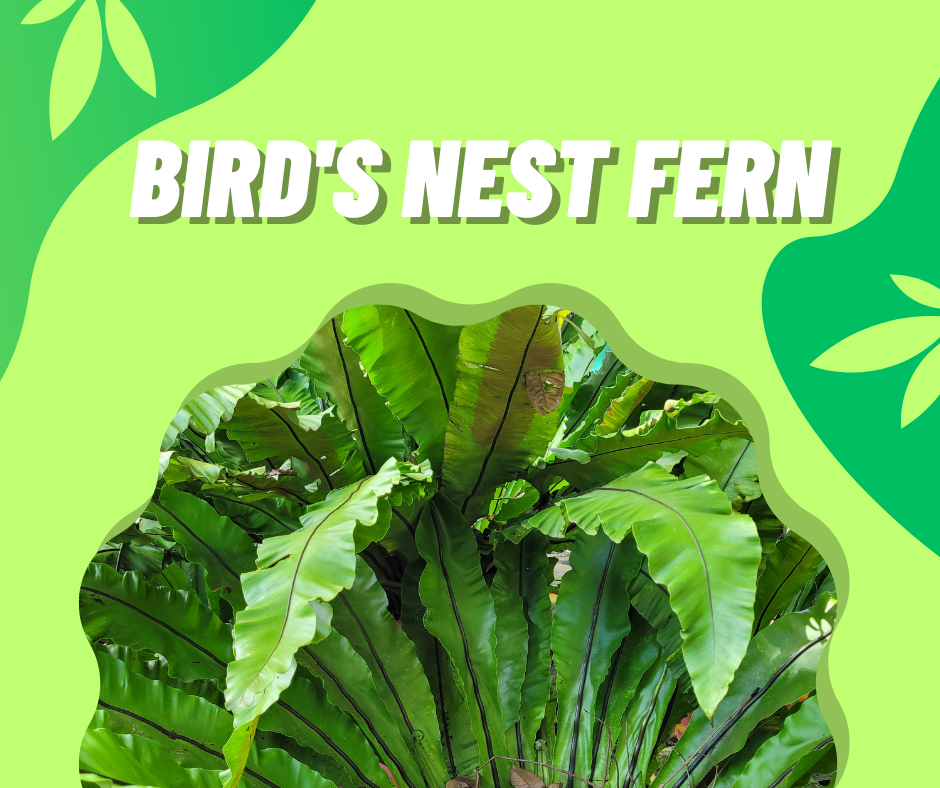
If you’re considering adding a touch of the tropics to your space, the bird’s nest fern is a fantastic choice. Unlike other plants, Asplenium nidus is both a statement piece and easy to care for. It’s a rare combo, right?
We’ll dive into the world of bird’s nest ferns. You’ll find out why they’re adored by novices and expert gardeners alike. So, settle in, and let’s chat about why the bird’s nest fern should be the next green plant in your home.
Getting to Know Your Bird’s Nest Fern
Now, let’s get up close and personal with your bird’s nest fern. Imagine a frond, not just any frond, but one that’s vibrant, with a light green color that screams ‘fresh’. These fronds are long, arching outward from a central rosette. It is the heart of the fern – the cozy ‘nest’ where new growth unfurls. This nest is more than just looks. It’s the birthplace of the fern’s life, where new fronds will constantly emerge.
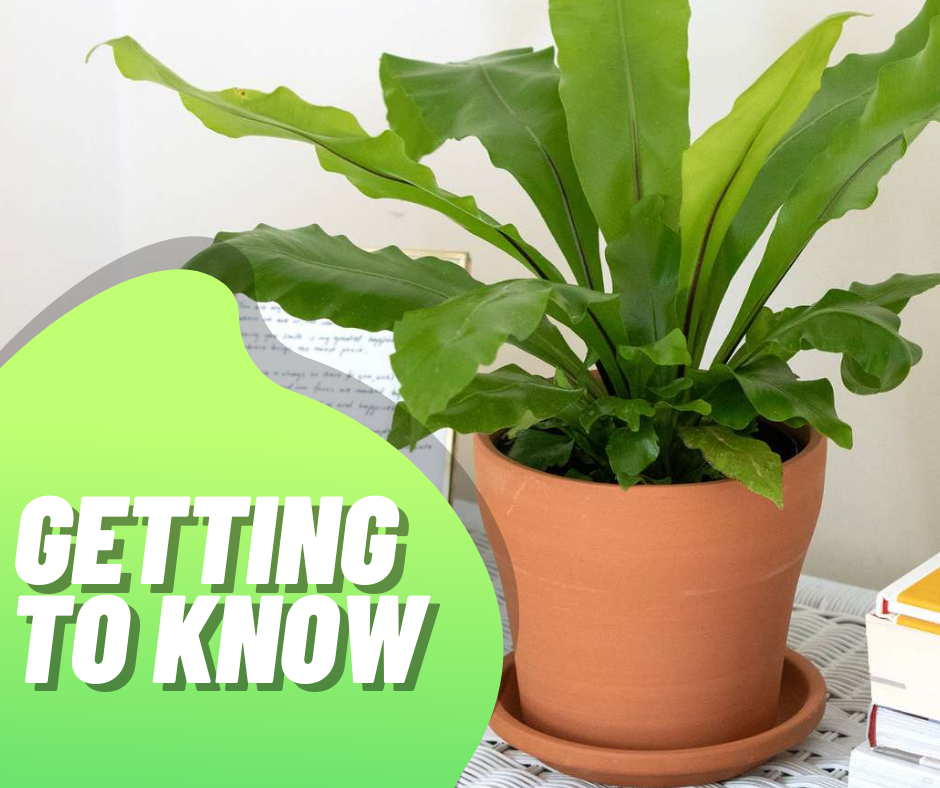
Asplenium nidus has this knack for being both wild and graceful. In its native habitat, from tropical regions to subtropical areas, the bird’s nest fern lives an adventurous life. It’s an epiphytic species, which means it’s often found hitching a ride on tree trunks. It’s not being parasitic. It just enjoys the view from up there, away from the soil, basking in the dappled sunlight filtering through the canopy.
What’s the secret to their beauty? It’s shade and humidity. They thrive under the cover of larger trees and love the steamy conditions that come with living in warmer climates. But don’t worry, these ferns are adaptable.
So, when you look at your bird’s nest fern, remember it’s not just a plant. It’s a piece of an ancient, lush landscape that has graced our planet long before our time. And now, it’s ready to bring that prehistoric charm right into your living room. Isn’t that something?
Enhance your Bird’s Nest Fern’s beauty with our versatile Ceramic Planter Set, perfect for indoor plant enthusiasts. Elevate your plant game today! #ads #commissionsearned
The Right Environment for Your Bird’s Nest Fern
Creating the right environment for your bird’s nest fern is like setting up a mini-vacation spot for it in your home. These ferns aren’t fans of the limelight, so direct sunlight is a no-go. What they adore is a spot bathed in bright light. But one where the sun’s rays are gentle, like a north-facing window where the light is filtered and soft. This is the kind of light that mimics the natural shade of their wild homes.

Now, let’s talk about their love for the tropical life. Bird’s nest ferns relish high humidity. Think about the steamy air of a jungle right after a rain shower. In our homes, especially in the drier months, the air can be a bit too crisp for their liking. But don’t worry, there are easy fixes! A daily misting or a nearby humidifier can transport your fern to the humidity heaven it craves.
Remember, your bird’s nest fern is a bit like a holiday-goer that prefers warmer climates. They enjoy a consistent temperature that’s neither too hot nor too cold. If you’re comfortable in a short-sleeve shirt, your fern likely is too.
Setting Up Your Bird’s Nest Fern
When it comes to planting your bird’s nest fern, think about it like tucking it into the most comfortable bed. The pot and soil you choose are crucial for making it feel right at home. A cozy pot that’s not too big and not too small, with ample room for the roots to breathe, is what you’re aiming for. Make sure it has good drainage. Soggy condition is a big no for our fern friends.
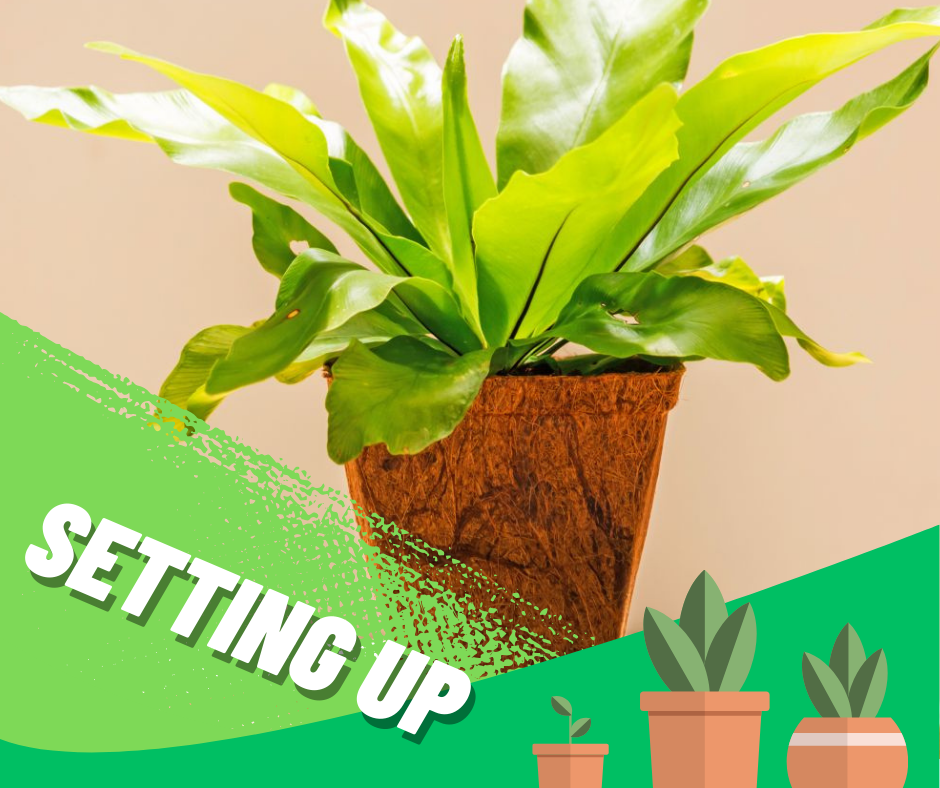
Now, for the soil, your bird’s nest fern prefers to nest in a peat-based potting mix that holds just enough moisture without getting waterlogged. This type of soil is like a fluffy duvet for the roots. It holds moisture, provides aeration, and is slightly acidic, just the way they like it.
Keeping the soil moist is the secret sauce to nest fern care. It’s like a balancing act. You want to keep the party going but not let it turn into a muddy festival. Overwatering is the quickest way to unhappy ferns. So let the soil dry out slightly between waterings. Just dip your finger into the soil. If the top inch is dry, it’s time to water.
Soil moisture isn’t just about watering. It’s also about not letting your fern’s feet sit in water. Empty the saucer after watering. No plant likes wet feet. It’s like sitting in a bathtub for too long, and no one enjoys prune roots!
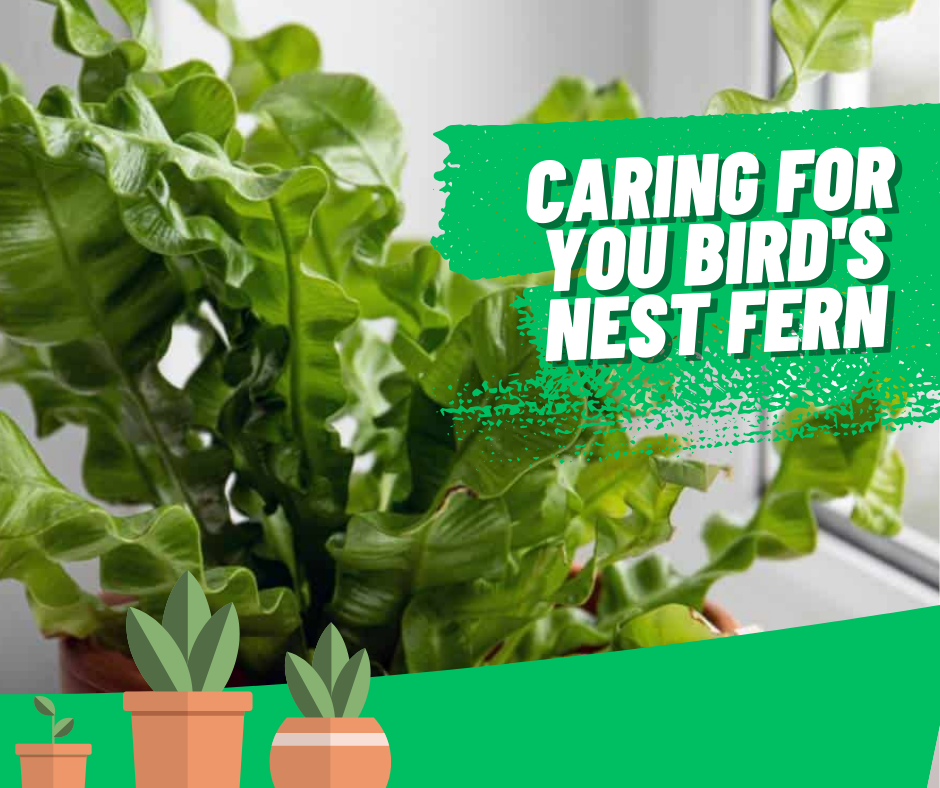
Caring For You Bird’s Nest Fern
Caring for your bird’s nest fern doesn’t require a green thumb—just a little care and attention to a few key details.
Water Wisely
Your bird’s nest fern loves moisture, but it’s all about balance. Check the soil once a week. If the top inch feels dry, it’s time to water it. Use lukewarm water and make sure to water the soil, not the nest-like center. This could lead to rot, and we don’t want that! And remember, if the air in your home feels like a desert, a little misting goes a long way to keep that humidity up.
Use Fertilizer
When it comes to food, bird’s nest ferns aren’t picky eaters. A dose of liquid fertilizer at half strength during the growing season (spring to early fall) is like a good meal for them. But don’t overdo it. Too much fertilizer can lead to some unsightly brown fronds. Think of it as a light seasoning rather than a heavy sauce.
Prune It
Keep an eye out for any fronds that are looking a bit tired or have turned brown. Pruning these away not only tidies up your fern but also encourages healthy new growth. Use clean, sharp scissors and cut the frond near the base. It’s like giving your fern a spa treatment. It’ll come out looking refreshed and even more fabulous.
Keep It Clean
Dust can gather on those broad fronds, so gently wipe them with a damp cloth now and then. This isn’t just about keeping up appearances. It helps your fern breathe better and soak in all that good light. Plus, it’s a chance to check for any freeloaders like pests that might need eviction.
Credits: Kade – Plant Boy
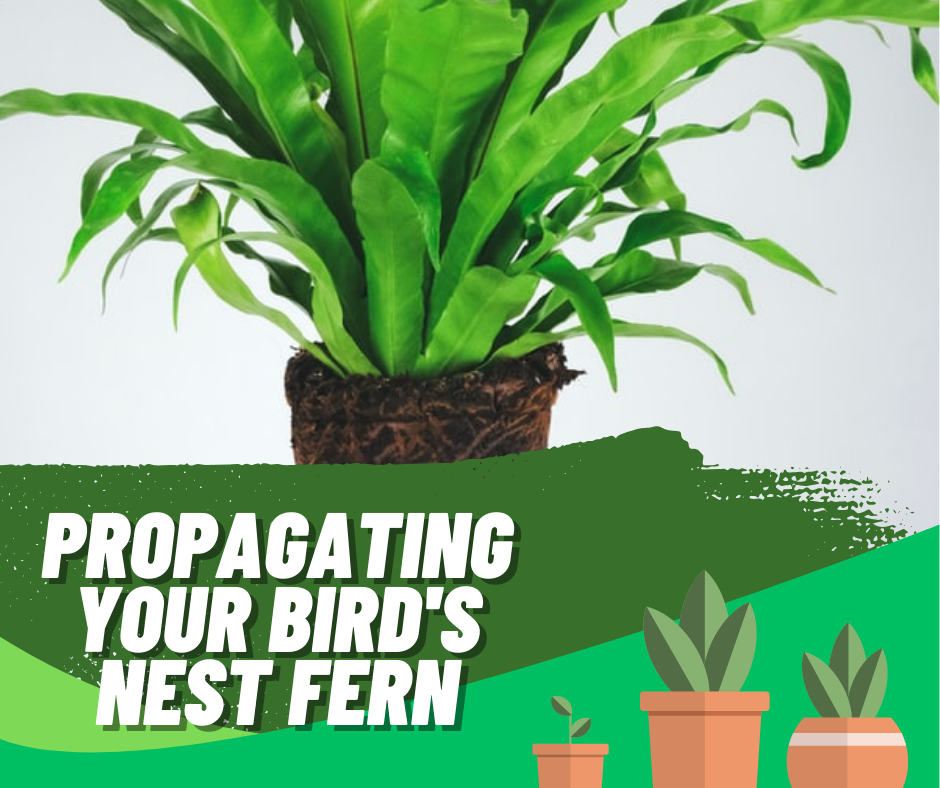
Propagating Your
Bird’s Nest Fern with Spores
Propagating your bird’s nest fern can seem a little like a science experiment. But it’s an exciting way to create new plants from the ones you’ve nurtured. Let’s dive into how you can grow new ferns from spores.
1. Spot the Spores
First, you’ll need to play detective and find the spores. Turn the fronds of your bird’s nest fern over, and look for tiny brown dots lined up in neat rows on the undersides. These are the spore cases that are ready for your propagation project.
2. Collect Spores
When the fronds are mature and the spores look ripe (usually they’ll be a brown color), it’s time to collect. Cut a frond and place it spore-side down on a piece of paper. Leave it in a dry place for a few days, and you’ll find a dust-like substance on the paper. Those are your spores!
3. Sow Spores
Propagating bird’s nest ferns isn’t a race. It’s a slow and steady process. To start, you’ll need a sterile container and a sterile growing medium, like a peat-based mix. Sprinkle the spores over the surface and mist lightly to ensure they stick. Cover the container with plastic wrap to keep the humidity high. Place it in a warm spot with bright, indirect light.
4. Wait
Patience is key here. It can take a few weeks to a few months for the spores to germinate and grow into what’s called a prothallus. This will then develop into new ferns. Keep the soil moist and the container humid. Eventually, you’ll see a green carpet form. That’s your signal that baby ferns are on their way!
Once more, amplify the allure of your Bird’s Nest Fern with our versatile Ceramic Planter Collection, tailored for plant enthusiasts. Elevate your indoor garden today! #promotion #affiliatemarketing
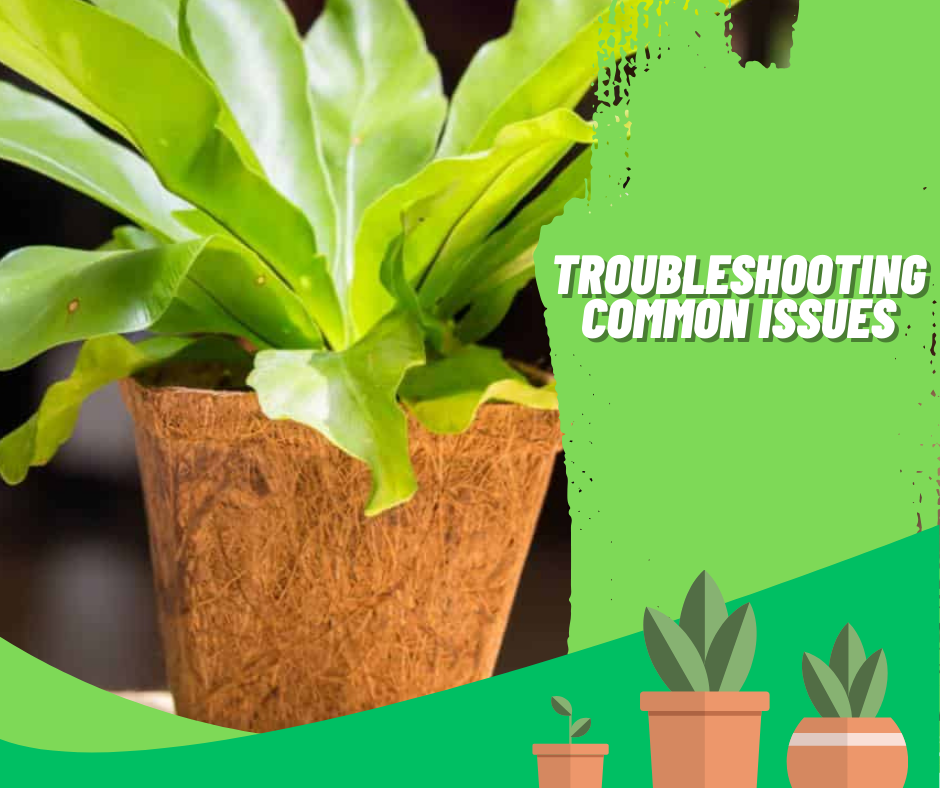
Troubleshooting Common Issues
with Bird’s Nest Ferns
Even the most pampered bird’s nest fern can hit a few bumps along the way. Let’s troubleshoot some common issues and get your green buddy back to its best health.
Yellowing Fronds
Is your bird’s nest fern starting to sport yellow fronds? This can be a sign it’s getting too much light. Remember, these plants are shade lovers. Move your fern away from direct sunlight to a spot with gentle, indirect light. Also, check for overwatering. Too much enthusiasm for the watering can lead to soggy soil.
Brown Tips and Edges
Crispy, brown edges can indicate that the air is too dry for your humidity-loving fern. Make sure it’s not near a heat source or an air conditioner vent. Boosting the humidity can be as simple as placing a tray filled with water and pebbles beneath the pot. This ensures the pot sits above the waterline.
Droopy Fronds
If your bird’s nest fern looks a little droopy, it might be thirsty. Check the soil moisture and give it a drink if it’s dry. But be cautious. This symptom can also mean you’ve been overwatering. So always test the soil before reaching for the watering can.
Pests
No one likes uninvited guests, especially your fern. If you notice pests like scale or mealybugs, isolate your fern to protect your other plants and treat it with neem oil or insecticidal soap. Always be gentle when cleaning your fern’s fronds, as they can be quite delicate.
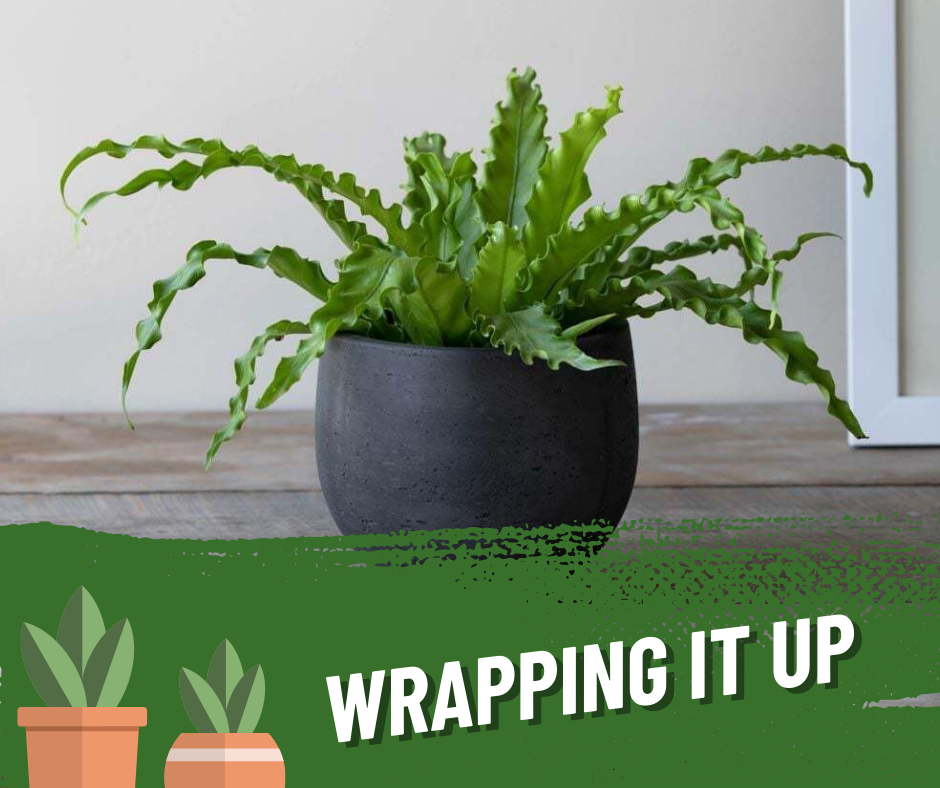
Wrapping It Up
We’ve explored the ins and outs of nurturing this delightful houseplant. I hope you’re feeling ready to either start or continue your fern journey with confidence.
The Asplenium Nidus isn’t just another plant. It’s a living piece of decor that brings a touch of nature’s magic right into your living space. Its bright green fronds, with their wavy margins, have the power to transform any corner of your home. And isn’t that something we all could use?
Caring for a bird’s nest fern is like any good relationship. It thrives on mutual understanding and a bit of patience. Give it the shade it craves, the moisture it needs, and the gentle touch it deserves. Your fern will be a loyal green companion for years to come.
The bird’s nest fern is a fantastic choice. It asks for so little yet gives so much in return, from its air-purifying qualities to its serene beauty.
Until our next plant talk, keep nurturing your green thumb and your bird’s nest fern. Here’s to growing together in our garden of life!
FAQs
1. How often should I water my bird's nest fern?
Watering your fern is all about balance. The soil should stay moist, but not soggy. Generally, giving it a drink once a week should do the trick. But always touch the soil first. If it’s still damp, hold off for a few days.
2. Can bird's nest ferns handle direct sunlight?
They’re not sun-seekers, to be honest. Bird’s nest ferns prefer indirect or filtered light. Think of their cozy life under the tree canopies in their natural habitat. Direct sunlight can be a bit harsh and leave the fronds yellow or brown.
3. What's the ideal spot to place my bird's nest fern indoors?
Think of where it would be in the wild—a shaded area with bright, indirect light. A north-facing window is a sweet spot, giving it that light without the harsh rays of direct sun.
4. How do I know if I'm giving too much fertilizer to my bird's nest fern?
Less is more with fertilizer and ferns. If you notice the fronds getting brown tips or a buildup of white crust on the soil, it might be a sign you’ve gone overboard. A light feeding in the growing season (spring and summer) at half strength is plenty.
5. Why is the center of my bird's nest fern turning brown?
The nest-like center is where new fronds constantly emerge. So it’s important to keep it free of debris and water. If it’s turning brown, it could be due to dry air or water sitting in the center and causing rot. Aim for higher humidity and water the soil, not the center.
Learn More About Various Houseplants!
Discover more types of houseplants and how to care for them with us! Join us on Facebook, Instagram, and Twitter for beautiful photos, plant care tips, and a community that celebrates the joy of indoor gardening.
Facebook: https://www.facebook.com/houseplantjoyblog
Instagram: http://instagram.com/houseplantjoy20
Twitter: https://twitter.com/HouseplantJoy
Let’s nurture our green spaces together!
