HousePlantJoy is supported by our audience. When you purchase through one of our links, we may earn a small affiliate commission. As an Amazon Associate I earn from qualifying purchases. Your cost is not affected.
==================
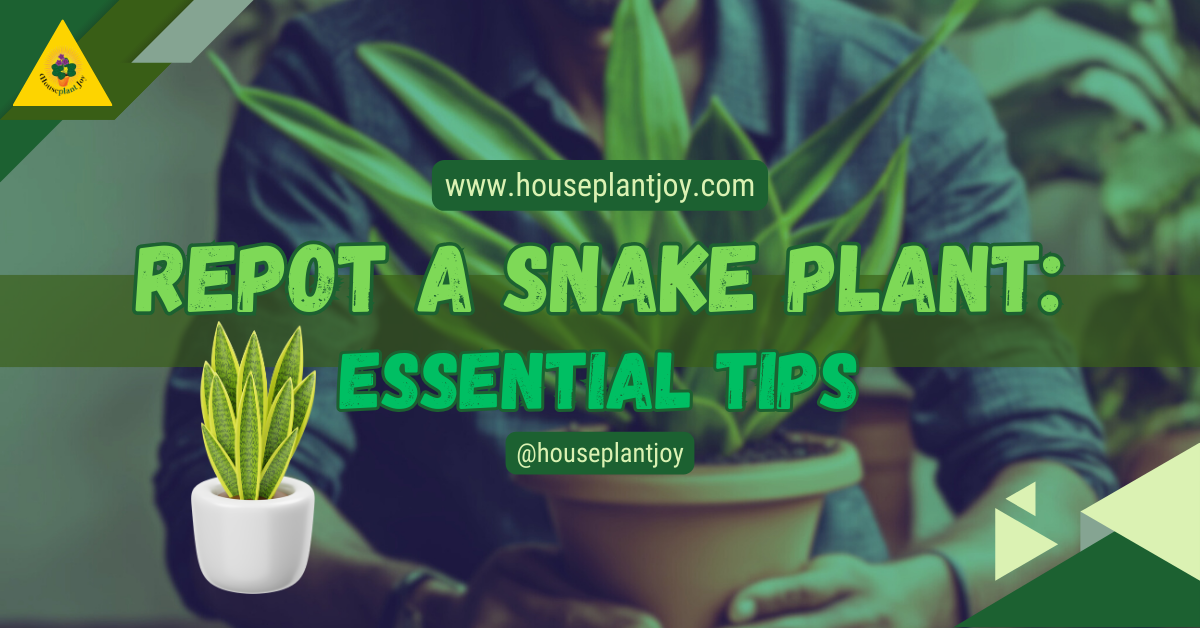
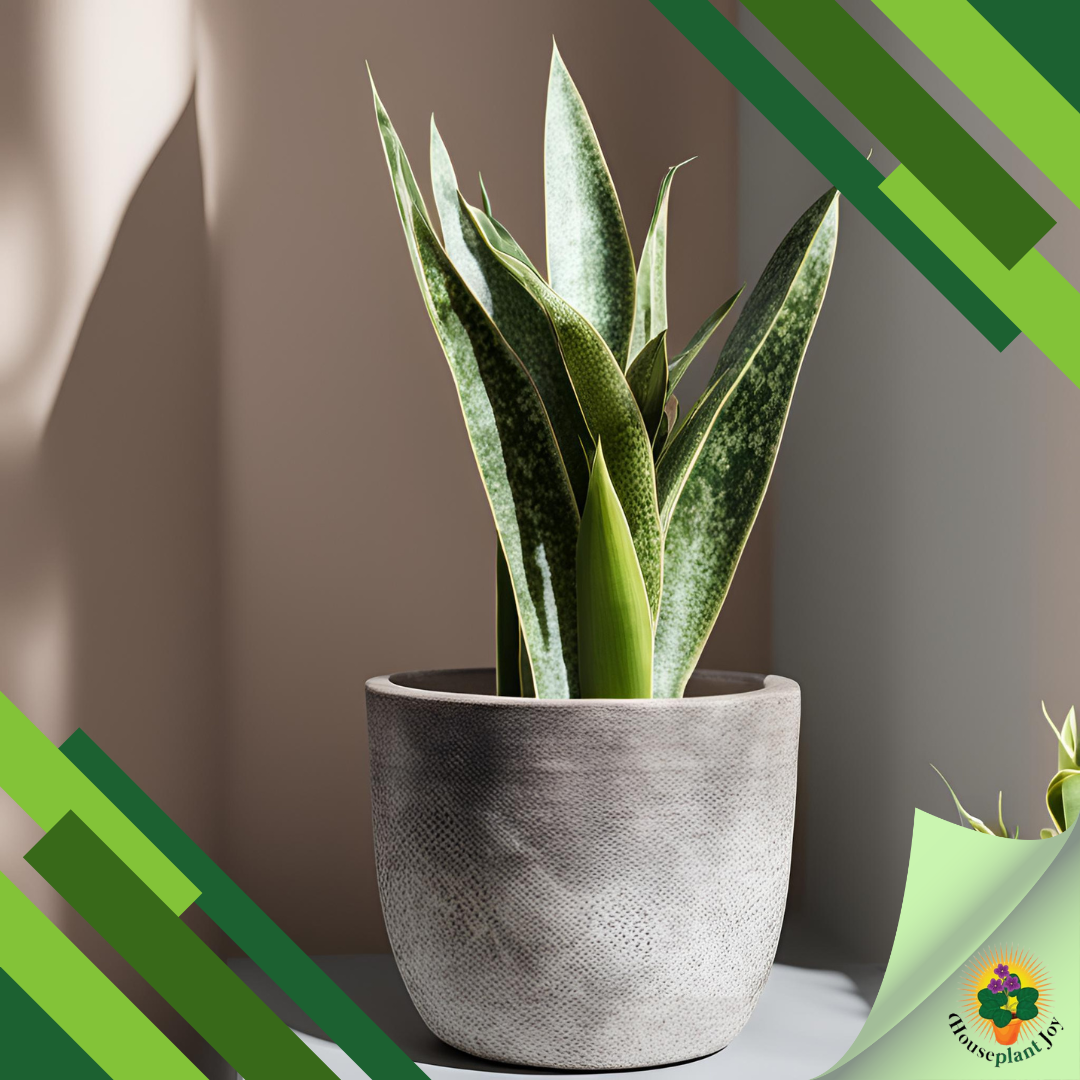
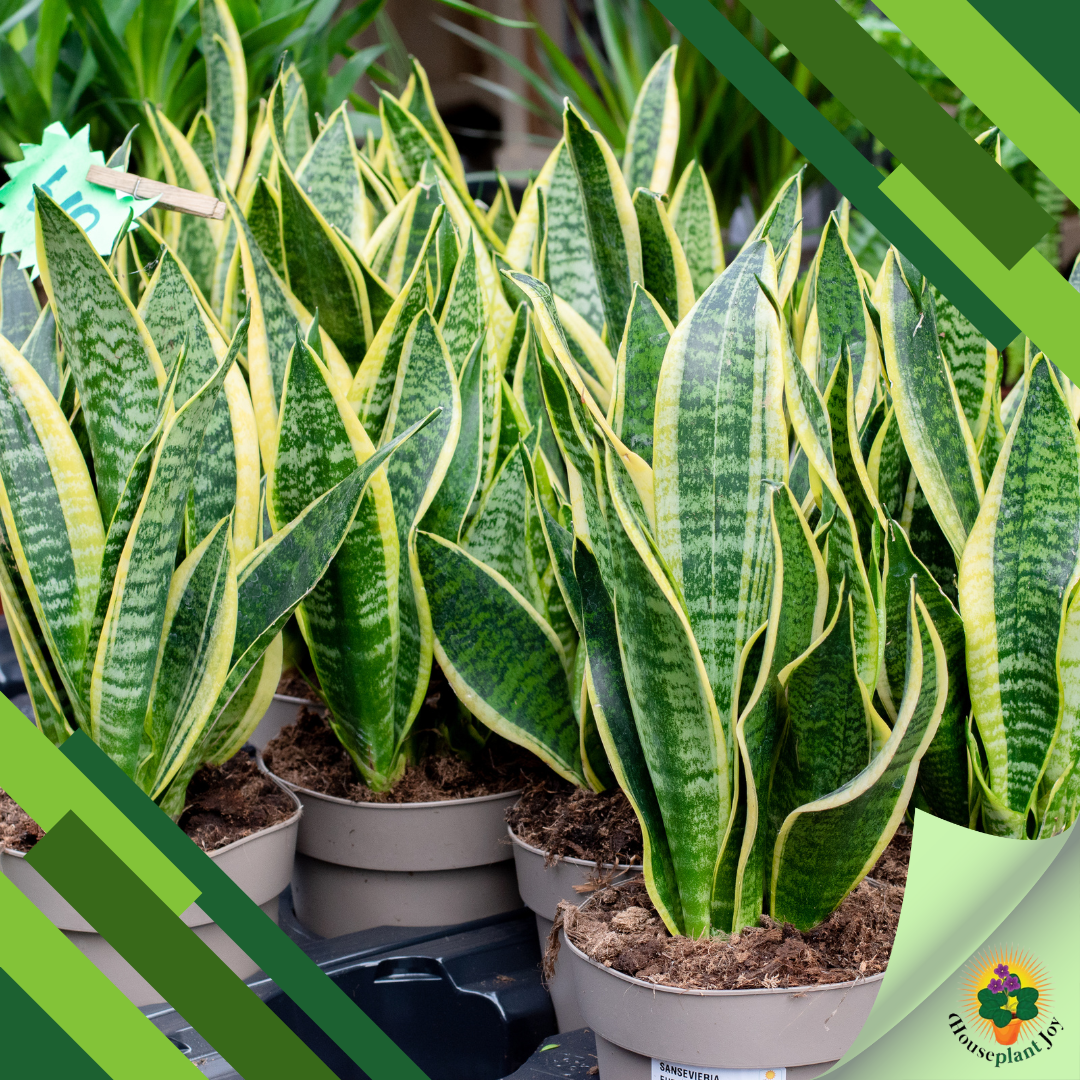
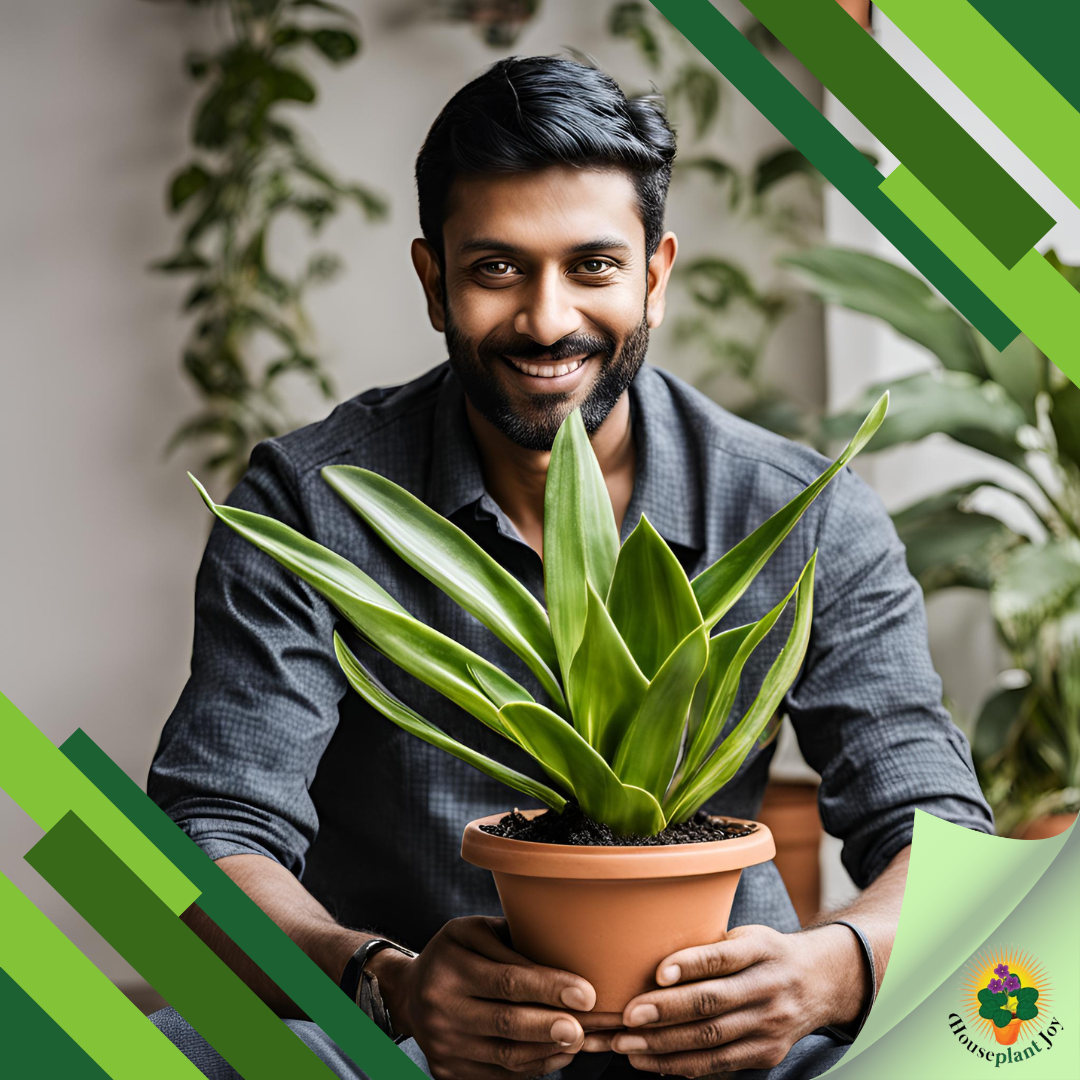
Repot a snake plant –– also known as mother-in-law’s tongue –– and watch it thrive for years to come! These popular houseplants are loved for their architectural form and low-maintenance nature. But even snake plants need a little TLC now and then, and repotting is an essential part of keeping them healthy and happy. This guide will walk you through everything you need to know, from identifying the signs of a rootbound plant to choosing the perfect pot and soil mix. Let’s get started!

Key Highlights
- Repotting snake plants is essential for their health and growth.
- The best time to repot a snake plant is in late winter or early spring.
- Signs that your snake plant needs to be repotted include a crowded root ball and foliage that is suffering.
- When repotting, choose a pot with good drainage holes and use a well-draining potting soil mix.
- After repotting provide your snake plant with indirect light and proper watering to ensure a smooth transition.
- You can also propagate snake plants during the repotting process.
Introduction
Repotting a snake plant is an essential task to keep it healthy and thriving. Snake plants, also known as Sansevieria or mother-in-law’s tongue, are popular indoor plants due to their easy care and unique appearance. However, over time, snake plants can become root-bound and require a larger pot to continue growing properly.
In this blog, we will discuss the key highlights of repotting a snake plant, the right time to repot, signs of a root-bound plant, seasonal considerations, choosing the correct pot and soil, and a step-by-step guide to repotting. We will also cover aftercare tips, propagating snake plants, common repotting mistakes to avoid, and answer frequently asked questions.
Repotting a snake plant not only provides it with a fresh start but also allows you to divide the plant and create new ones. By following the tips and techniques mentioned in this blog, you can ensure the success of your snake plant and enjoy its beauty in your home for years to come.

Understanding the Right Time to Repot Your Snake Plant
Knowing the right time to repot your snake plant is crucial for its overall health and growth. One of the main indicators that your snake plant needs repotting is when it becomes root-bound. This means that the roots have filled the pot completely, leaving no room for growth.
The best time to repot a snake plant is during the late winter or early spring, outside of the active growing season. This allows the plant to focus on establishing its roots in the new pot without being stressed by excessive growth. However, if your snake plant is severely root-bound and showing signs of distress, you can repot it at any time of the year.
Identifying Signs of a Root-Bound Snake Plant
One of the key factors in determining whether your snake plant needs repotting is to check if it has become root-bound. This occurs when the roots have filled the entire pot, leaving little to no room for growth. You can identify a root-bound snake plant by examining the root ball.
To check if your snake plant is root-bound, gently remove it from its current pot and inspect the root ball. If the roots are tightly packed and circling around the bottom of the pot, it’s a clear indication that the plant has outgrown its current container. Additionally, if the roots are visible through the drainage holes or the plant easily slides out of the pot, it’s time to repot your snake plant into a larger container.
Repotting a root-bound snake plant will provide it with the space it needs to grow and thrive. It will also promote healthy root development and prevent the roots from becoming excessively tangled, which can lead to nutrient deficiencies and other problems.
Seasonal Considerations for Repotting
Knowing the best time to repot a snake plant is crucial for its success. The ideal time to repot a snake plant is in late winter or very early spring, outside the growing season. This timing allows the plant to adjust to its new pot without interrupting its active growth. However, if necessary, a snake plant can be repotted in a bigger pot at any time of the year. Here are some seasonal considerations for repotting a snake plant:
- Repotting in late winter or early spring allows the plant to establish itself before the growing season begins.
- Avoid repotting during the summer months, as the plant may be more stressed due to high temperatures.
- Repotting in late winter or early spring also ensures that the plant has enough time to recover before the next growing season.
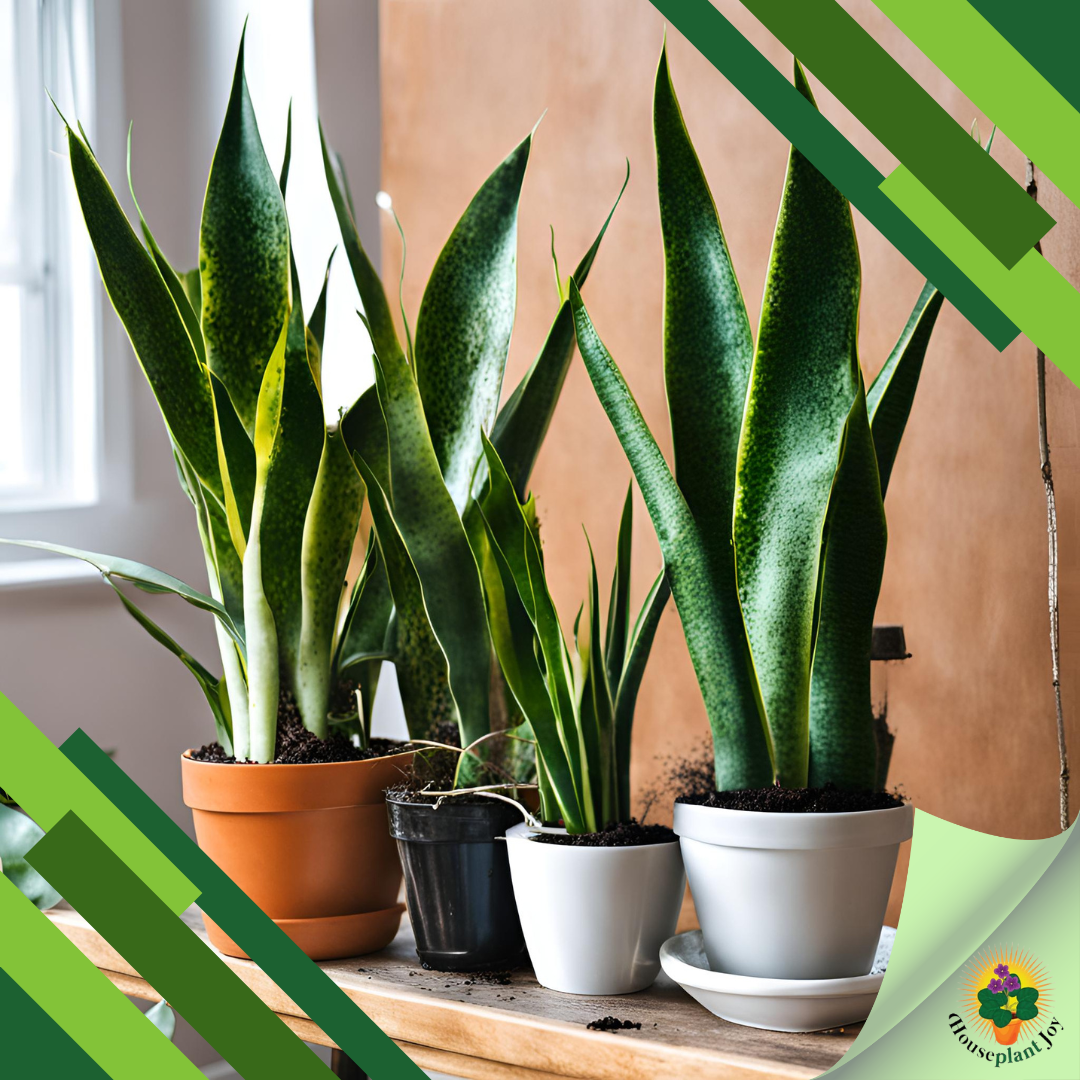
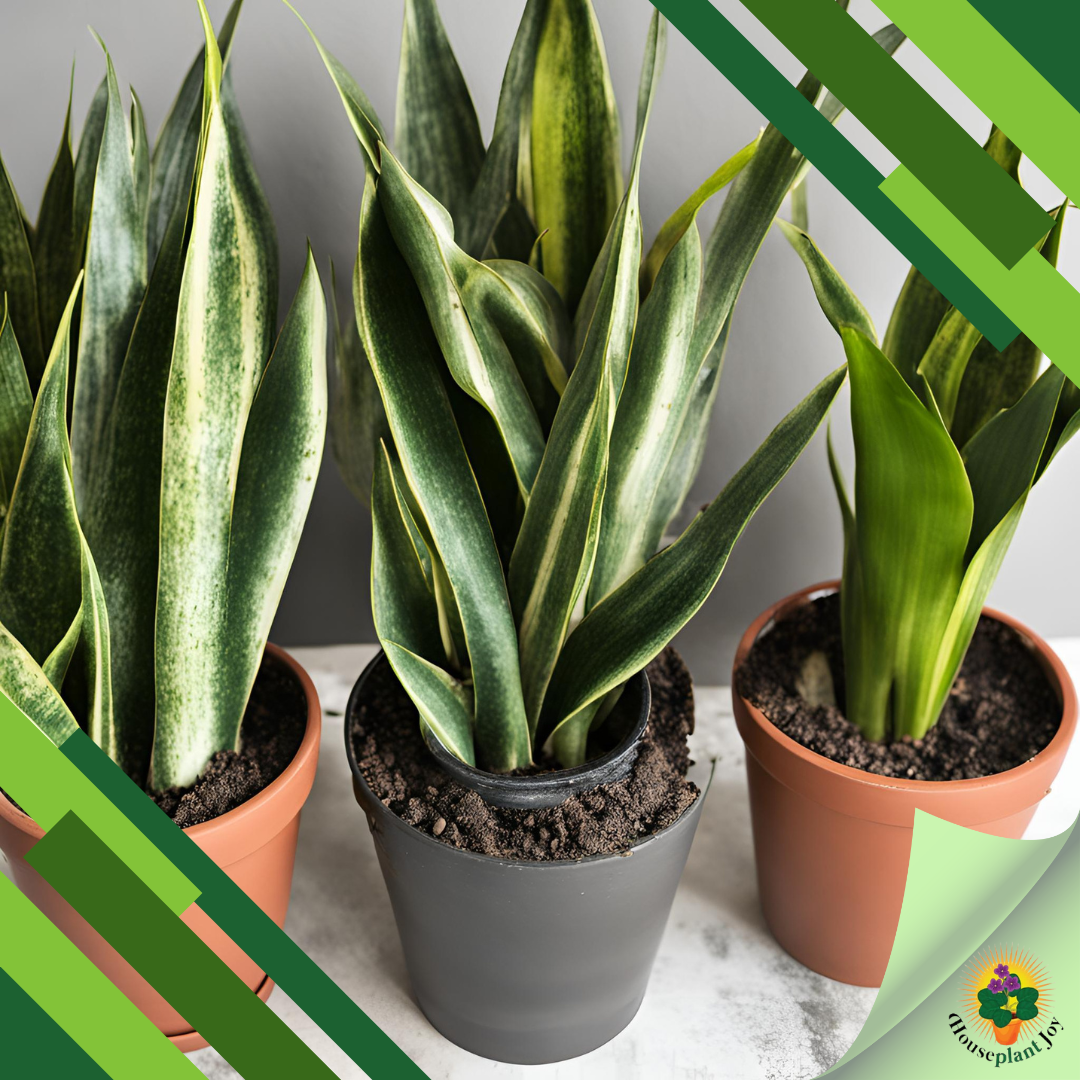
Choosing the Correct Pot and Soil for Your Snake Plant
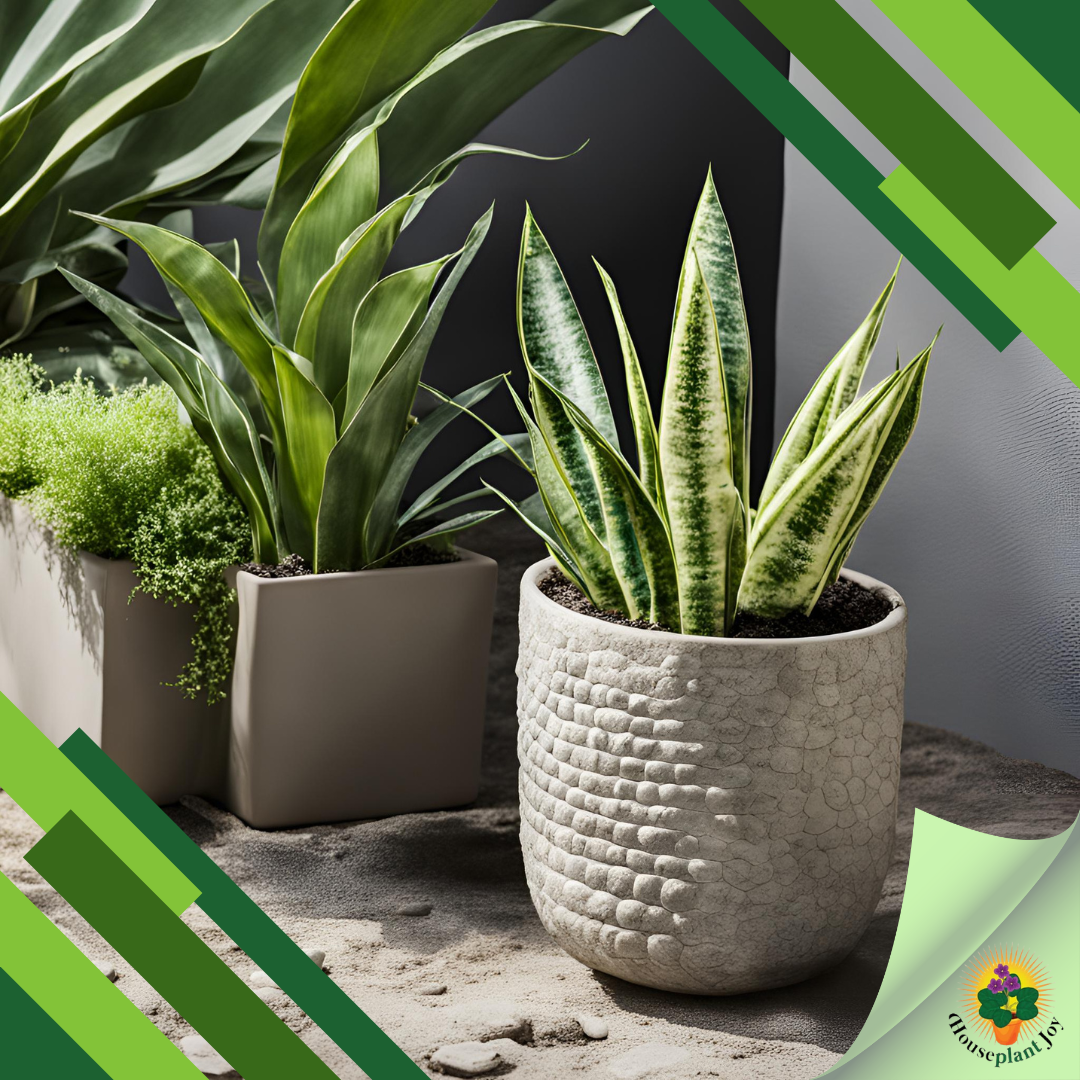
Choosing the correct pot and soil for your snake plant is essential for its overall health and growth. When selecting a pot, opt for one with drainage holes to prevent water from pooling at the bottom and causing root rot. A larger pot is recommended to accommodate the snake plant’s root system, allowing for better growth. As for the soil, a well-draining potting mix is crucial. A mix specifically formulated for cacti and succulents, such as cactus soil, is ideal for snake plants. It provides the necessary aeration and moisture control for optimal growth.
Selecting the Ideal Pot Size and Material
When repotting a snake plant, it is important to select the ideal pot size and material. The pot size should be slightly larger than the current pot to allow for the plant’s growth. This ensures that the snake plant has enough room for its roots to spread and develop. Additionally, the pot should have drainage holes at the bottom to prevent excess water from accumulating and causing root rot. The choice of pot material is also important. Plastic pots are lightweight and easy to handle, but they may not provide as much breathability for the roots. Clay pots, on the other hand, are porous and allow for better airflow. Ultimately, the pot size and material should be chosen based on the specific needs of the snake plant.
The Best Soil Mix for Healthy Growth
To ensure healthy growth of a repotted snake plant, it is crucial to use the right soil mix. The best soil mix for snake plants is a well-draining potting soil. This can be a mix of regular potting soil, cactus mix, and soil mix with a part of peat moss or coco coir. These components provide excellent drainage and moisture retention, creating a balanced environment for the snake plant’s roots. The peat moss or coco coir helps retain moisture while allowing excess water to drain away. This soil mix ensures that the snake plant’s roots have access to the necessary nutrients and moisture for healthy growth.
Step-by-Step Guide to Repotting a Snake Plant
Repotting a snake plant can be done following a simple step-by-step process. Here is a guide to repotting a snake plant:
- Prepare your materials and workspace, including a new pot, potting soil, and a sharp knife.
- Safely remove the snake plant from its current pot, being mindful of the root ball.
- Inspect and trim the roots if necessary, removing any signs of root rot.
- Prepare the new pot with a suitable soil mix, ensuring proper drainage.
- Place the snake plant in the new pot, adjusting the depth and adding more soil as needed.
- Water the snake plant thoroughly and allow the soil to dry slightly before watering again.
- Provide proper aftercare, including adjusting light and temperature conditions for recovery.
Preparing Your Materials and Workspace
Before repotting a snake plant, it is important to prepare your materials and workspace. Gather the necessary items, including a new pot, potting soil, a sharp knife, and potting mix. The new pot should be slightly larger than the current pot to allow for the snake plant’s growth. Ensure that the pot has drainage holes at the bottom to prevent water from pooling. The potting soil should be a well-draining mix suitable for snake plants. Additionally, have a sharp knife on hand for inspecting and trimming the roots if necessary. Set up your workspace with a clean surface and any necessary protective coverings to catch any soil or debris during the repotting process.
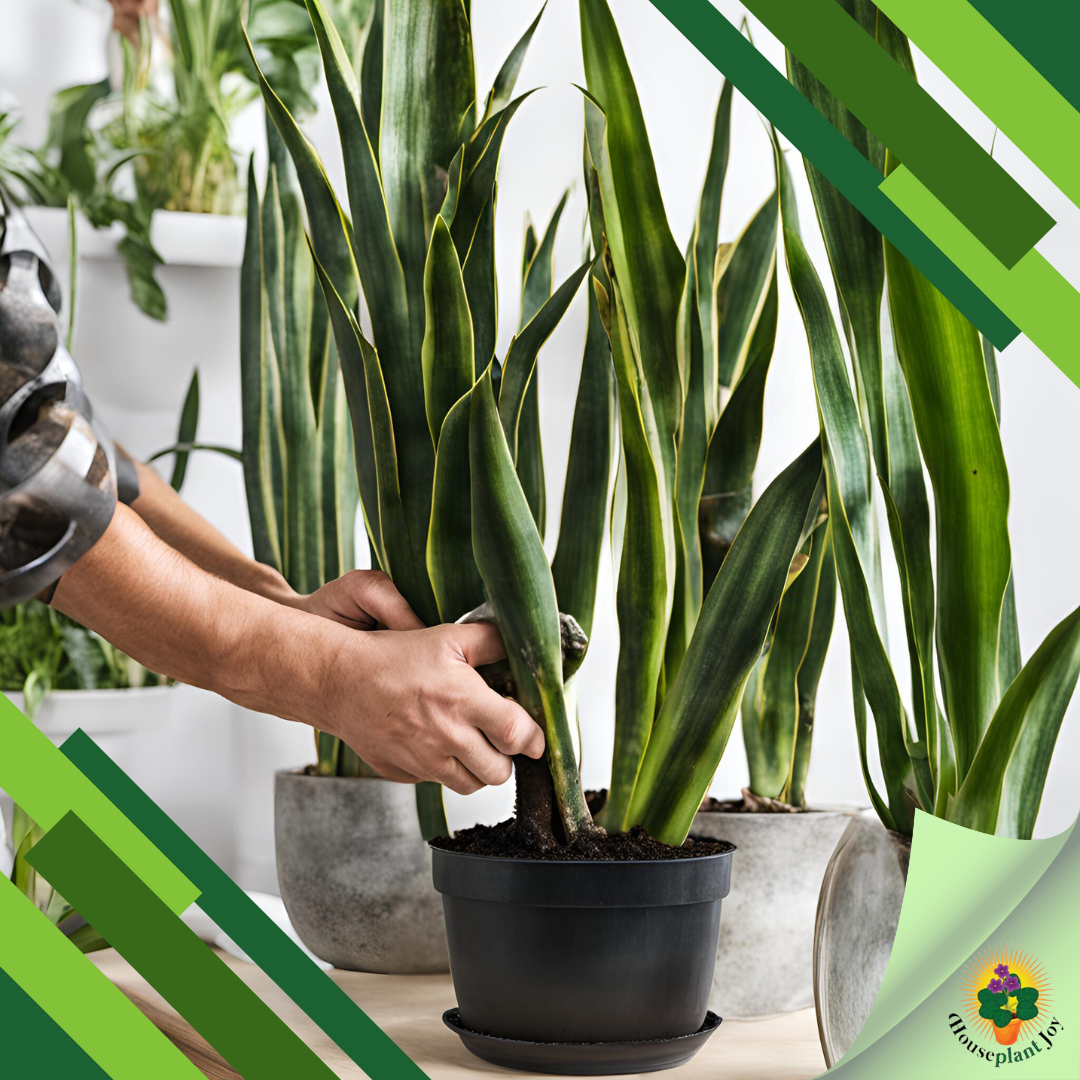
Safely Removing Your Snake Plant from Its Current Pot
When repotting a snake plant, it is important to safely remove it from its current pot. Start by gently gripping the base of the plant to support it and carefully turn it over. Tap the bottom of the pot or gently squeeze the sides to loosen the root ball from the pot. Once loosened, gently slide the snake plant out of the pot, being careful not to damage the roots. If the plant is root-bound, meaning the roots have filled up the pot and are tightly wound around each other, you may need to use a sharp knife to carefully cut through the roots to free the plant. Once the snake plant is safely removed from its current pot, it can be transferred to the new pot for repotting.
Inspecting and Trimming the Roots If Necessary
After removing the snake plant from its current pot, it is important to inspect the roots for any signs of damage or root rot. Root rot can occur when the roots are exposed to excess moisture or lack proper aeration. Look for any soft or mushy spots on the roots, as these are signs of rot. Use a sharp, clean knife to carefully trim away any rotten roots, making clean cuts to prevent further damage. If the root ball is tightly wound and the roots are preventing the plant from growing, you may need to make additional cuts to free the plant. Trimming the roots is an important step in repotting a snake plant to ensure its continued health and growth.
Aftercare: Ensuring a Smooth Transition
After repotting a snake plant, it is important to provide proper aftercare to ensure a smooth transition for the plant. Here are some key steps to follow:
- Water the snake plant thoroughly after repotting, allowing the water to reach the roots.
- Monitor the light conditions and ensure the plant receives indirect sunlight, especially during the recovery period.
- Check the moisture level of the soil by gently touching the top of the soil. Only water when the top few inches are dry to the touch.
- Avoid overwatering, as this can lead to root rot.
- Keep the plant on the dry side, as snake plants prefer slightly drier conditions.
By following these aftercare steps, you can ensure the successful repotting and continued growth of your snake plant.
Watering After Repotting: Dos and Don’ts
Proper watering is crucial after repotting a snake plant. Here are some dos and don’ts to keep in mind:
- Do water the plant thoroughly after repotting to ensure that the roots are adequately hydrated.
- Do check the moisture level of the soil by gently touching the top of the soil. Only water when the top few inches are dry to the touch.
- Don’t overwater the snake plant, as this can lead to root rot. Allow the soil to dry out slightly before watering again.
- Don’t water too frequently, as snake plants prefer slightly drier conditions. Aim for a watering schedule of once every 1-2 weeks, depending on the environment.
By following these watering guidelines, you can help the snake plant successfully adjust to its new pot and promote healthy growth.
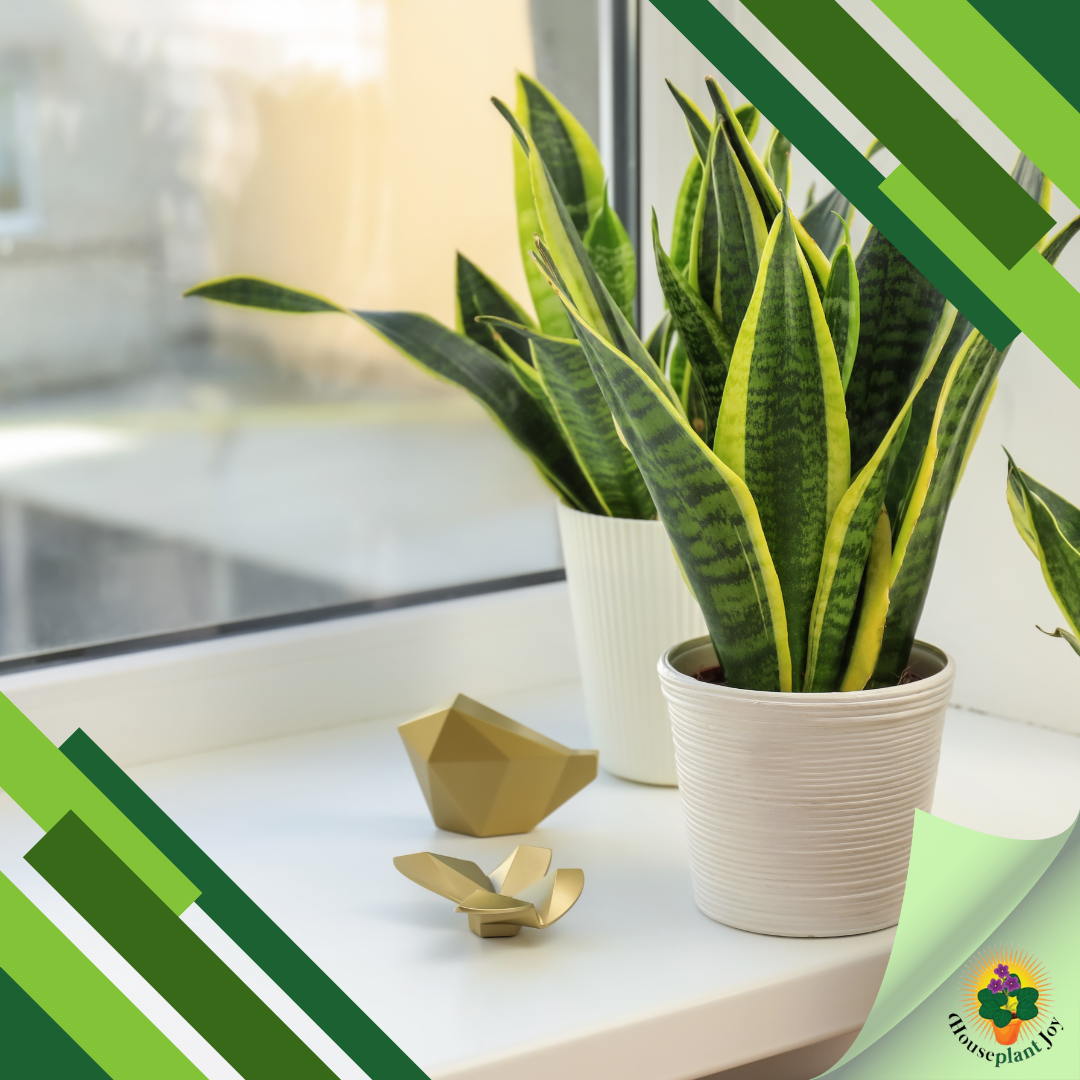
Adjusting Light and Temperature for Recovery
After repotting a snake plant, it is important to adjust the light and temperature conditions to ensure a smooth recovery. Snake plants prefer bright, indirect light, so place the plant in a location where it will receive adequate light without being exposed to direct sunlight. Direct sunlight can scorch the leaves and cause damage. If the snake plant has been transplanted during the growing season, it may be beneficial to provide slightly lower light conditions for a short period to reduce stress. Additionally, ensure that the snake plant is kept in a temperature range suitable for an indoor plant, avoiding extreme heat or cold.
Propagating Your Snake Plant During Repotting
Repotting a snake plant provides an opportunity to propagate new plants through the division method. This involves separating the main plant into smaller sections, each containing a portion of the root system and foliage. During the repotting process, carefully divide the main plant by cutting the rhizomes with a sharp knife. Each divided section can then be potted separately to create new snake plants. This allows for the expansion of your snake plant collection while maintaining the health and vitality of the main plant.
Division Method for Snake Plant Propagation
The division method is a reliable way to propagate snake plants during repotting. Here’s how to propagate snake plants using the division method:
- Remove the snake plant from its current pot and lay it on a clean work surface.
- Examine the base of the plant where the leaves and stems meet the soil.
- Look for emerging pups or new shoots from the base of the plant.
- Gently separate the pups from the main plant by wiggling them free from the roots.
- Use a sharp knife to carefully sever the pups from the main plant, ensuring each pup has its own root system.
- Plant each pup in its own pot with fresh potting soil, making sure the roots are covered and the plant is stable.
- Provide proper care and maintenance for the new snake plants, including watering and light conditions.
By using the division method, you can propagate new snake plants and expand your indoor garden collection.
Caring for New Snake Plant Shoots
When repotting a snake plant and propagating new shoots, it is important to provide proper care for the newly planted snake plants. Here are some key care tips for new snake plant shoots:
- Place the new snake plants in a location with indirect light, as direct sunlight may be too intense and cause leaf burn.
- Water the new snake plants regularly, ensuring that the soil is evenly moist but not overly saturated.
- Allow the top inch of soil to dry out before watering again to prevent overwatering and root rot.
- Monitor the growth of the new leaves, as this indicates healthy growth and establishment of the new snake plants.
By following these care tips, you can ensure the successful establishment and growth of the new snake plant shoots.
Common Repotting Mistakes to Avoid
While repotting a snake plant is a relatively simple task, there are some common mistakes to avoid. Here are a few:
- Overwatering: Snake plants prefer slightly drier conditions, so avoid overwatering, as this can lead to root rot.
- Wrong soil composition: Use a well-draining soil mix suitable for snake plants, such as a blend of potting soil and cactus mix. Avoid using soil that retains too much moisture.
- Root rot: Ensure proper drainage in the new pot to prevent water from pooling and causing root rot.
- Air pockets: When repotting, ensure that the soil is compacted around the roots to prevent the formation of air pockets, which can lead to root drying and damage.
By avoiding these common mistakes, you can ensure the successful repotting and continued health of your snake plant.
Overwatering After Repotting
One common mistake to avoid after repotting a snake plant is overwatering. Overwatering can lead to root rot and other issues with the plant’s health. To prevent overwatering, allow the top inch of soil to dry out before watering again. Check the moisture level by gently touching the top of the soil. If it feels moist, hold off on watering. Additionally, ensure that the new pot has proper drainage holes to allow excess water to escape. Avoid letting the snake plant sit in standing water, as this can lead to root rot. By being mindful of watering practices, you can maintain the health and vitality of your repotted snake plant.
Using the Wrong Soil Composition
Using the wrong soil composition can hinder the growth and health of a repotted snake plant. It is important to use a well-draining soil mix suitable for snake plants. Avoid using soil that retains too much moisture, as this can lead to root rot and other issues. Instead, opt for a blend of potting soil and cactus mix or succulent potting mix. These mixes provide the necessary aeration and drainage for snake plants. The potting soil should be lightweight and not compact easily, allowing for proper airflow and water drainage. By using the correct soil composition, you can support the growth and development of your repotted snake plant.
Repot a Snake Plant for Continued Growth and Beauty
By following the steps outlined in this guide, you’ve learned how to identify the signs of a rootbound snake plant, choose the right pot and soil mix, and successfully repot your beloved houseplant. With proper aftercare, your snake plant will be well on its way to continued healthy growth and years of enjoyment in your home.Repotting not only provides much-needed space for root development, but it also allows you to propagate new snake plants and refresh the potting mix for optimal health.
Frequently Asked Questions
How often should I repot my snake plant?
As a general rule, snake plants should be repotted every 2-3 years. However, the frequency of repotting may vary depending on the specific growth and needs of your plant. During the active growing season, if the snake plant has outgrown its current pot or shows signs of being root-bound, it may be a good time to repot it into a larger pot. Use your judgment and a good rule of thumb is to repot when you notice signs of overcrowding or slowed growth.
What are the signs that my snake plant needs repotting?
Signs that your snake plant needs repotting include a root-bound plant, where the roots have filled up the current pot and are tightly wound around each other. The plant may also become top-heavy, indicating that it has outgrown its current container. Additionally, if the plant slides out of the pot with ease, it may be time to repot into a larger pot.
How do I deal with root rot during repotting?
If you encounter root rot during repotting, it is important to address it promptly. Use a clean, sharp knife to carefully trim away any rotten roots. Ensure the new pot has proper drainage holes to prevent water from pooling and causing root rot. Use a well-draining potting mix to promote healthy root growth.
Is it normal for a snake plant to wilt after repotting?
It is normal for a snake plant to experience some wilting or drooping after repotting. This is a temporary response to the stress of being transplanted. Provide proper aftercare, including regular watering and suitable light conditions, and the plant should recover and regain its health and vigor.
