
HousePlantJoy is supported by our audience. When you purchase through one of our links, we may earn a small affiliate commission. As an Amazon Associate I earn from qualifying purchases. Your cost is not affected.
==================
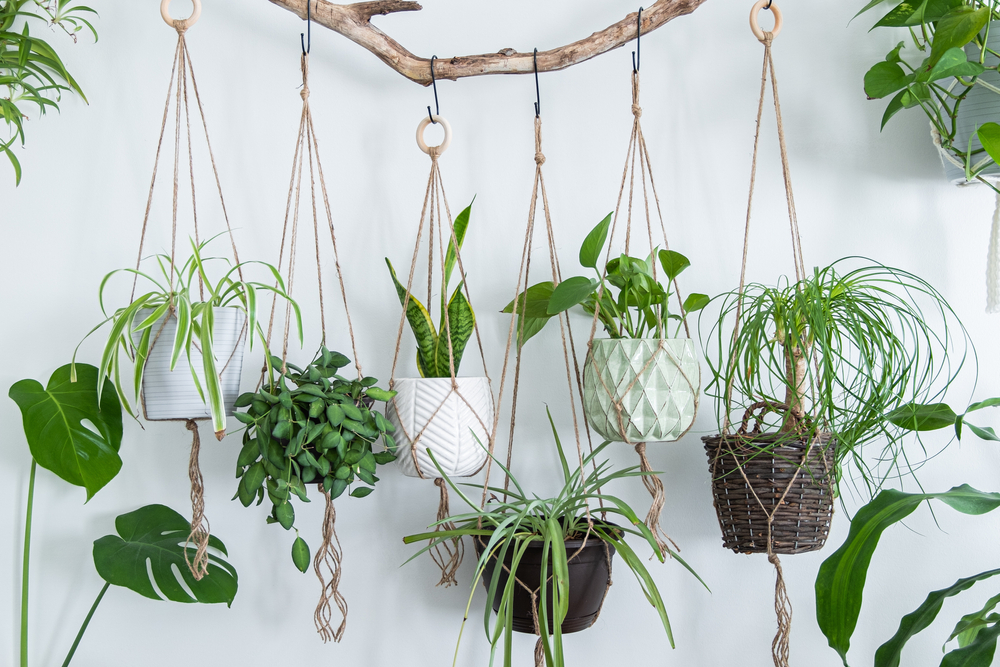
Did you know you can create new houseplants without cutting your beloved beauties? Propagating houseplants by air layering offers just such a method. And as a person who loves houseplants, I find it one of the most fun ways to increase the greenery in my home.
I’m addicted to houseplants. I love their vibrant colors, soothing shapes, and Asability to purify the air. But as much as I enjoy collecting and caring for them, I also like to propagate them and share them with my friends and family.
Propagating houseplants is a rewarding and fun way to multiply your indoor garden without spending much money. One of the easiest and most effective propagation methods is air layering. In this article, I will show you how to propagate your houseplants by air layering and how this technique can revolutionize your indoor garden.
Propagating Houseplants by Air Layering
Welcome, fellow indoor garden lovers! Today, we are diving into a horticultural technique that can revolutionize your indoor garden: propagating houseplants by air layering. Unlike conventional propagation methods, air layering offers a unique approach that promotes faster and healthier growth of your favorite indoor plants. This article aims to provide you with an in-depth guide on how to master this innovative technique.
If you’re new to the world of indoor gardening or looking for alternative ways to propagate your plants, air layering can be a game-changer. It’s a method that might sound complex at first, but once you understand the concept, it’s surprisingly simple and rewarding. What’s more? It’s a technique you can use on many indoor plants, breathing new life into your indoor garden.
In the following sections, we’ll delve into the intricacies of air layering, including its benefits, its science, and a step-by-step guide on how to air layer houseplants. You’ll also find a list of the best indoor plants for air layering, handy tips for success, common mistakes to avoid, the necessary tools and materials, and guidance on caring for your newly propagated plants.
What is Air Layering?
Air layering is a plant propagation technique that stimulates a stem to grow new roots while still attached to the parent plant. Unlike cutting, where a section of the plant is completely removed and then rooted, air layering allows the stem to receive nourishment and hydration from the parent plant until a healthy root system has developed.
This technique has been practiced for centuries in Asia and is particularly useful for propagating large houseplants that are difficult to root from cuttings. It’s a method that entails wounding a part of the stem or branch and then enclosing the wounded area in a moist environment to stimulate root growth.
Air layering may seem daunting initially, but with patience and practice, you’ll find it invaluable in your indoor gardening arsenal. Not only does it offer a unique way to multiply your plants, but it also provides an excellent solution for rejuvenating leggy or overgrown plants.

The Benefits of Propagating Indoor Plants with Air Layering
Propagating indoor plants with air layering has numerous benefits, making it a worthwhile venture for any indoor gardener. It allows you to grow a sizeable new plant relatively quickly. Unlike other propagation methods, which often involve starting from a small cutting or seed, air layering can produce a mature plant in just a few months.
Secondly, air layering is a great way to salvage parts of your plants that have become leggy or unattractive. Instead of pruning and discarding these sections, you can turn them into new, healthy plants. This technique also comes in handy when dealing with plants that are generally difficult to propagate through cuttings or seeds.
Furthermore, air layering reduces the risk of propagation failure. The new plant continues to draw nutrients and water from the parent plant as it forms roots, increasing its chances of survival. This method is particularly beneficial for beginners or those who have previously struggled with other propagation methods.

The Science Behind Air Layering
To fully appreciate the process of air layering, it’s essential to understand the science behind it. The technique capitalizes on a plant’s natural ability to form new roots from its stem, a process known as adventitious rooting.
When you wound the stem or branch of a plant during the air layering process, you stimulate the plant’s natural response to heal itself. The plant releases hormones known as auxins to the wounded area to promote tissue repair and growth. However, in the moist and enclosed environment created by air layering, these hormones instead trigger the formation of new roots.
Moreover, because the stem remains attached to the parent plant, it continues to photosynthesize and transport nutrients and water to the wounded area, further boosting the root development process. This entirely natural process is what makes air layering a highly effective propagation method.
Step-by-Step Guide on How to Air Layer Houseplants
Now that we have a grasp of what air layering is and the science behind it, let’s dive into a practical step-by-step guide on how to air layer houseplants.
- Select a healthy branch or stem – Choose a stem that is mature, but still relatively young and vigorous. The selected stem should be at least a quarter-inch in diameter and long enough that you can easily work with it.
- Wound the stem – With a sharp knife, make an upward 1-2 inch cut about one-third of the way into the stem.
- Apply rooting hormone – Though not always necessary, applying a rooting hormone to the wound can speed up the root formation process.
- Prepare the air layering medium – Mix equal parts of sphagnum moss and perlite. Moisten the mixture, then squeeze out the excess water. Moist sphagnum moss retains a substantial amount of water, helping to create the right environment to grow a new root system. Just remember that you want damp sphagnum moss, not overly wet.
- Wrap the wound with the medium – Surround the wounded part of the stem with the moist moss-perlite mixture.
- Cover with plastic wrap – Wrap the moss-covered stem with a plastic rooting ball, securing it above and below the wound with twist ties or tape.
- Wait for root development – Over several weeks, roots will begin to form. Once a healthy root system is visible through the plastic, the new plant is ready to be separated from the parent plant.
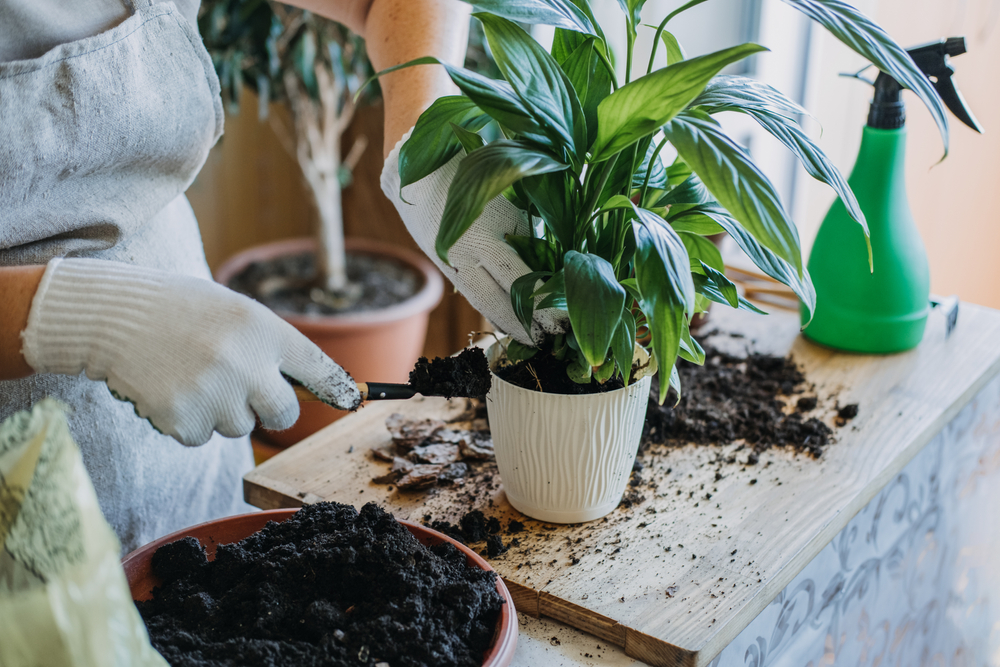
- Plant your new houseplant – Cut the newly rooted stem from the parent plant and plant it in a pot with quality potting mix. Water thoroughly and place in a location with bright, indirect light.
Best Indoor Plants for Air Layering
While air layering is a versatile method that can be used with many types of plants, some indoor plants are particularly well-suited to this form of propagation. These include:
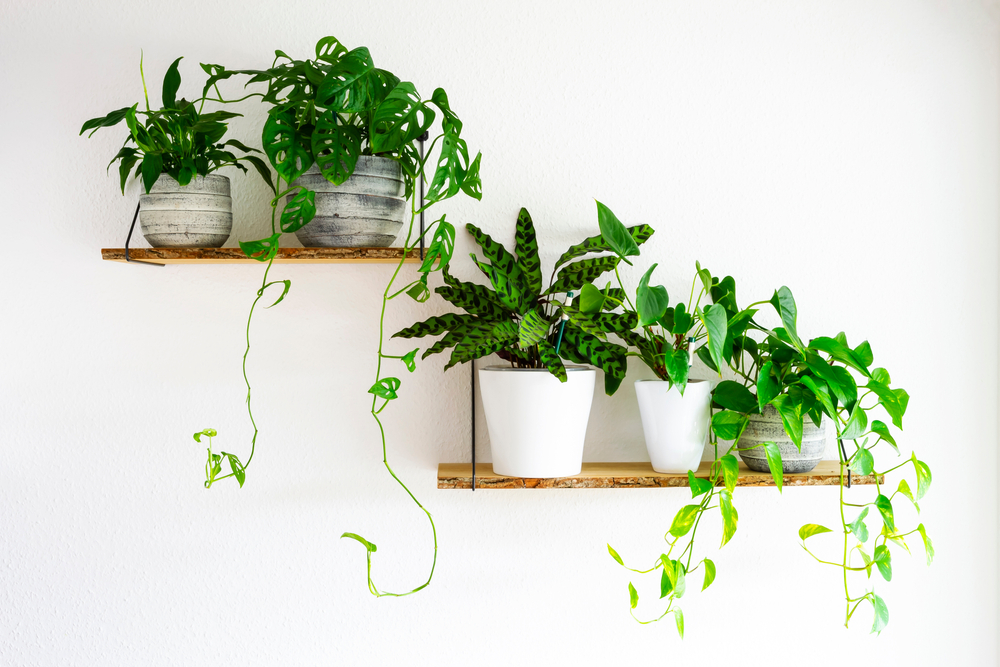
- Rubber Plants (Ficus elastic) – Known for their glossy, dark green leaves and robust growth, rubber plants respond exceptionally well to air layering. One rubber plant can become several very quickly. You can share the extras with your friends!
- Dumb Cane (Dieffenbachia) – This popular houseplant, recognized by its variegated, tropical foliage, can be easily propagated by air layering. I find it’s quite quick to produce roots.
- Philodendrons – There are numerous types of Philodendrons, most of which can be successfully propagated by air layering. We have found that the roots form more slowly on our philodendrons, but they grow a good root system over time.
- Monstera Deliciosa – With its iconic split leaves, the Swiss cheese plant is another excellent candidate for air layering. Our Swiss cheese plants grow a strong new root system quite easily. It’s easy to create many plants from a single parent plant.
- Fiddle Leaf Fig (Ficus lyrata) – Though it can be a bit tricky to propagate, the fiddle leaf can yield good results with air layering.
Tips for Successful Propagation by Air Layering
As with any gardening technique, there are tips and tricks to make the air layering process more successful.
First, please make sure the mother plant is healthy and pest-free before you begin. A weak or diseased plant may not have the energy resources necessary to support the formation of new roots.
Secondly, I would like you to be patient. Root formation can take a few weeks to several months, depending on the plant species and the environmental conditions. Resist the urge to unwrap the plastic too soon to check on the roots; this can disturb the root development process.
Lastly, please keep the air layering medium moist at all times. The enclosed environment should provide sufficient humidity to prevent the moss from drying out. But if you notice the sphagnum moss looking dry, you can carefully add more water.
Common Mistakes to Avoid When Air Layering Indoor Plants
While air layering is a relatively straightforward process, there are a few common mistakes to watch out for.
One common mistake is not making a deep enough cut on the stem. The wound must be significant enough to trigger the plant’s healing and root formation response.
Another mistake is not keeping the air layering medium moist. The humidity within the enclosed environment is crucial for root formation, so if the moss dries out, the process may fail.
Lastly, be careful not to detach the new plant from the parent plant too soon. It’s important to wait until a robust root system has developed, which can take several weeks or even months.
Tools and Materials Needed for Air Layering
To start air layering, you’ll need a few essential tools and materials. These include:
- A sharp knife or pruning shears to make the wound
- Clear plastic wrap to enclose the wounded stem
- Sphagnum moss and perlite for the air layering medium
- Rooting hormone to encourage root formation (optional)
- Twist ties or tape to secure the plastic wrap
Taking Care of Your Newly Propagated Plants
Once you’ve separated your newly rooted plant from the parent plant, providing it with the proper care is essential to ensure it continues to thrive.
Place the new plant in a location with bright, indirect light and water it thoroughly. For the first few weeks, keep the soil consistently moist but not waterlogged.
Also, use a high-quality potting mix that promotes good drainage. This will help prevent root rot and other moisture-related issues.
Ready to Try Air Layering Plants for Your Home?
Propagating houseplants by air layering is a fascinating and rewarding process that allows you to multiply your indoor garden and breathe new life into leggy or overgrown plants. With patience, practice, and the proper care, you can create vibrant, healthy new plants that bring joy and beauty to your indoor spaces.
So, why not give air layering a try? Remember, every new gardening technique you learn expands your skills and deepens the connection between you and your indoor garden. Happy gardening!
FAQs
What Is Air Layering?
Air layering is a super easy and natural way to make new plants from the ones you already have. It’s like giving your houseplant a new buddy! You wrap a stem in moss and a plastic bag, and after some weeks, roots start to grow. Then, voila, you have a new plant to pot!
Which Houseplants Can I Propagate Using This Method?
Great question! A lot of houseplants can be propagated this way, like rubber plants, monsteras, and dracaenas. If you’re unsure, give it a try! Or, feel free to reach out, and we can help figure out if your specific plant is a good candidate for air layering.
How Long Does It Take to See Roots?
Patience is key, my friend! Generally, it takes a few weeks to a couple of months to see those little roots popping out. It depends on the type of plant and the conditions in your home, like temperature and humidity. But trust us, it’s worth the wait!
Learn More About Propagating Houseplants!
Discover the various ways of propagating houseplants! Join us on Facebook, Instagram, and Twitter for beautiful photos, plant care tips, and a community that celebrates the joy of indoor gardening.
Facebook: https://www.facebook.com/houseplantjoyblog
Instagram: http://instagram.com/houseplantjoy20
Twitter: https://twitter.com/HouseplantJoy
Let’s nurture our green spaces together!
