HousePlantJoy is supported by our audience. When you purchase through one of our links, we may earn a small affiliate commission. As an Amazon Associate I earn from qualifying purchases. Your cost is not affected.
==================
Repotting a spider plant might seem daunting, but it’s a straightforward and rewarding process. Whether you’re a seasoned plant enthusiast or just starting, giving your spider plant a new home can help it thrive and grow even more beautifully. In this guide, we’ll walk you through everything you need to know about how to repot a spider plant, from recognizing the signs that it’s time for a new pot to the step-by-step process of moving your plant. Let’s start giving your spider plant the fresh start it deserves!\
Mastering Spider Plant Repotting: A Complete Guide
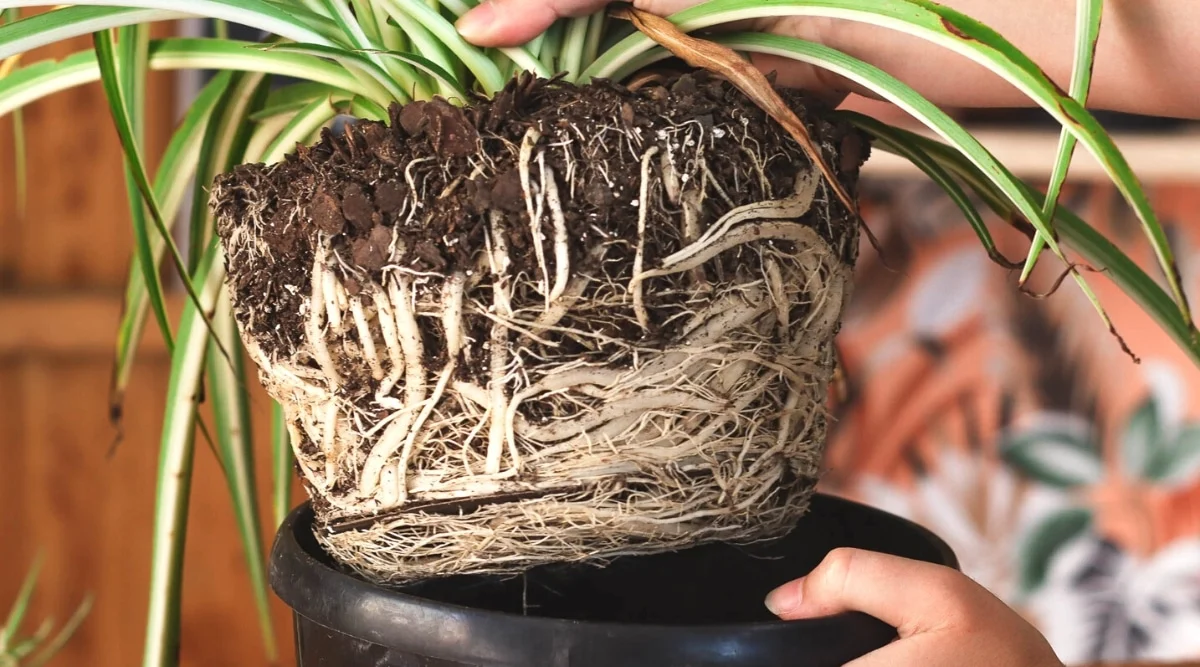
Photo by: Epic Gardening
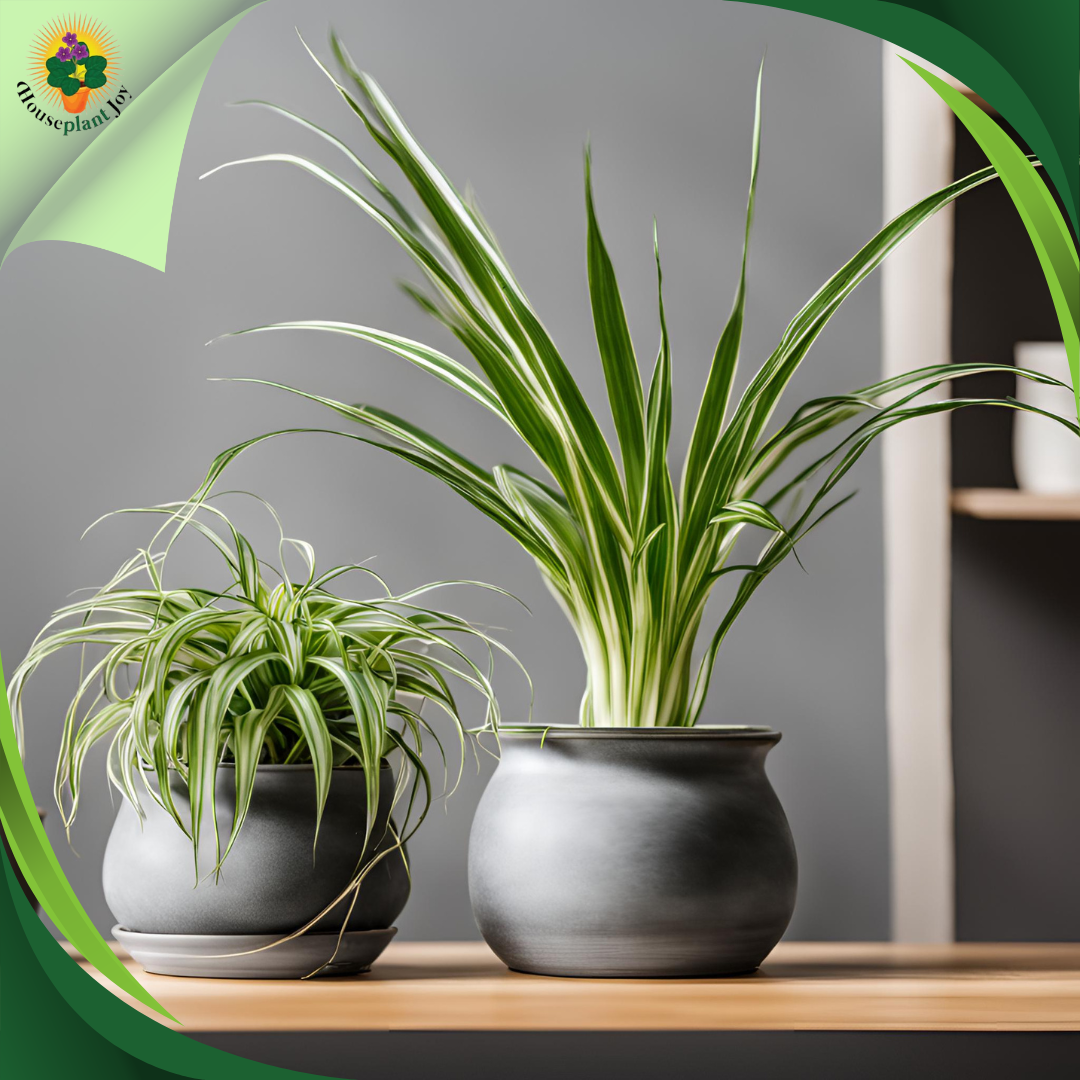
Spider plants, known as Chlorophytum comosum, are a favorite among indoor gardening enthusiasts. With their lush green leaves gracefully trailing down, they’re like a little piece of nature’s artwork in our homes. And the best part? They’re a breeze to take care of, which is why so many plant lovers adore them.
Even though spider plants are pretty low-key when it comes to maintenance, they do appreciate a change of scenery now and then. That’s where repotting comes in. In this blog, we’re diving into the ins and outs of when and how to give your spider plant a new home, ensuring it keeps thriving in all its glory.
By the end of this blog, you’ll be armed with all the know-how to repot your spider plant like a seasoned pro, ensuring it continues to be the star of your indoor jungle. Let’s get started on nurturing our green companions!
Key Highlights
- Knowing when your spider plant needs repotting is crucial. Look for visible roots or see if their growth slows down. Choosing the perfect time to repot your spider plant is key to its well-being. It’s smartest to do so when the weather is warmer.
- Repotting your spider plant might seem intimidating, but it’s a straightforward process with the right approach. This includes safely removing your plant and essential aftercare following repotting.
- Repotting a spider plant can sometimes pose challenges that affect the plant’s health, from root shock to transplant shock. Understanding and addressing these common challenges can help your spider plant overcome potential setbacks.
- After repotting your spider plant, it’s crucial to continue giving it the proper care to ensure its long-term health and growth, from monitoring watering needs to knowing when to resume fertilization.
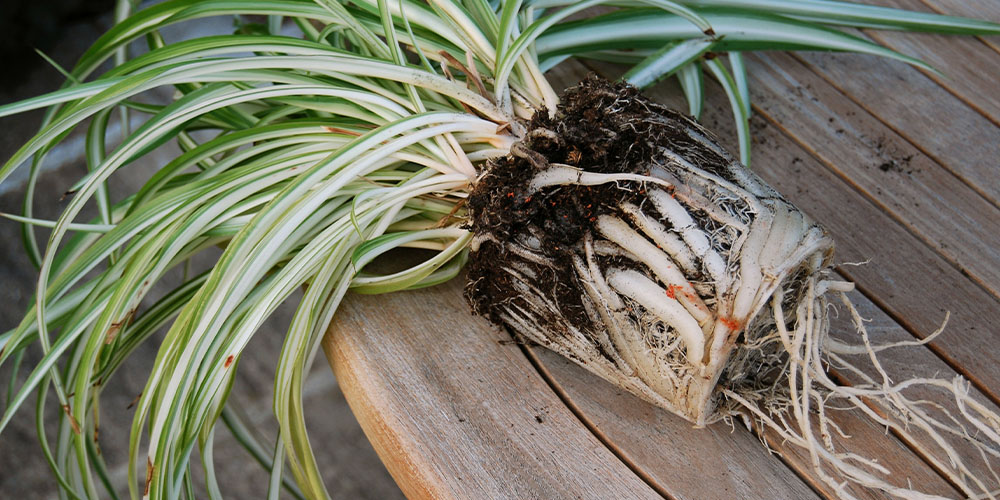
Visible Roots: A Sign It’s Time
If you observe roots emerging from the drainage holes or wrapping around the bottom of the pot, it’s a sure sign that your spider plant needs repotting. This means it has outgrown its current container and needs more space for its roots.
When the roots become crowded and tangled, they can hinder the plant’s ability to absorb water and nutrients efficiently, resulting in stunted growth and poor health.
Slowed Growth: Another Indicator
Another indicator that your spider plant needs repotting is when its growth slows down. If you notice that your plant has stopped producing new shoots or its growth has significantly decreased, it could be due to root constriction or root rot caused by overwatering or inadequate soil drainage.
When the roots become constricted, or the soil compacts, the plant’s ability to absorb water and nutrients is compromised. This leads to slowed growth and overall poor health. Additionally, over time, old soil can deplete nutrients, further hindering the plant’s growth.
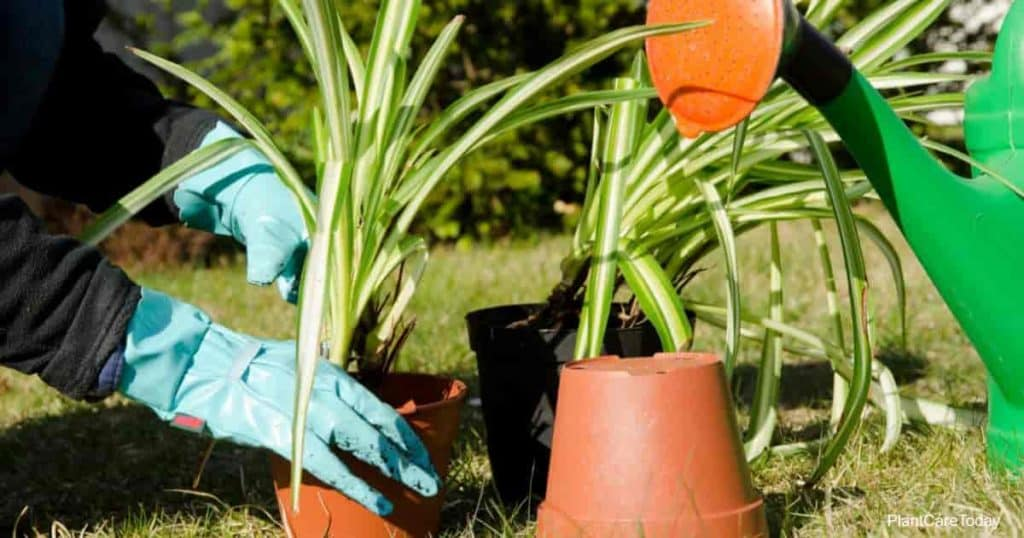
Choosing the Right Time to Repot Your Plant
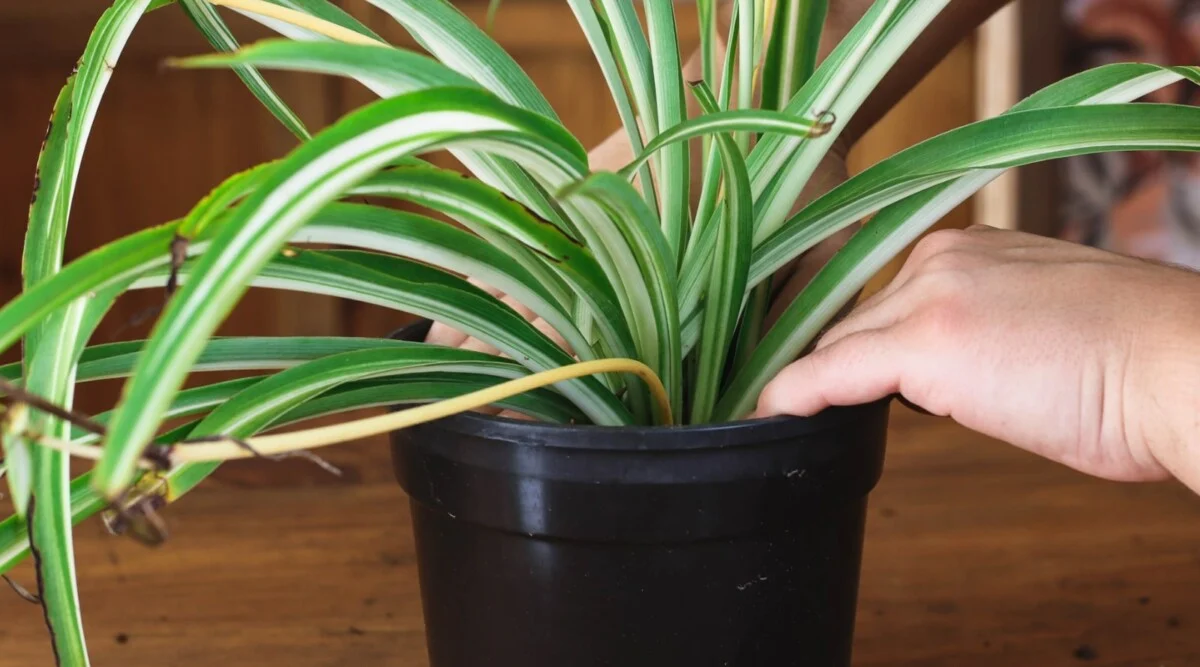
Photo by: Epic Gardening
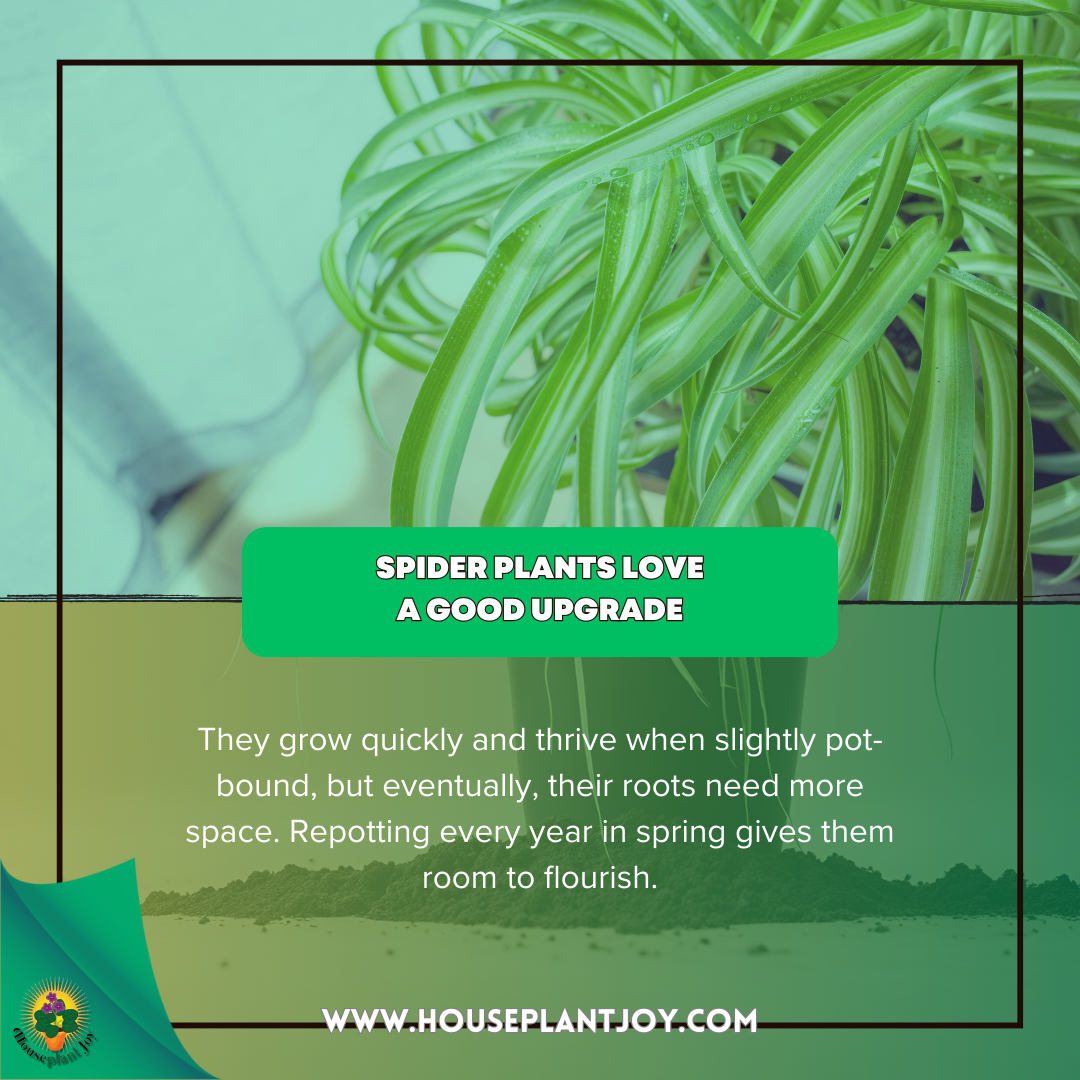
Choosing the perfect time to repot your spider plant is key to its well-being. Although you can repot it any time, it’s smartest to do so when the weather’s warmer, typically in spring and summer.
Why? Well, during these seasons, your spider plant is in full swing, experiencing its growth spurt. That means its roots are bustling with activity, eagerly reaching out for fresh soil and more room to stretch. Repotting now sets it up for success, letting it seamlessly adapt to its new home without any growth interruptions.
On the flip side, it’s best to avoid repotting during winter when your plant hits snooze mode. Repotting then could stress it out, slowing down its recovery and halting its growth. So, give your spider plant the seasonal love it needs and watch it flourish!
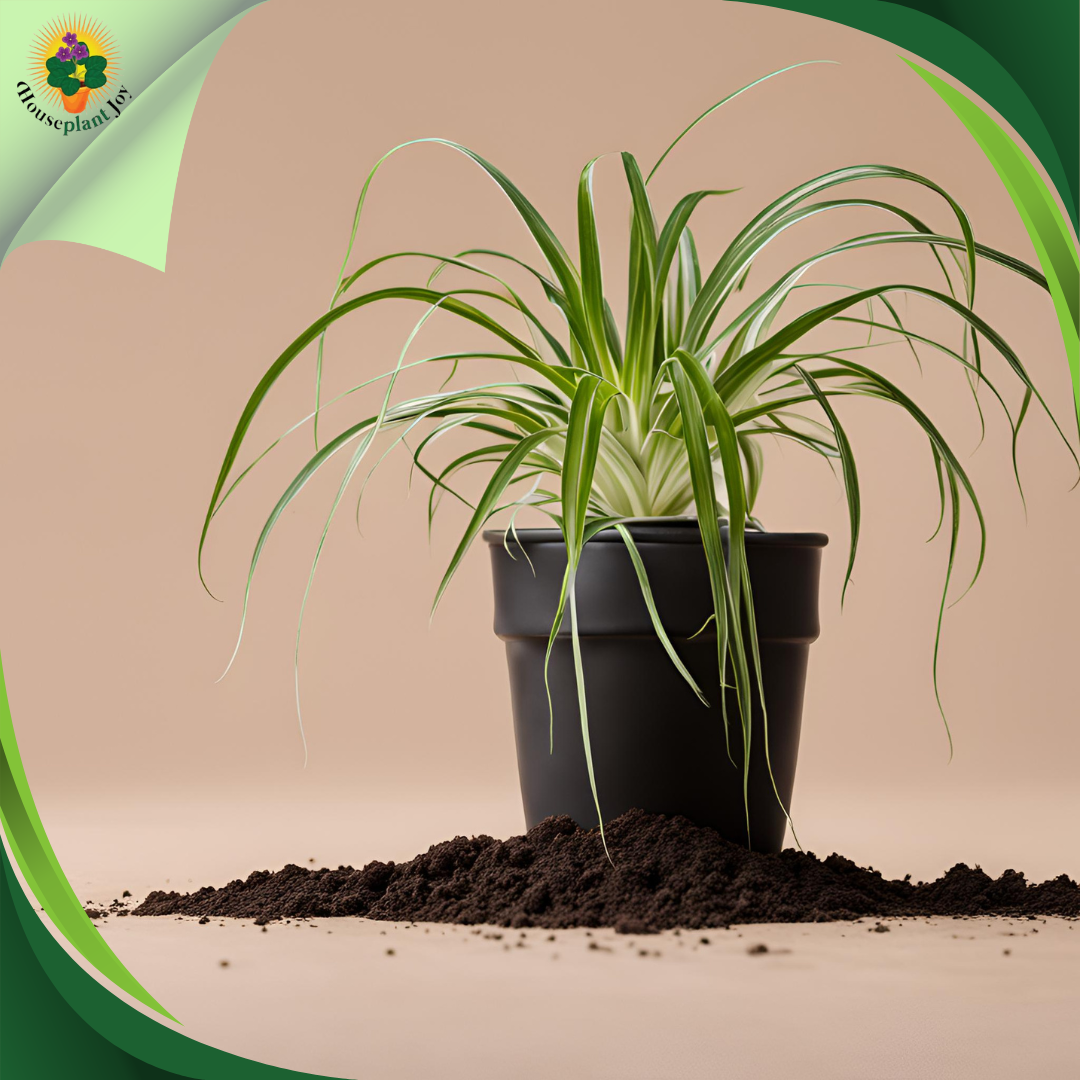
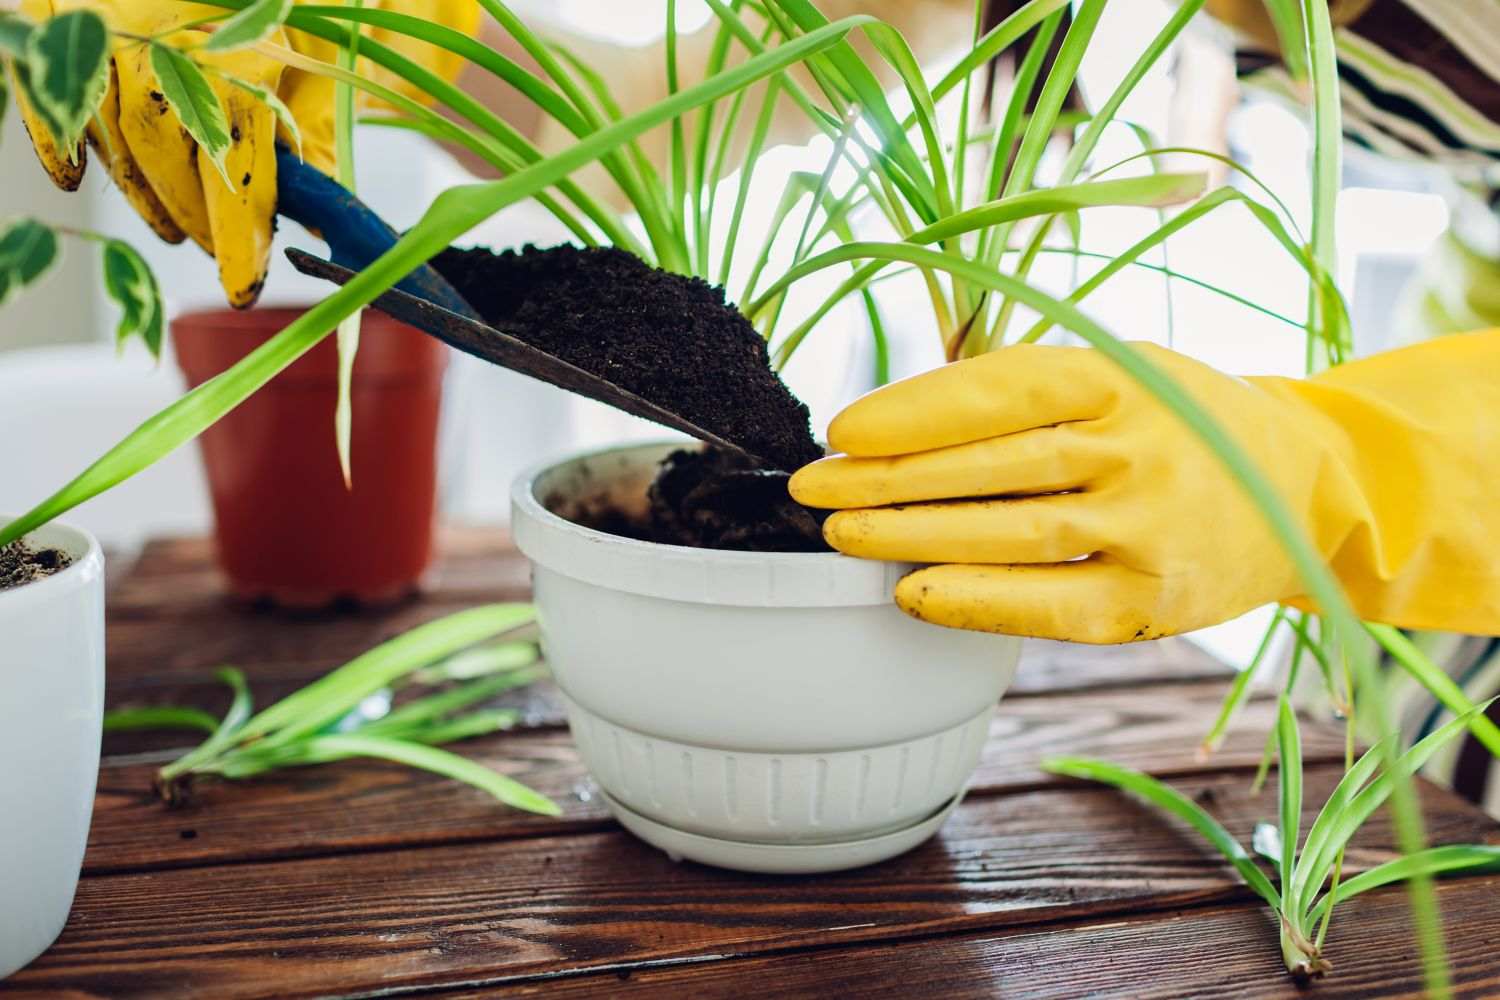
Preparing Your Spider Plant for Repotting: Essential Steps
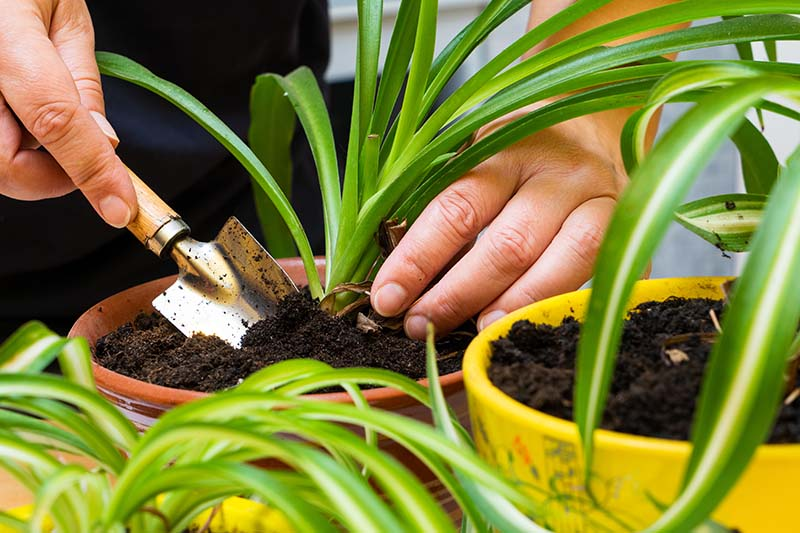
Photo by: Gardener’s Path
Before repotting your spider plant, gather all the necessary tools and materials and prepare the right soil and pot. This will set you up for a successful repotting process and ensure your spider plant stays healthy and happy in its new home.
Gathering Necessary Tools and Materials
Here’s what you’ll need:
Potting Mix: Opt for a well-draining potting mix specially designed for houseplants. This mix should provide excellent aeration and retain moisture to support healthy root development.
Plastic Pots: Choose plastic pots with adequate drainage holes. Plastic pots are lightweight and durable, perfect for indoor plants like spider plants.
Tools: Basic gardening tools like a trowel or garden fork will be useful during repotting. These tools make handling the plant and soil easier, ensuring a seamless transition.
By gathering these essential tools and materials, you’ll be well-prepared to repot your spider plant and create a healthy environment for its growth.
Choosing the Right Soil Mix
The soil must offer good drainage, aeration, and moisture retention to ensure the plant’s roots have the best conditions to thrive.
Here are some key ingredients to consider when choosing a soil mix for your spider plant:
- Peat Moss or Coco Coir: It can retain moisture in the soil without waterlogging, creating a balanced environment for the plant’s roots.
- Perlite or Horticultural Sand: These materials improve drainage and aeration in the soil, which helps prevent compaction and ensures the roots can access oxygen.
- Compost or Worm Castings: These organic materials provide essential nutrients for the plant’s growth and overall health.
By selecting the appropriate soil mix, you can create an environment that fosters healthy root growth and supports the overall vitality of your spider plant.
Selecting a New Pot
Here are some things to keep in mind when picking a new home for your plant:
- Size: Select a new home for your plant that is larger than the current one. This will provide ample space for the plant’s roots to grow without the risk of waterlogging or root rot.
- Good Drainage: Make sure it has drainage holes. Proper drainage is essential for your spider plant’s health.
- Material: Plastic and terracotta pots are both great options. Plastic pots are lightweight and durable, while terracotta pots provide good breathability and help regulate soil moisture.
Choosing a pot that gives your spider plant room to grow, ensures good drainage, and is made from a suitable material creates an ideal environment for its ongoing health and development.
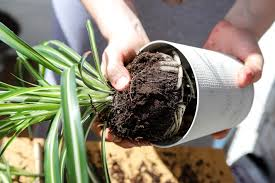
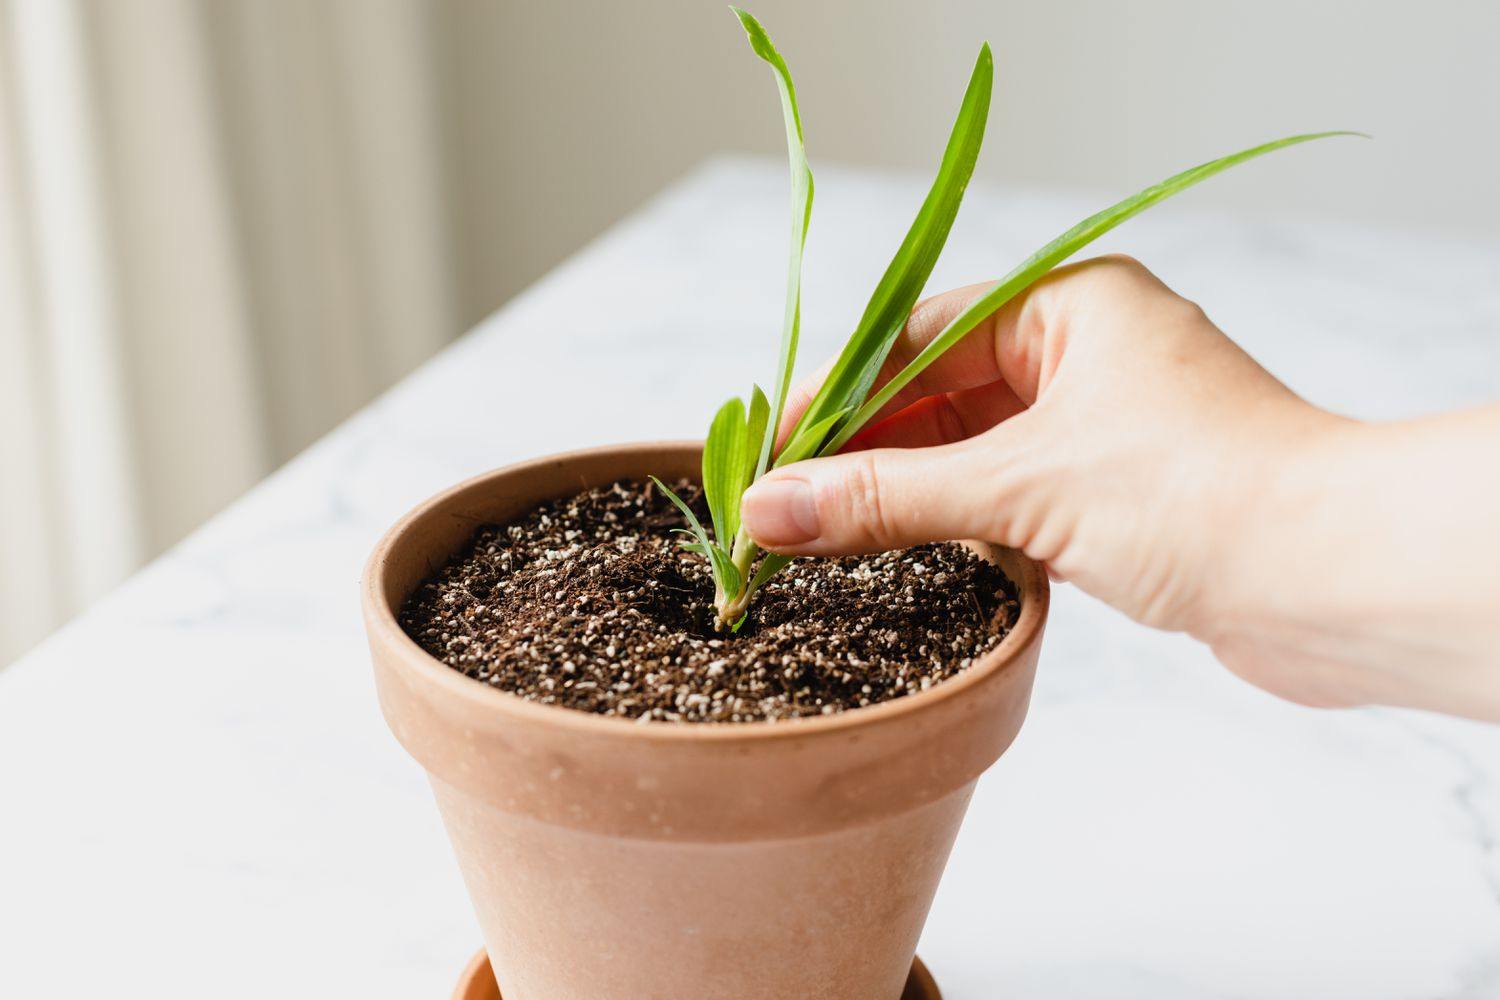
- Removing Your Plant Safely: Carefully remove your spider plant from its current container, ensuring it does not harm the roots or foliage.
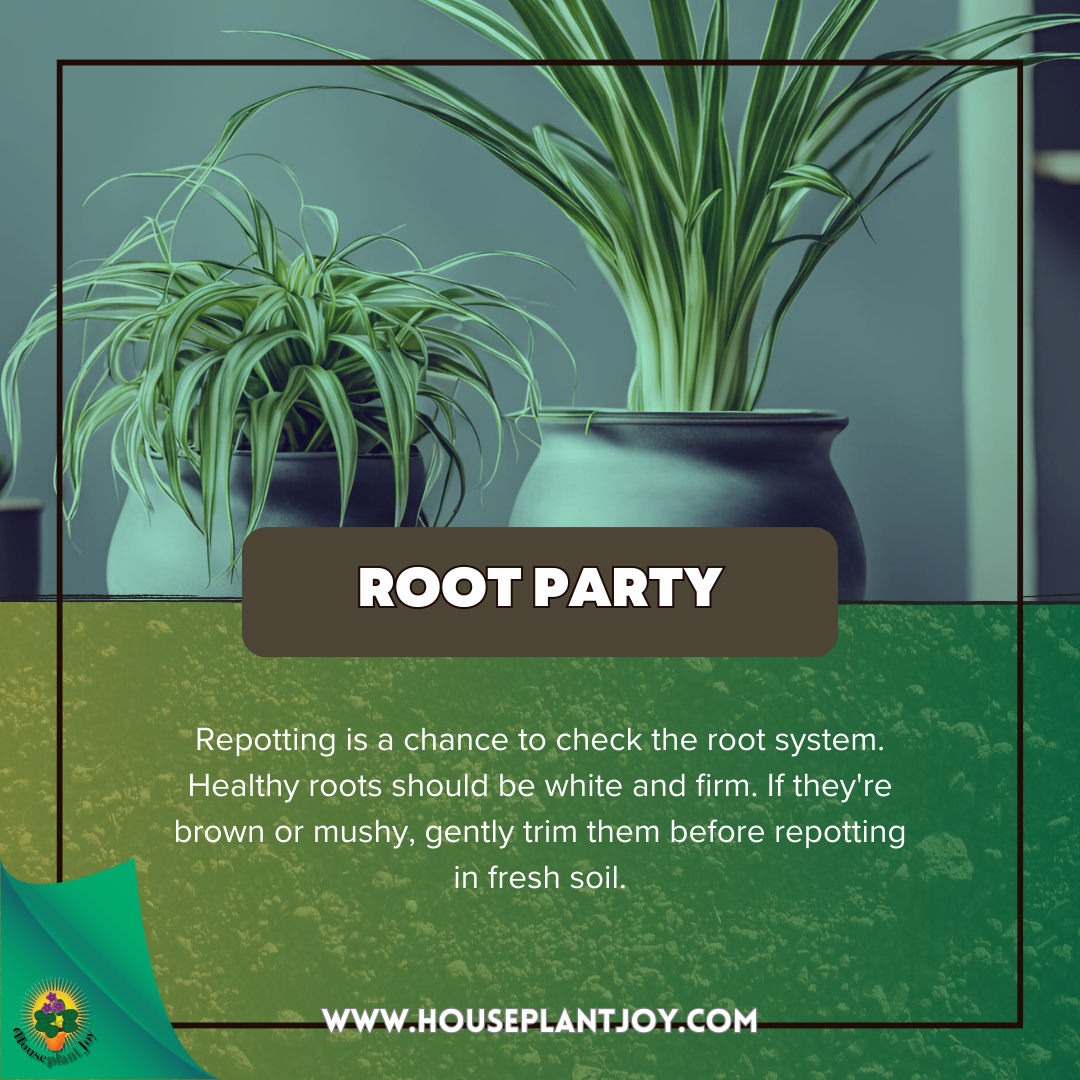
- Inspecting and Pruning the Roots: Check the roots for damage or overcrowding (Trim it away!).
- Transplanting into the New Pot: Place your spider plant in its new home, ensuring it sits at the same level. Fill around the plant with fresh soil, lightly pressing to remove air pockets.
- Root Shock: When the plant’s roots are disturbed during repotting, it may experience root shock. This can lead to temporary wilting or drooping. With proper care, the plant will usually recover.
- Watering Adjustments: After repotting, the plant’s watering needs may change. Adjust the frequency and amount of water based on the moisture requirements of the new soil and how the plant responds.
- Monitoring Watering Needs: Monitor soil moisture and adjust your watering routine accordingly. Spider plants like their soil slightly moist.
- Adjusting to New Light Conditions: Place your spider plant in a spot with suitable light conditions. They thrive in bright, indirect light.
- When to Resume Fertilization: Give your spider plant 4-6 weeks to settle into its new pot before starting to fertilize again. This allows the plant to recover from any stress caused by repotting.
- Overpotting: Opting for a pot that’s too large can result in excess moisture and compromise root health.
- Neglecting Root Health: When repotting, avoid damaging the plant’s roots. Handle the roots gently and avoid unnecessary pruning.
- Incorrect Soil Composition: Ensure your soil mix has good drainage and aeration. Avoid overly dense soil or mixes lacking in nutrients. A well-balanced potting mix designed for spider plants is ideal.
Maximizing Growth: Repotting Your Spider Plant
Repotting your spider plant doesn’t have to be intimidating. With the right approach and knowledge, it becomes a straightforward and rewarding process. Whether you’re a seasoned plant enthusiast or just starting, giving your spider plant a new home can help it thrive and grow even more beautifully.
Watch for signs like visible roots or slowed growth to determine when it’s time to repot. Once it’s time, choose the right season, soil mix, and pot size for optimal results. Following a careful step-by-step guide, including safe root inspection and transplanting, ensures your spider plant transitions smoothly.
Proper aftercare is key. Monitor watering, light exposure, and fertilization to support long-term plant vitality. Avoid common mistakes such as overpotting or neglecting root health—they can greatly affect your plant’s well-being.
By understanding the repotting process, you can provide your spider plant with the best environment for flourishing. With this knowledge and the right tools, give your spider plant the fresh start it deserves. Happy gardening!
How Often Should Spider Plants Be Repotted?
Can You Repot a Spider Plant in Winter?
Is It Normal for Leaves to Droop After Repotting?
Why Should You Join Us?
Get insider secrets: Unearth the best-kept tips to keep your plants thriving and blooming like never before.
Expert Advice: Gain access to our team on Facebook, Twitter, and other social media channels, and meet our gardening experts eager to help you on your plant journey.
Engage With Like-Minded Souls: Connect with fellow plant lovers, exchange stories, and build a supportive community. Join us today! Follow Houseplant Joy on Facebook, Instagram, and Twitter for daily inspiration and a blooming good time! #HouseplantJoy #GreenThumbsUnite #HouseplantLove
