HousePlantJoy is supported by our audience. When you purchase through one of our links, we may earn a small affiliate commission. As an Amazon Associate I earn from qualifying purchases. Your cost is not affected.
==================
Starting with a grafted cactus was more challenging than I anticipated. At first, I was captivated by their vibrant colors and unique shapes, thinking they’d be a cool, easy addition to my plant collection. However, I quickly learned that these plants required more specific care than I thought.
I made my fair share of mistakes along the way, but I learned something new about grafting cactus and these fascinating plants with each one. This experience inspired me to share what I’ve learned with others who might be interested in grafted cacti but still need to figure out where to start.
That’s why I put together this guide based on my own trials and errors. It offers straightforward advice and tips to help fellow beginners avoid common pitfalls and enjoy the rewarding experience of growing grafted cacti. It’s meant to simplify the process, making it more accessible and enjoyable for everyone.
Grafted Cactus 101: A Beginner’s Guide to Cultivating Your Unique Succulent
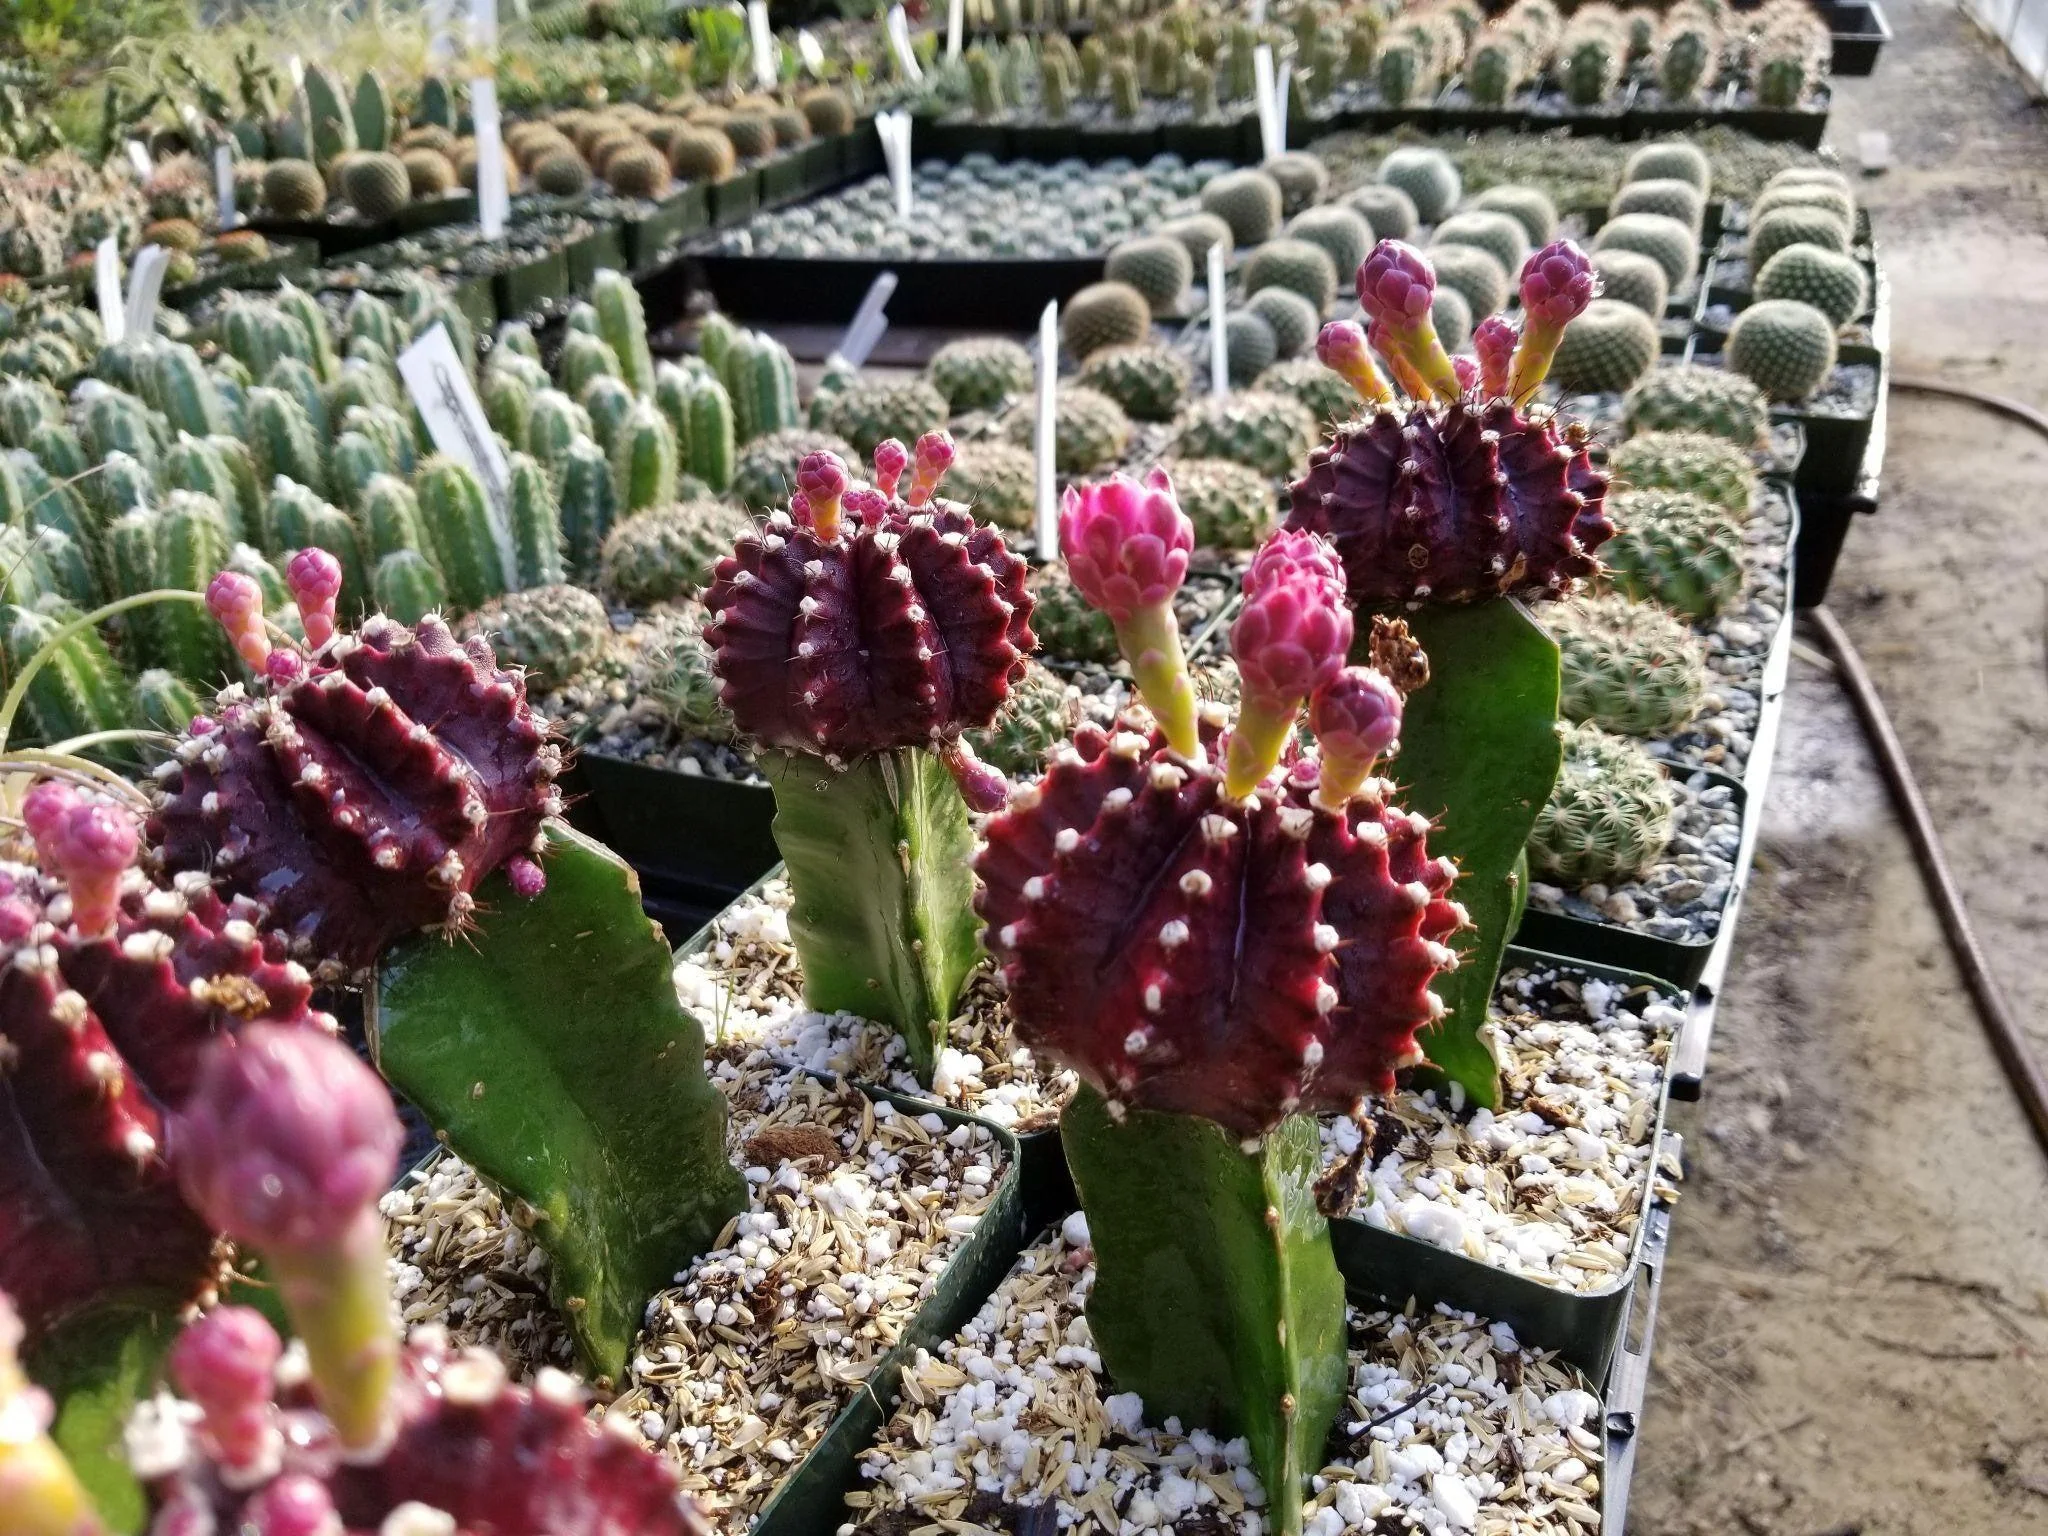
Photo by: Planet Desert
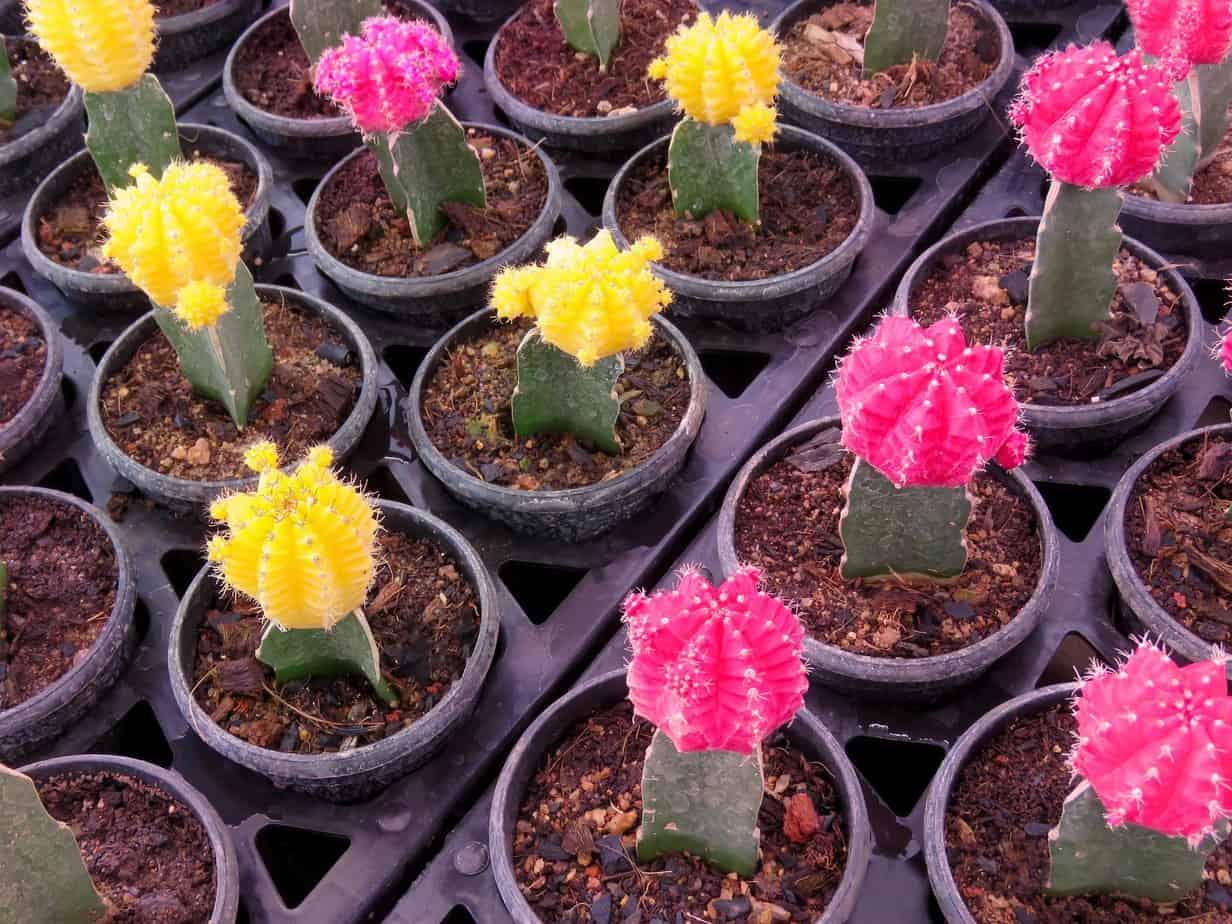
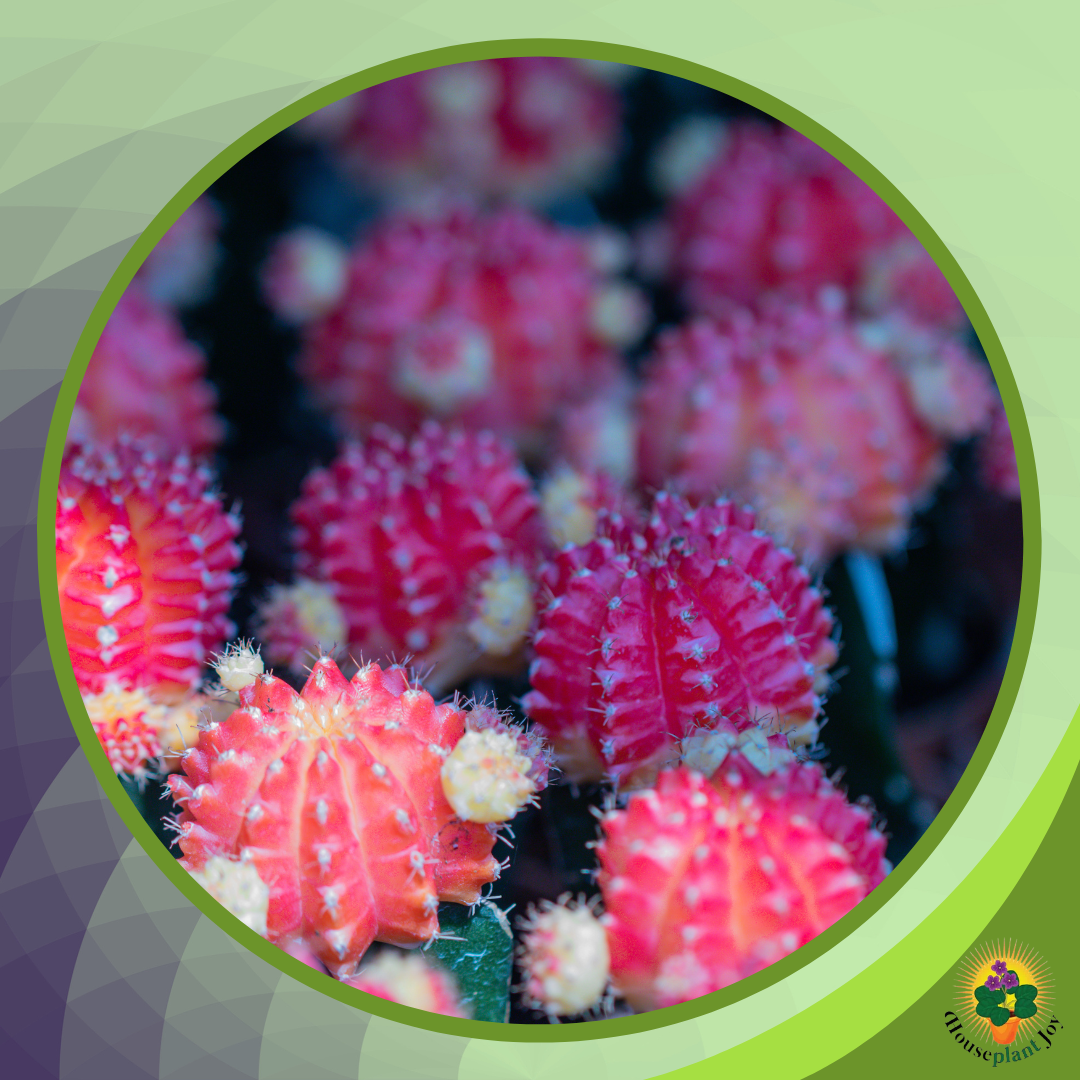
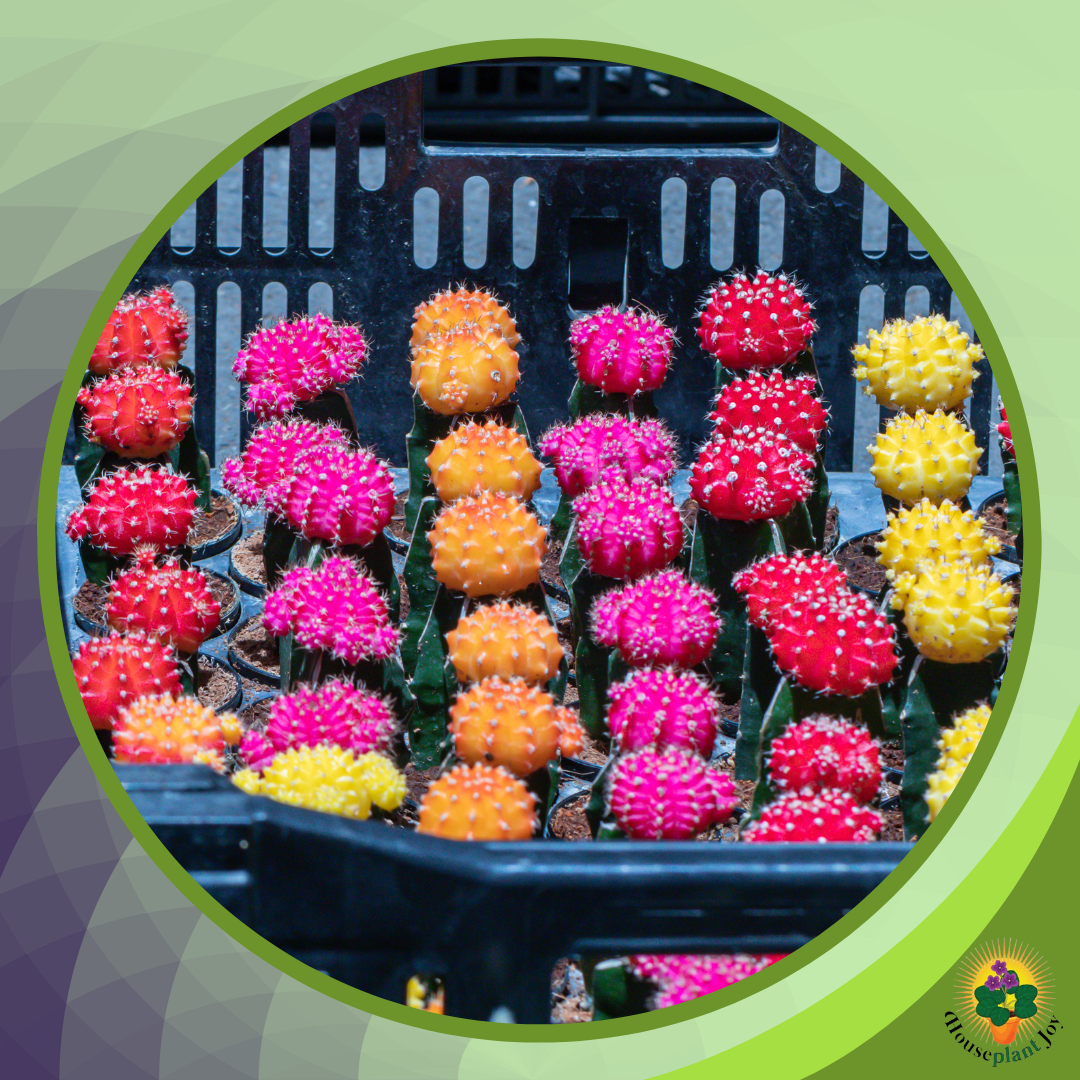
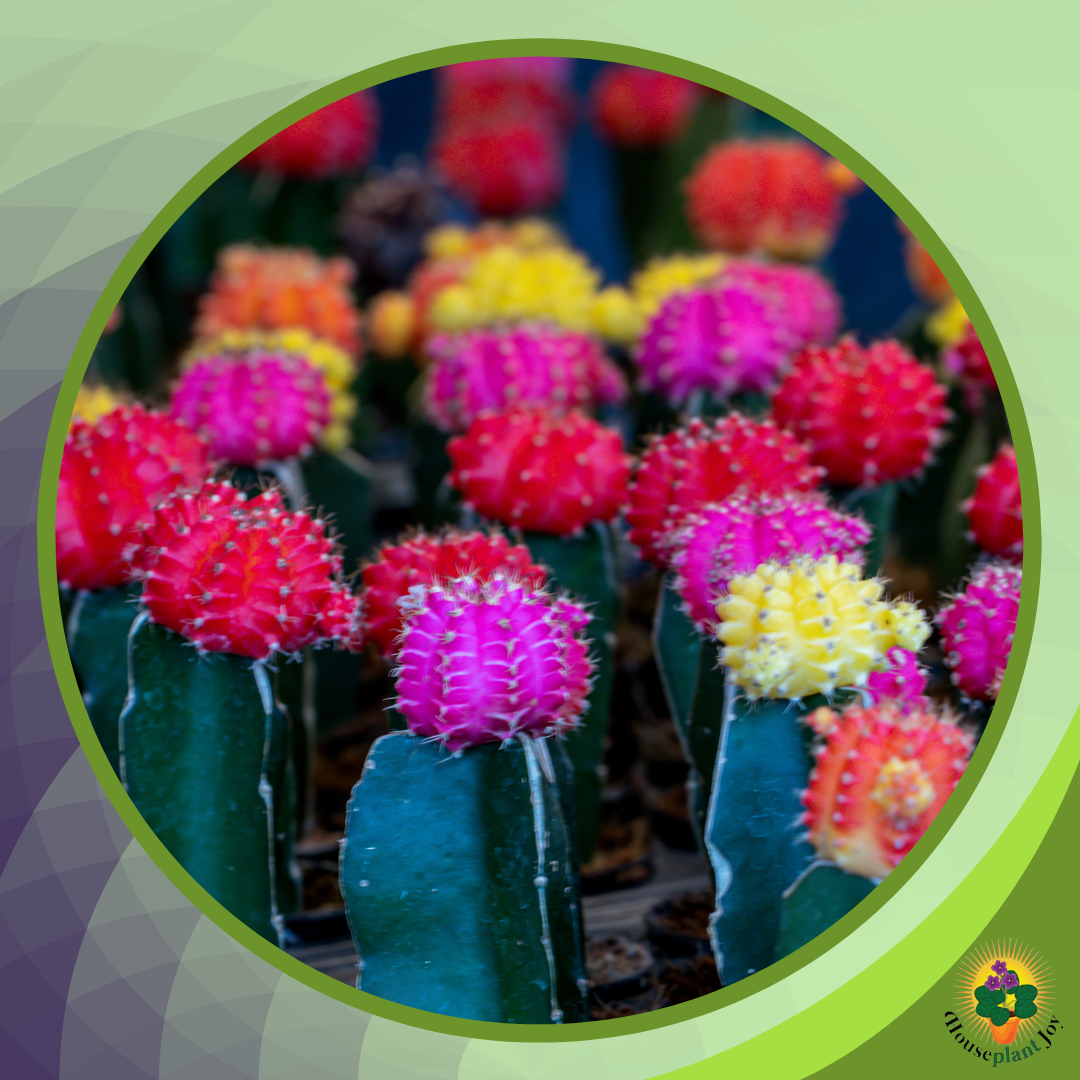
In recent years, grafted cacti have surged in popularity owing to their distinctive aesthetics and capacity to produce visually captivating flora. They are special plants that brighten your home with unique colors and shapes. They’re made by joining two different cacti together. The top part is colorful and catches your eye, while the bottom part keeps the plant healthy and strong. People love these cacti because they’re small, look interesting, and come in many colors and patterns.
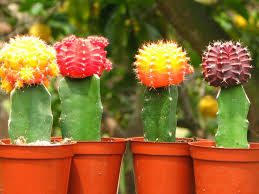
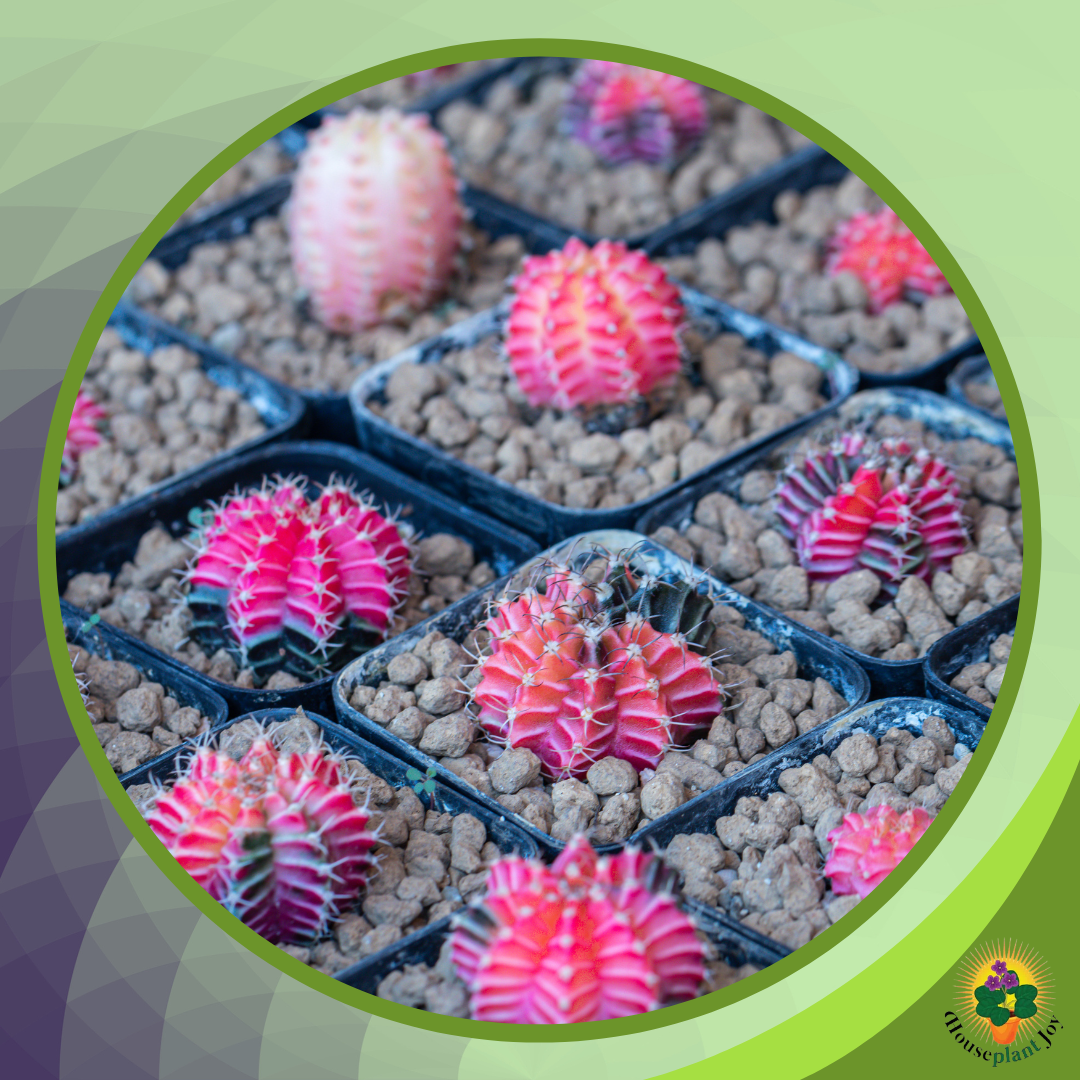
By grafting or joining different cacti, we can create plants that look different from any you’d find naturally. These cacti can be red, yellow, pink, green, and more, adding a splash of color to your home or garden.
Grafted cacti are also easy to take care of. They don’t need much water and can grow well in many places, making them great for plant lovers. These cacti can make your space more beautiful with just a little care.
Key Highlights
- Grafted Cacti Appeal: Discover the allure of grafted cacti, offering visually stunning plants with unique colors and shapes that brighten any space.
- Botanical Partnerships: Explore the process of cactus grafting, where two cacti come together to form a partnership, one providing vibrant colors and the other ensuring strength and health.
- Multi-faceted Benefits: Uncover the myriad benefits of cactus grafting, from accelerating growth and rescuing weak plants to propagating rare species and enhancing flower production.
- Preparation and Troubleshooting: Learn the essentials of preparing for your first cactus graft, including gathering tools and materials, selecting compatible species, and troubleshooting common issues for successful grafting.
- Creative Display: Get inspired to incorporate grafted cacti into your garden with creative display ideas, such as mixing colors and textures, using hanging terrariums, quirky containers, or vertical gardens to showcase their beauty and charm.
The Basics of Cactus Grafting
Photo by: Crazy Plants Crazy Critters
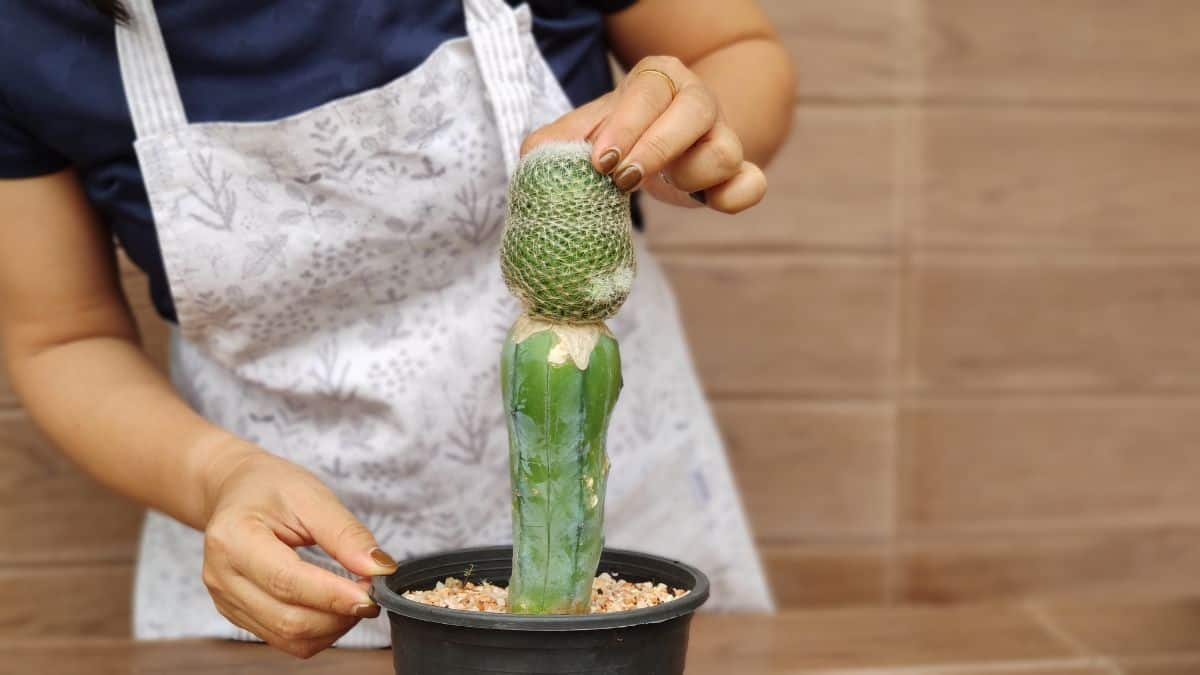
Cactus grafting is like creating a plant team where two different cacti work together. Usually, we take a colorful cactus called gymnocalycium mihanovichii, which can’t make its food because it lacks green pigment, chlorophyll. This cactus becomes the top part or scion. Then, we pick a green, strong cactus called myrtillocactus geometrizans for the bottom part, known as the rootstock. This green cactus is good at making food through photosynthesis and shares its nutrients with the top part.
By joining these two types, the colorful cactus gets to live and show off its bright colors, thanks to the green cactus’s help. This way, cactus lovers can mix and match different species to create new, eye-catching plants with various colors and designs. It’s a neat trick to have a special, colorful cactus collection!
Reasons Behind Grafting Cacti
Photo by: Plantly
Grafting cacti is d one for several reasons, including:
- Speed up Growth: Grafting can accelerate the growth rate of slower-growing cactus species. By grafting a slow-growing species onto a faster-growing stock, you leverage the rootstock’s vigorous growth, significantly reducing the time it takes for the grafted cactus to mature.
- Rescue Weak or Diseased Plants: If a cactus struggles due to a weak root system or disease, grafting it onto a healthy rootstock can save the plant. The stronger root system of the rootstock provides better nutrient uptake and stability, giving the grafted cactus a new lease on life.
- Propagate Difficult-to-Root Species: Some cactus species are challenging to propagate from cuttings because they take a long time to root or fail. Grafting such species onto a robust rootstock can be an effective propagation method, allowing you to increase your collection or conserve rare species.
- Create Unique Aesthetic Combinations: Grafting allows you to create unusual and striking cactus combinations that would not occur naturally. For a visually appealing plant, you can graft colorful cactus species onto contrasting rootstocks. These grafted cacti often become centerpieces in collections due to their unique appearance.
- Study and Conservation: In research and conservation efforts, grafting can be a valuable tool. It allows botanists and conservationists to study how different species interact and can help preserve rare or endangered cactus species by ensuring their survival through grafting onto more vigorous rootstocks.
Preparing for Your First Cactus Graft
Photo by: World of Succulents
Before attempting your first cactus graft, preparing and gathering the necessary tools and materials is important. Here are a few key preparations to consider:
Essential Tools and Materials Needed
So, when you’re getting ready to graft a cactus, you’ll want to have a few key tools and materials on hand. Here’s what you’ll need:
- Sharp Knife: Your knife must be razor-sharp and sterile. Consider using a grafting knife or a scalpel. Sterilize it with alcohol or flame before use.
- Rubber Bands or Grafting Tape: These will secure the scion to the rootstock in a way that assures the vascular cambium. Choose sizes appropriate for the diameter of your cacti.
- Pot with Drainage Holes: Ensuring good drainage is non-negotiable for the health of your graft. Select a size that accommodates the rootstock without crowding.
- Cactus Soil: Opt for a well-draining cactus mix or create your blend with perlite, sand, and potting soil to ensure proper moisture management.
- Cactus Fertilizer: A specialized cactus fertilizer will support the growth of your graft. Use as directed, typically during the active growing season.
Selecting Your Rootstock and Scion
When selecting the rootstock and scion for your cactus graft, choosing compatible species that will graft well together is important. Here are a few popular options:
- Top Cactus: The top cactus, or scion, is the grafted cactus’s colorful and visually striking part. Popular options for the top cactus include the gymnocalycium mihanovichii, which comes in various vibrant colors.
- Peruvian Apple Cactus: The Peruvian apple cactus, also known as cereus peruvianus, is a common choice for the rootstock. It provides a sturdy base and can support the growth of the scion.
- Columnar Cactus: Columnar cacti, such as the myrtillocactus geometrizans, are often used as rootstocks due to their strong and upright growth habit. They provide stability and support for the scion.
Step-by-Step Guide to Cactus Grafting
Photo by: Sublime Succulents
Step 1: Preparing the Rootstock and Scion
Before proceeding with the cactus grafting process, you must adequately prepare the rootstock and scion. The rootstock, usually a sturdy and established cactus plant, serves as the base for the graft.
The scion, the desired top cactus variety you wish to propagate, should have a fresh cut at the bottom for optimal adhesion. Ensuring the rootstock and scion are healthy and free from pests or diseases is crucial to promoting successful grafting.
Step 2: Making the Cut
The next step requires making precise cuts on both the rootstock and scion. A sharp knife makes a diagonal cut on both parts to create a clean and matching surface area. This diagonal cut is crucial as it increases the contact surface between the rootstock and scion, which is essential for grafting. The precision of these cuts plays a significant role in the success of the graft, as it affects the healing process and the eventual growth of the grafted cactus.
Step 3: Joining the Graft
Once the cuts are made, the next step is to join the rootstock and scion. This involves carefully aligning the freshly cut surfaces of both parts to ensure a precise and snug fit. After alignment, the two parts are firmly pressed to facilitate their union.
A rubber band is gently wrapped around the graft site to help maintain its position and support it. This stage is critical for the graft’s success, as proper alignment and support can significantly impact the graft’s ability to establish a connection and grow together.
Step 4: Securing the Graft
After the graft has been joined, it’s important to fasten the two parts to promote healing and fusion securely. This can be done by wrapping the graft area with a rubber band, ensuring it’s tight enough to hold the pieces together but not so tight as to inhibit growth.
Alternatively, grafting clips can also be used for this purpose. This step is essential in helping to stabilize the graft, allowing the healing process to commence without disruption from external factors.
Step 5: Aftercare for Grafted Cacti
The final step in the cactus grafting process involves the aftercare of the grafted plant. It’s important to place the grafted cactus where it will receive indirect light, which helps the healing process.
Watering should be done sparingly to prevent rot, with a gradual increase in moisture as the graft heals. Protection from direct sunlight is crucial until the graft is fully established. Monitoring signs of stress, such as wilting or discoloration, can help make necessary adjustments to care.
Once the graft has been taken, regular care, including proper watering, warmth maintenance, and the application of cactus fertilizer during the growing season, will ensure the healthy development and flourishing of the grafted cactus.
Here’s an additional video on how to graft a cactus.
By: Succulents Box
Troubleshooting Common Grafting Issues
Are you worried about your grafted cactus wilting? Often, issues stem from root rot due to excessive watering or improper drainage. Look for signs of graft rejection, like a color change or wilting. Make sure your cactus gets enough sunlight without scorching. If problems persist, consider the possibility of underwatering or overfertilizing.
You can ensure that your grafted cactus garden stays healthy and vibrant by catching these common issues early.
Issue 1: Poor Adhesion Between Rootstock and Scion
Cause: This is often caused by an improper cut, which results in an inadequate contact surface between the rootstock and scion.
Solution: Ensure the cuts on the rootstock and scion are perfectly aligned and smooth. Using a very sharp knife can help achieve clean and precise cuts. Press the scion firmly onto the rootstock before securing it with a rubber band to ensure maximum contact.
Issue 2: Graft Infection or Rot
Cause: This problem may arise from unsterile tools, poor environmental conditions, or overwatering, leading to bacterial or fungal infections.
Solution: Always use sterilized cutting tools to avoid introducing pathogens. Keep the grafted cactus in a well-ventilated area with indirect light, and be cautious when watering, allowing the graft to heal properly.
Issue 3: Scion or Rootstock Wilting
Cause: This could be due to insufficient moisture, excessive direct sunlight, or a poor graft union that fails to transport nutrients effectively.
Solution: Ensure the grafted cactus is not exposed to harsh sunlight immediately after grafting. Water the rootstock adequately before grafting and maintain a consistent but moderate watering schedule post-grafting, adjusting based on the cactus’s needs and environmental conditions.
Issue 4: Graft Union Fails to Heal
Cause: Incompatibility between the scion and rootstock species, inadequate pressure applied to the graft union, or movement of the scion can lead to failure in healing.
Solution: Choose compatible cactus species for grafting, which are known for their grafting success rates. Secure the graft firmly with a rubber band or grafting tape to prevent movement and ensure the scion and rootstock are tightly pressed together.
Issue 5: Mold Growth on the Graft Site
Cause: High humidity levels or excessive moisture can create a conducive environment for mold growth.
Solution: Monitor the humidity levels around the grafted cactus, ensuring they are not too high. Keep the graft in an area with good air circulation and avoid overwatering. If mold appears, gently remove it with a soft, dry brush and adjust the cactus’s environment to reduce humidity.
Enhancing Your Grafted Cacti Garden
Photo by: Calloway’s Nursery
Incorporate grafted cacti into your garden to add a unique touch. Mix colors and textures by combining different species, such as Gymnocalycium mihanovichii and Myrtillocactus geometrizans. Create stunning displays with the vibrant hues of grafted moon cacti grafted onto a rootstock plant. Also known as the Ruby ball cactus, examples include the orange-grafted moon cactus.
Experiment with columnar cacti like the Peruvian apple cactus or Harrisia jusbertii for a striking look. Ensure good drainage and place them in partial shade to thrive. Enhance your space with these captivating and low-maintenance plants.
Incorporating Grafted Cacti into Your Garden
Grafted cacti can add a unique touch to your garden landscape. Consider mixing them with other succulents to create an eye-catching display. Place them in areas with bright indirect light or in partial shade to protect them from direct sunlight. Their diverse colors and shapes make them a perfect addition to rock gardens or as standalone features in planters.
Ensure they receive adequate watering and well-draining soil to thrive alongside other cactus varieties. Their ability to withstand drought adds a resilient charm to any garden setting.
Creative Ideas for Displaying Grafted Cacti
Enhance your space by showcasing grafted cacti in unique ways. Display them in hanging terrariums or quirky containers to add flair. Combine different varieties in a single planter to create a grafted cactus arrangement for a stunning visual impact. Experiment with vertical gardens or floating shelves to showcase their beauty.
Incorporate fairy lights or colorful pebbles to accentuate their charm. Let your creativity shine by displaying these grafted wonders in unconventional yet visually appealing manners. Explore and celebrate their extraordinary forms!
Here’s an additional video on how to care for your grafted cactus.
By: Succulents Box
Watching Your Grafted Cacti Flourish
Cactus grafting opened up a world of possibilities in terms of aesthetics and practicality. By fusing different cactus species, we created botanical partnerships that enhanced the beauty of our gardens and expedited the growth of cherished specimens. Whether reviving a struggling plant, conserving rare species, or simply indulging in the joy of creating unique, eye-catching displays, grafting offered many benefits to enthusiasts and conservationists alike.
With a grasp of the basics, the right tools, and a systematic step-by-step process, you’ll be ready to graze cacti and craft some truly special and eye-catching combinations. Troubleshooting common issues ensures the health of your grafted plants while exploring advanced techniques that allow for further experimentation.
You’ll enjoy watching your collection grow as you learn more about them and experiment with different types. Grafted cacti are not just plants; they’re a creative hobby that combines gardening and artistry. If you’re inspired to delve deeper into the art of grafting or want to explore more about the captivating world of houseplants, visit Houseplant Joy.
Frequently Asked Questions
Can I Graft Different Types of Cacti Together?
Grafting different types of cacti together is possible, allowing for unique combinations. You can successfully merge distinct cactus varieties by following proper grafting techniques, creating stunning hybrids. Understanding compatibility and skillful execution are key to successful multi-cacti grafting.
How Long Does It Take for a Graft to Heal?
Cactus grafts typically take 2-6 weeks to heal, depending on various factors, such as the cactus species and grafting method used. Proper care post-grafting is crucial for successful healing.
Do Grafted Cacti Require Special Care?
Grafted cacti require special care post-grafting to ensure successful healing and growth. Regularly monitoring signs of stress, providing adequate light and water, and protecting the graft site are essential.

