
HousePlantJoy is supported by our audience. When you purchase through one of our links, we may earn a small affiliate commission. As an Amazon Associate I earn from qualifying purchases. Your cost is not affected.
==================
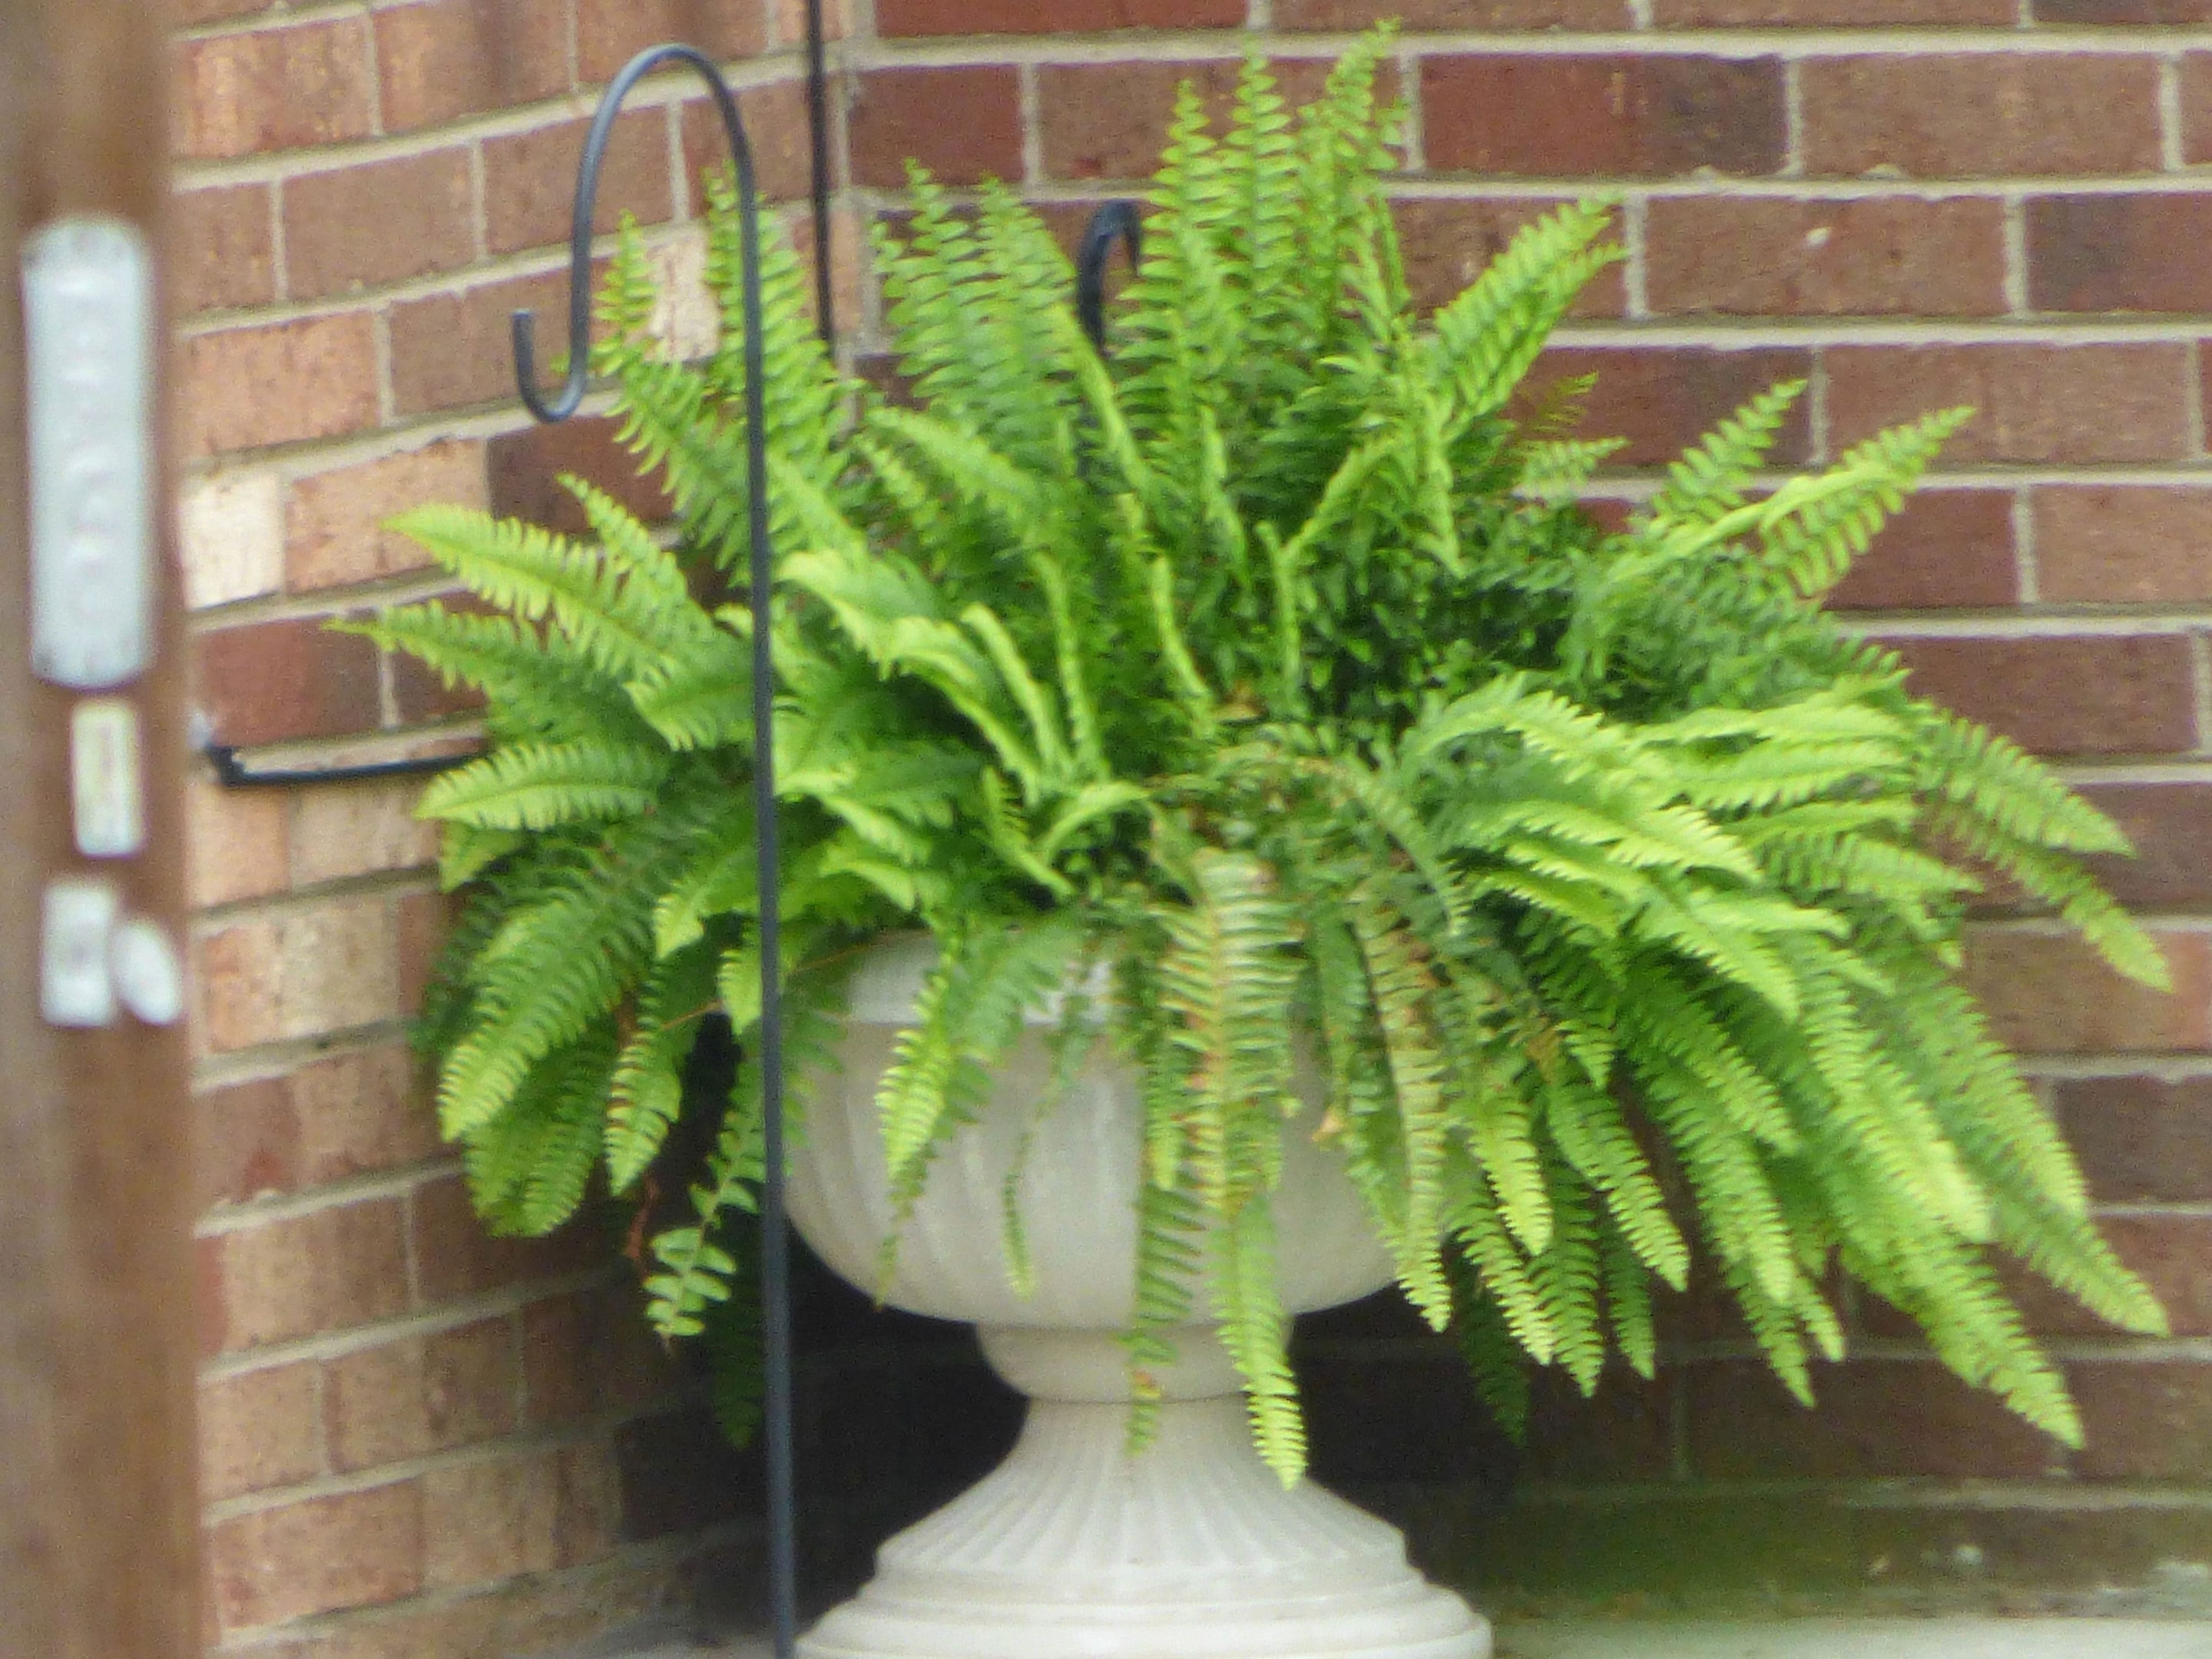
Caring for a Boston fern can be incredibly rewarding, but it takes the right approach to keep this lush, vibrant plant in top condition. With their graceful, arching fronds, Boston ferns add a touch of elegance to any room, but they can be sensitive to their environment. That’s why having the right tips for a healthy Boston fern houseplant is essential. Whether battling dry air, improper watering, or fluctuating temperatures, these ferns often require extra attention to thrive.
You’re not alone if you’ve dealt with yellowing fronds or struggled to keep your plant looking fresh. However, maintaining a healthy Boston fern becomes much simpler with the right knowledge. This article will explore ten practical tips to ensure your fern remains healthy, green, and beautiful throughout the year.
Ten Tips for a Healthy Boston Fern Houseplant: Keep Your Green Friend Thriving
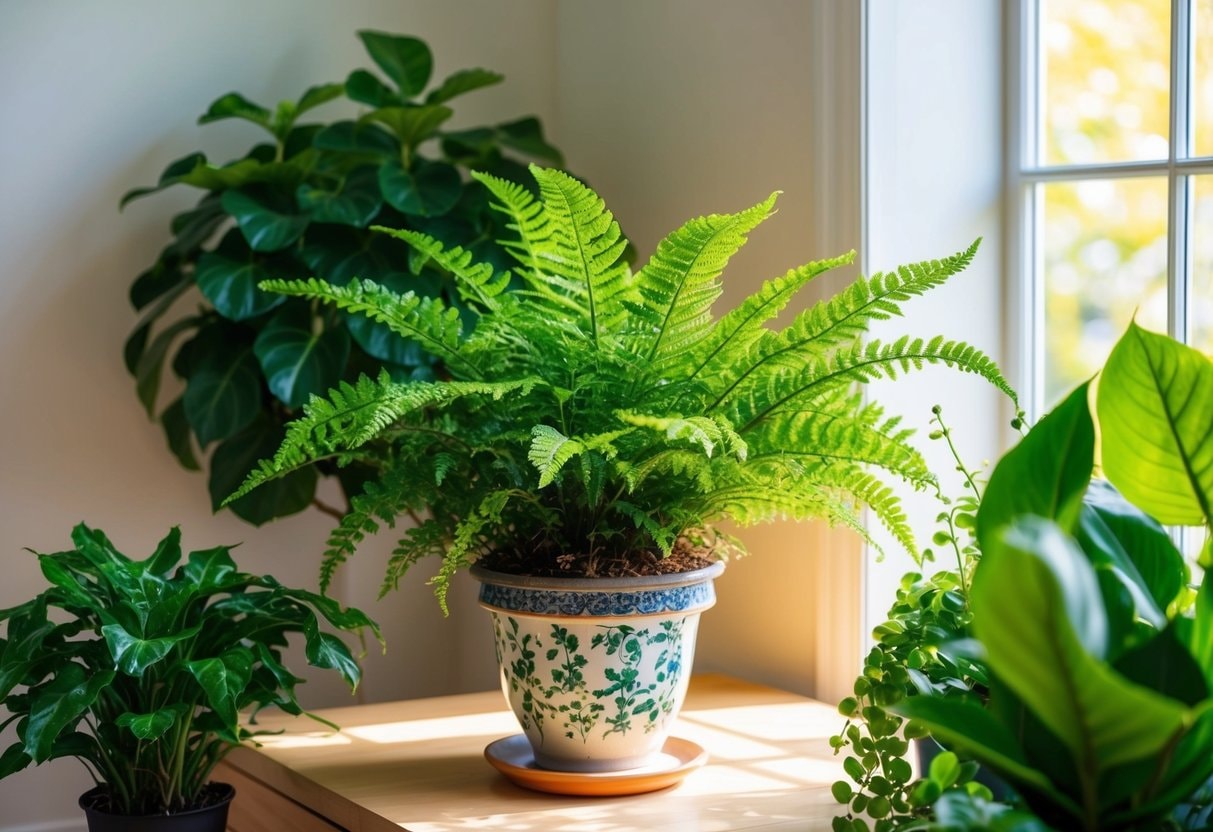
I love Boston Ferns! These lush green plants can add a touch of nature to any room. Their delicate fronds and air-purifying qualities make them a great choice for indoor gardening. Caring for a Boston fern isn’t hard, but it requires some know-how. I’ve learned a lot about these plants over the years, and I’m excited to share my top tips for keeping them healthy and happy. Whether you’re a beginner or an experienced plant parent, these ideas will help your Boston fern thrive.
Boston ferns are known for their air-purifying abilities, making them beautiful and beneficial for your home environment. However, like any houseplant, they have specific needs. Factors like humidity, light, and watering schedules are crucial to their overall health. If you’ve ever noticed browning or shedding fronds, don’t worry—these common issues can often be remedied with a few simple adjustments. By understanding what your fern needs and staying proactive in its care, you’ll enjoy a lush, vibrant plant that brings life and tranquility to your space.
Key Highlights
- Whether you’re a beginner or an experienced plant parent, these ten tips—from choosing a spot with indirect light to often checking for pests—are essential for caring for Boston ferns.
- Boston ferns require specific care to thrive indoors. Understanding their ideal light conditions and humidity requirements is crucial for their success.
- Boston ferns require the appropriate Soil and nutrients to thrive.
1. Choose a Spot with Indirect Light
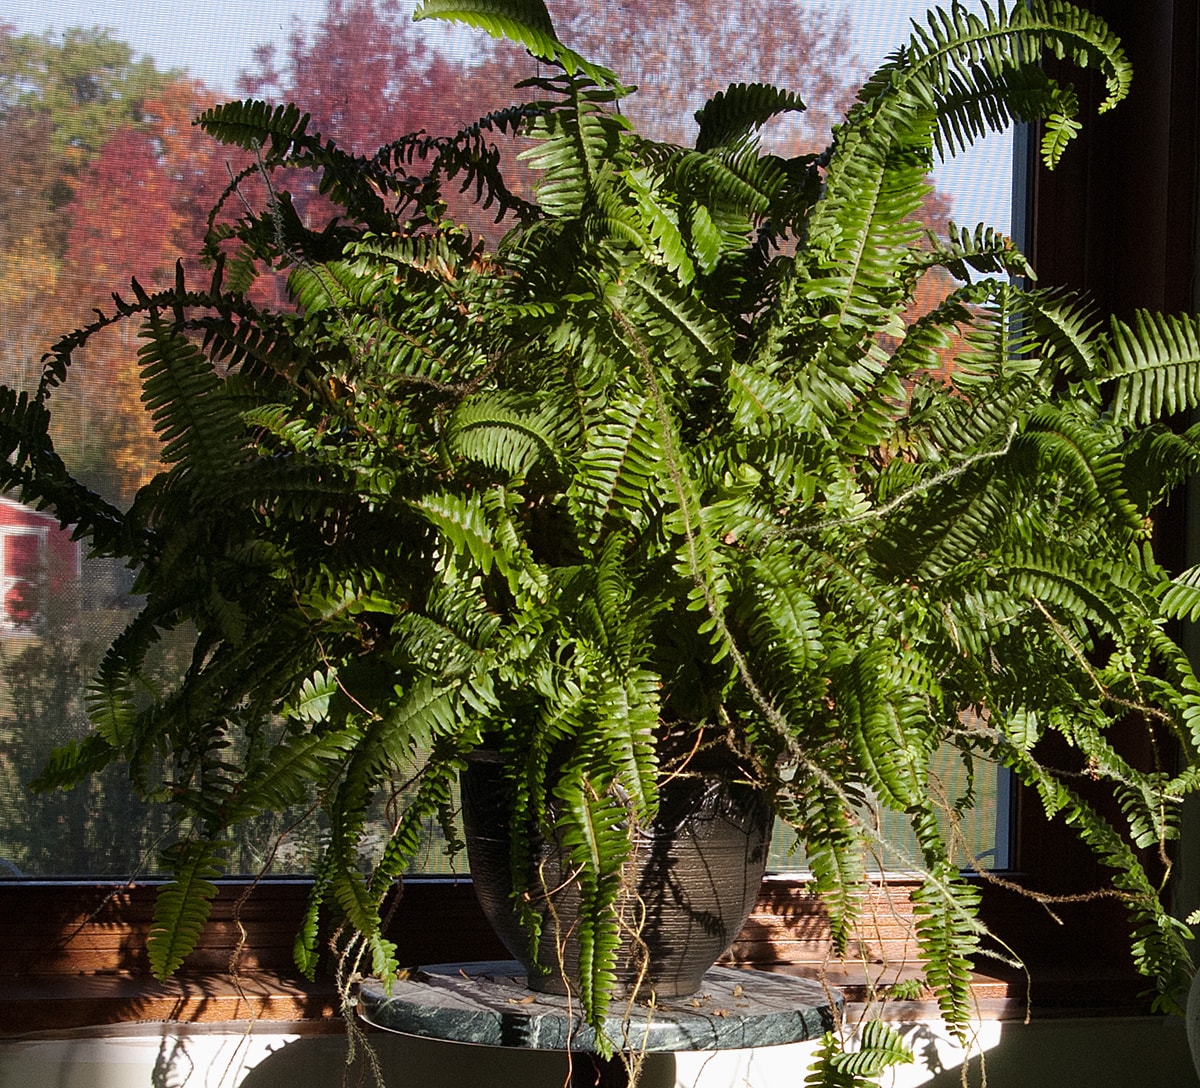
Picking the right spot for my Boston fern is key to its health. These tips for a healthy Boston fern houseplant start with providing the right amount of bright, indirect light. I like to place my fern near an east-facing window, which gives it plenty of morning light without the harsh afternoon sun. If I only have a south or west window, I use sheer curtains to filter the light. This protects the delicate fronds from getting scorched and keeps the plant thriving.
I’ve learned that too little light can make the fronds turn yellow. But direct sunlight can burn them. It’s all about finding that sweet spot! A room with lots of natural light works great. Just keep the fern a few feet away from the window. Here’s a handy table I use to remember the basic needs of my Boston fern:
| Need | Requirement |
|---|---|
| Light | Bright, indirect |
| Temperature | 60-75°F (15-24°C) |
| Watering | Every 7-10 days |
| Humidity | Above 50% |
| Pot | Well-draining with holes |
| Soil | Loamy, pH 6.0-6.5 |
I’ve found that following these guidelines helps my fern thrive. With the right light and care, it’s amazing how lush and full they can get!
2. Keep Soil Consistently Moist
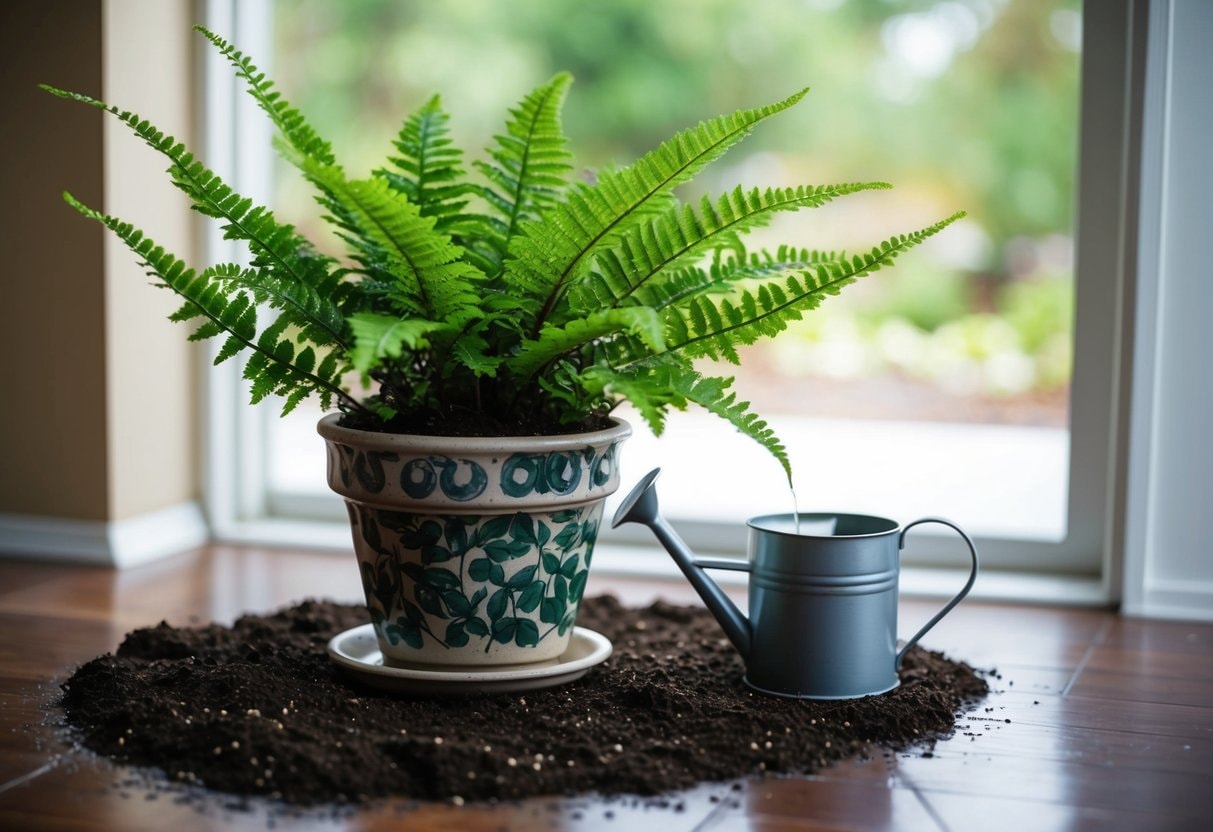
I’ve found that following essential tips for a healthy Boston fern, houseplant is key to its success, and keeping the Soil consistently moist is one of them. I check the Soil daily and water when the top inch feels dry to the touch. I’m careful not to overwater, which can lead to root rot. To ensure proper care, I ensure the pot has good drainage holes to let excess water escape.
When I water, I do it thoroughly until water runs out the bottom. Then, I let the pot drain fully before putting it back in its spot. I’ve noticed that Boston ferns like high humidity. I often mist the leaves or place the pot on a tray of pebbles with water to increase moisture around the plant. Here’s a handy table I use to remember the basic needs of my Boston fern:
Need Requirement Water Keep Soil moist, not soggy Light Bright, indirect light Temperature 65-75°F (18-24°C) Humidity High (50-80%) Pot Well-draining with drainage holes Soil Well-draining, water-retentive mix Fertilizer Balanced, every 2-3 months in growing season.
| Need | Requirement |
|---|---|
| Water | Keep soil moist, not soggy |
| Light | Bright, indirect light |
| Temperature | 65-75°F (18-24°C) |
| Humidity | High (50-80%) |
| Pot | Well-draining with drainage holes |
| Soil | Well-draining, water-retentive mix |
| Fertilizer | Balanced, every 2-3 months in growing season |
This care routine helps my Boston fern thrive as a beautiful, lush houseplant.
3. Use Well-Draining Potting Mix
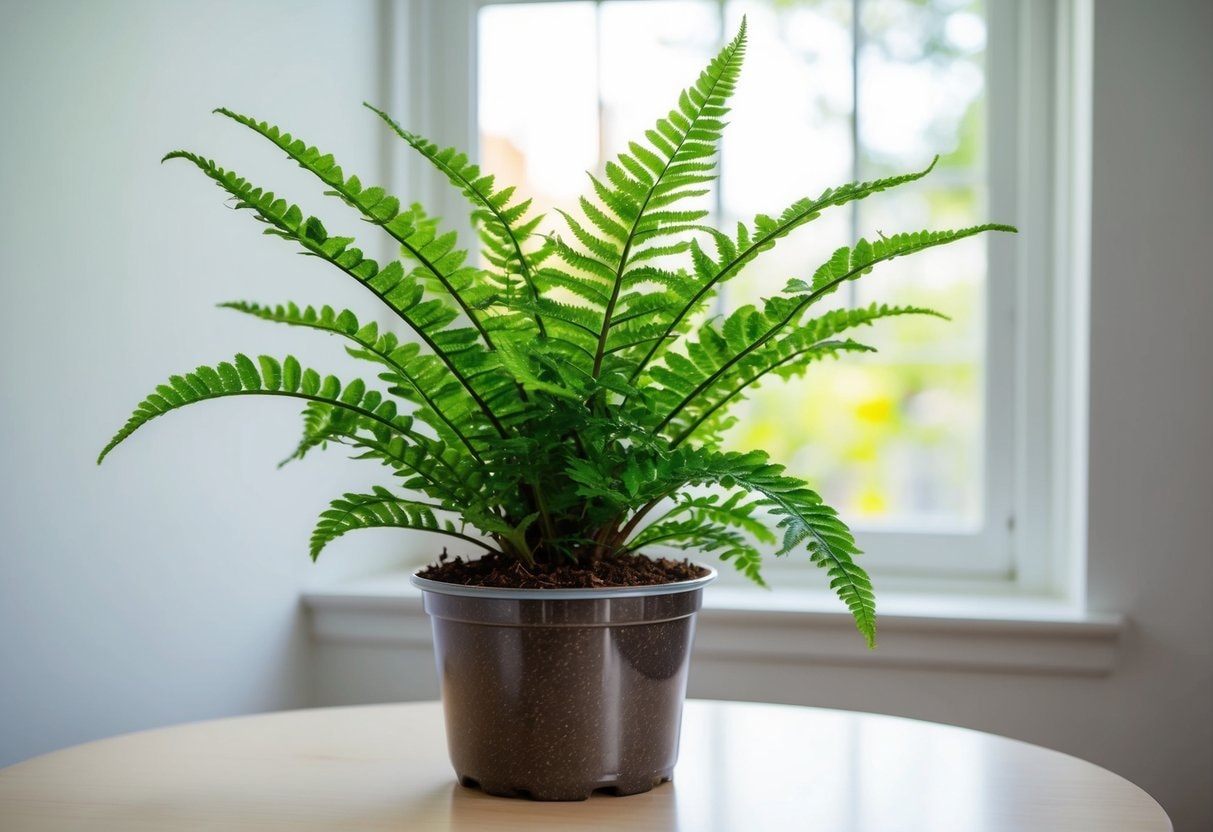
I’ve found that using the right potting mix is key for keeping my Boston fern happy. A well-draining soil mix helps prevent root rot and keeps the plant healthy. I like to make my mix using equal parts potting Soil, peat moss, and perlite. This combo gives the perfect balance of moisture retention and drainage.
If I’m short on time, I’ll use a pre-made potting mix designed for ferns. These usually have the right blend of ingredients and pH level. When repotting, I gently loosen the roots and place the fern at the same depth it was in its previous pot. This helps it adjust to its new home more easily. For more tips for a healthy Boston fern houseplant, here’s a quick guide to the basic needs of a Boston fern:
| Need | Requirement |
|---|---|
| Temperature | 60-75°F |
| Watering | Keep soil moist |
| Lighting | Bright, indirect light |
| Pot type | Plastic or ceramic with drainage holes |
| Pot size | 2-3 inches larger than current root ball |
| Humidity | High (50-80%) |
| Fertilizer | Balanced, water-soluble every 2-3 months |
4. Mist Regularly to Maintain Humidity
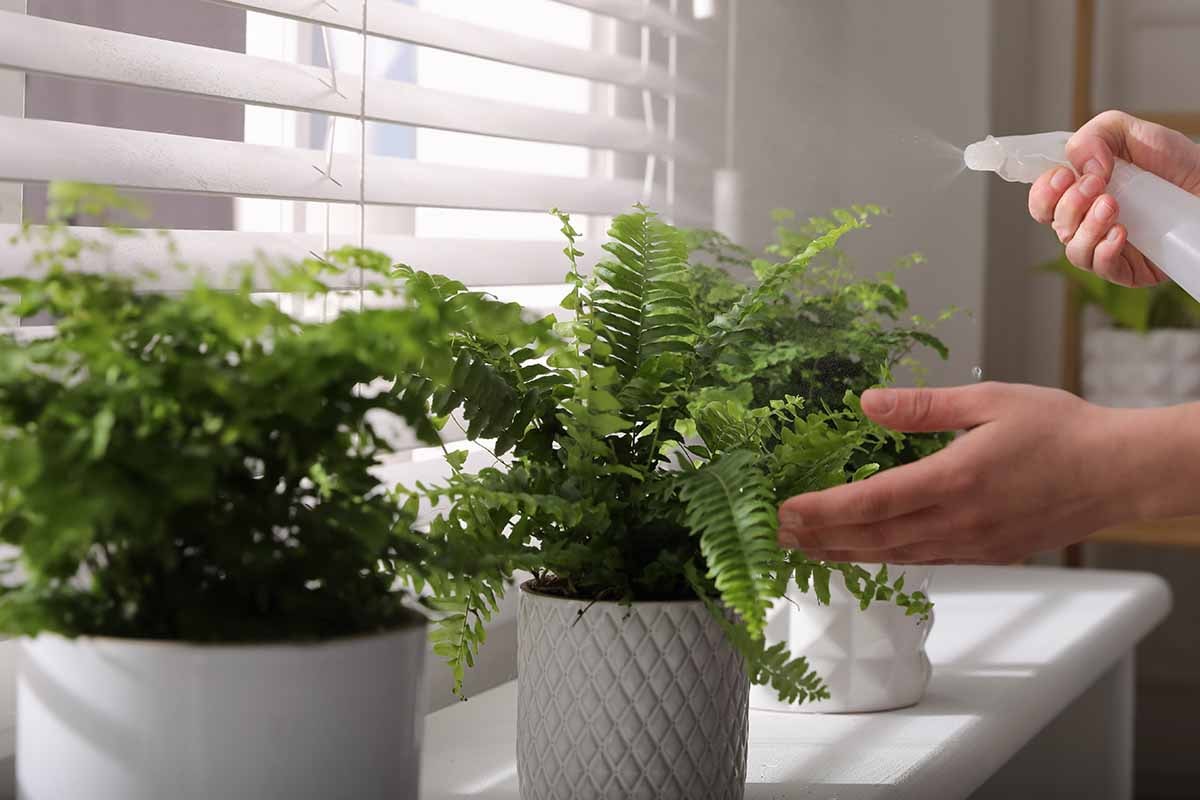
Boston ferns love humidity, and I’ve found that regular misting is key to keeping them happy. One of the best tips for a healthy Boston fern houseplant is to mist it daily or twice with room-temperature water. This helps emulate the humid environment of their native tropical forests. I focus on spraying both the top and bottom of the fronds, ensuring even coverage and preventing dry spots.
I’m careful not to overdo it, though – too much water can lead to fungal issues. In addition to misting, I sometimes use a pebble tray to boost humidity. I fill a shallow tray with pebbles and water, then set the fern’s pot on top. As the water evaporates, it creates a nice humid microclimate. Here’s a quick table of basic Boston fern care needs:
| Need | Requirement |
|---|---|
| Temperature | 60-75°F |
| Watering | Keep soil moist |
| Lighting | Bright, indirect light |
| Pot type | Well-draining with holes |
| Pot size | Allow room for growth |
| Humidity | High (50-80%) |
I’ve noticed my fern thrives when I stick to this care routine. Regular misting and proper light and temperature keep those beautiful fronds lush and green.
Did You Know?
Did you know that yellowing fronds on your Boston fern can indicate too much light or insufficient water? Additionally, brown, crispy leaves often signal low humidity levels, harming your plant’s health. Pests like spider mites can also pose a problem.
5. Avoid Drafty Locations
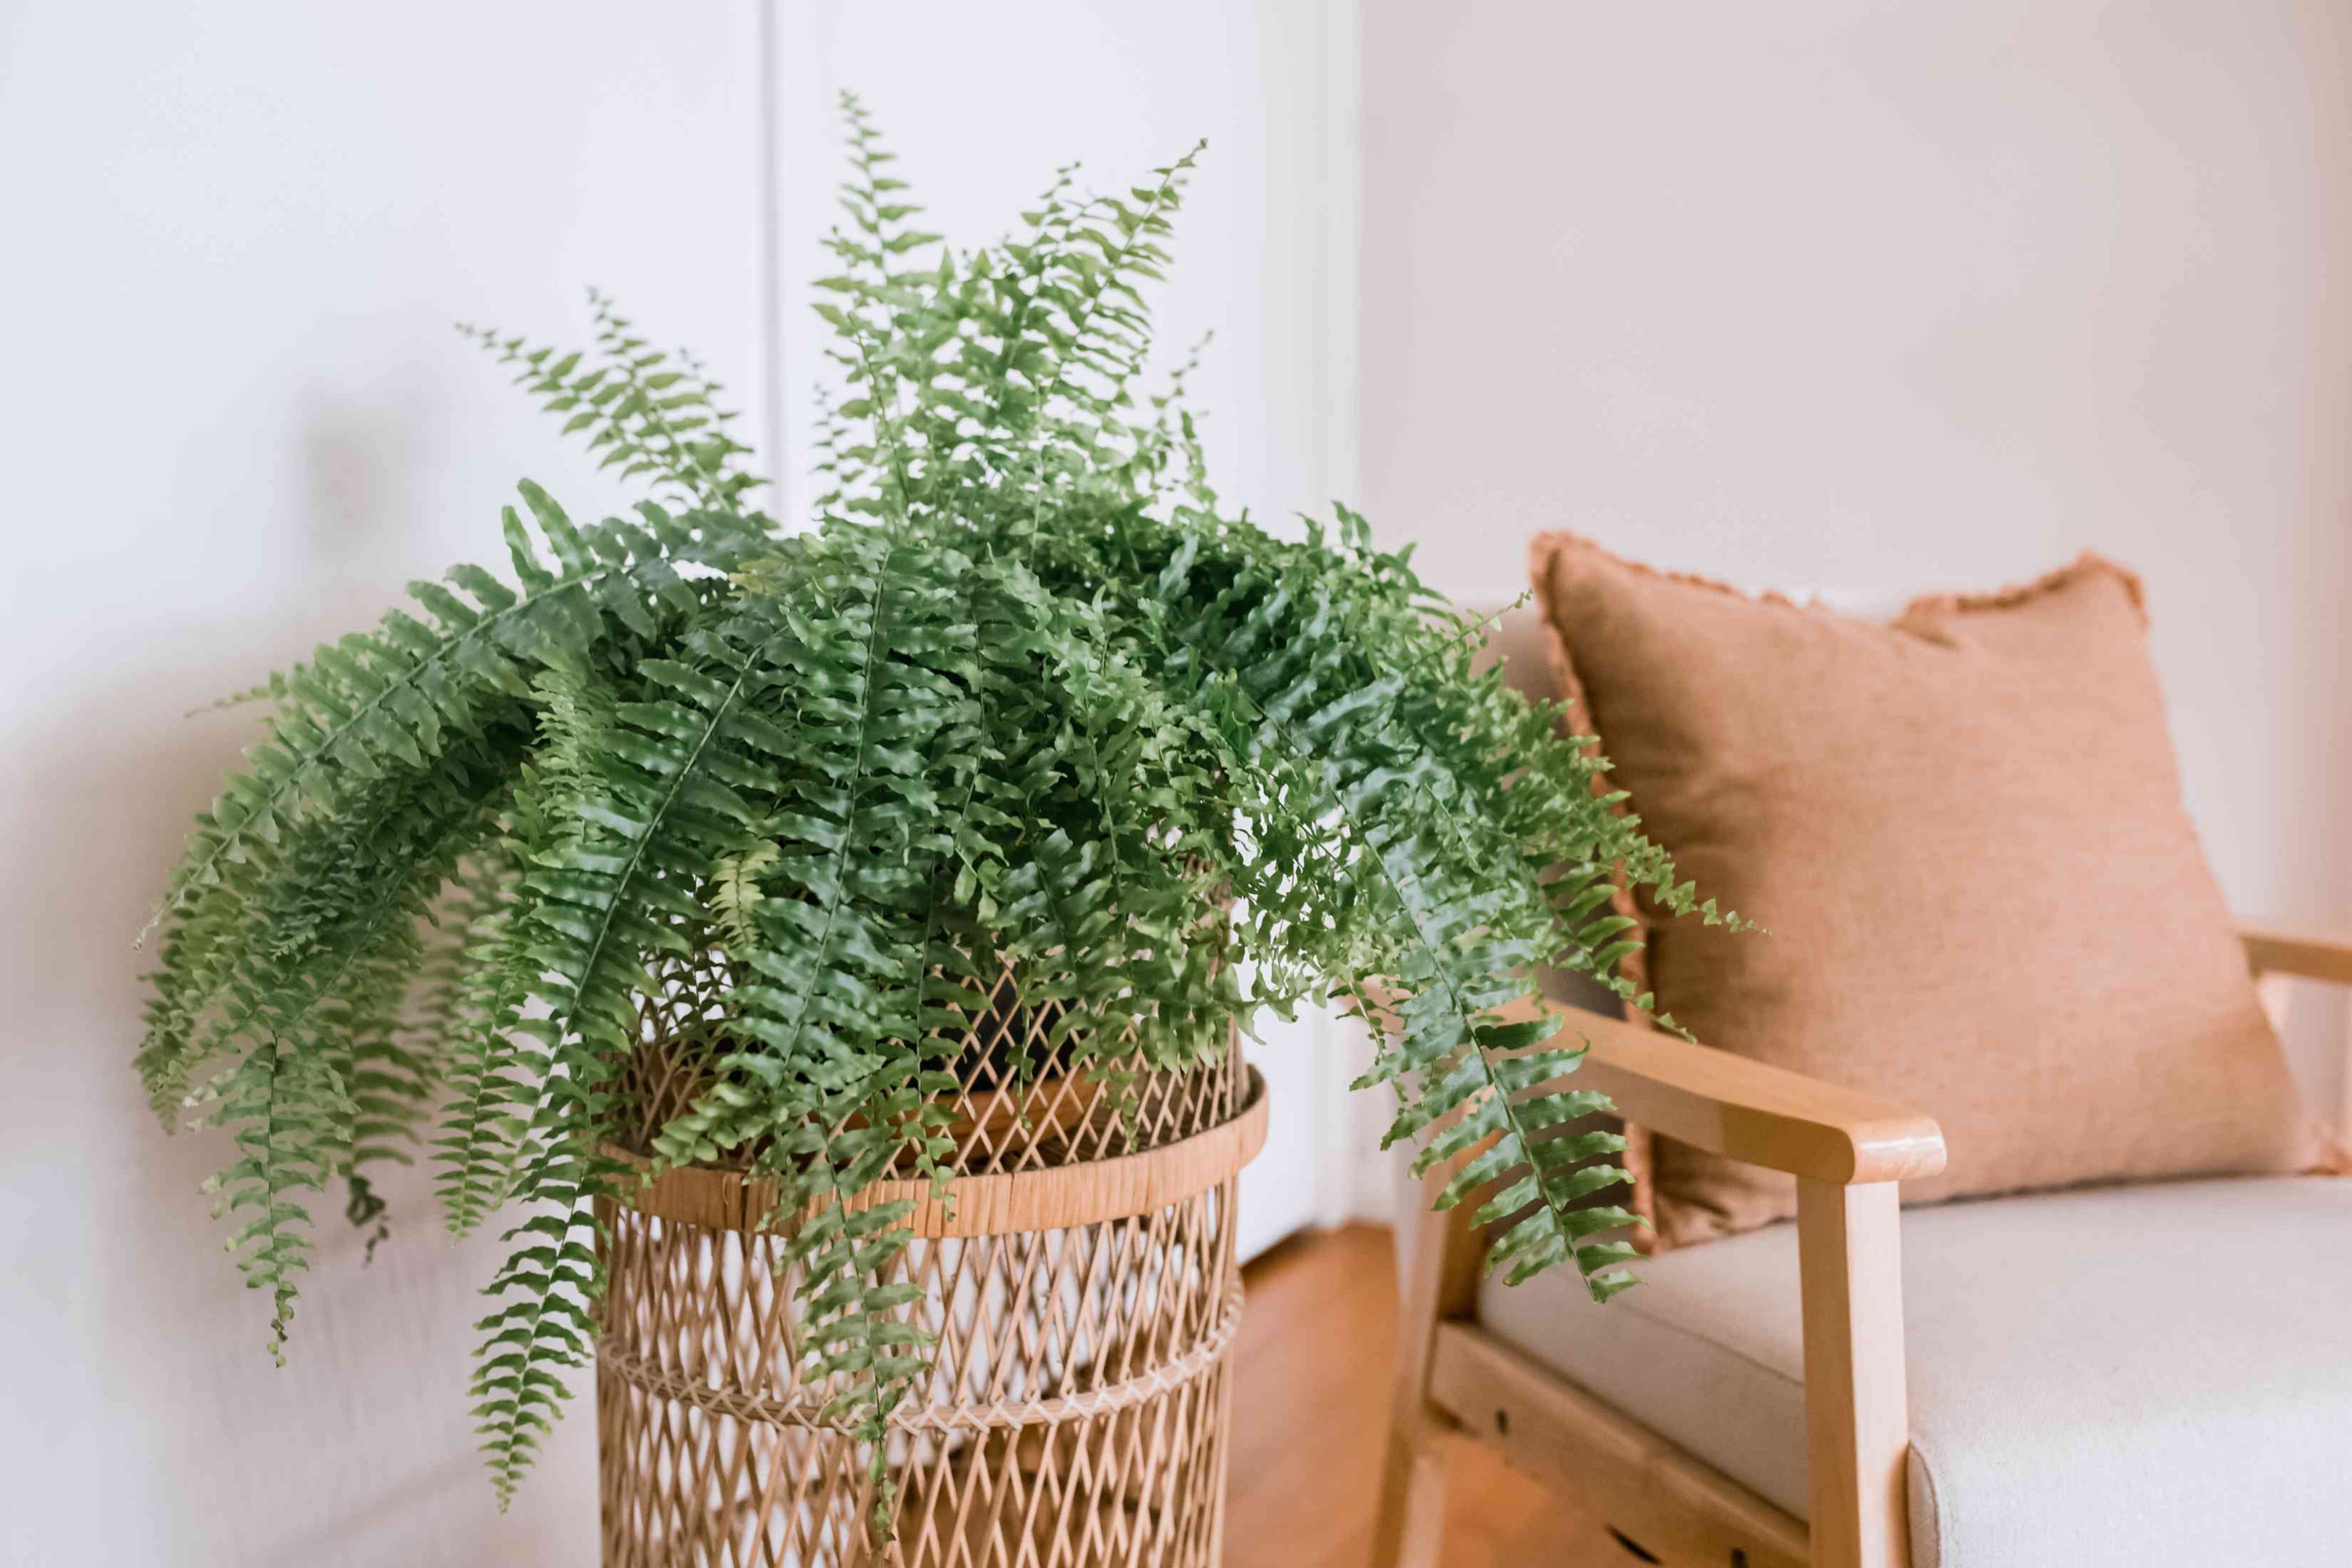
I’ve learned that Boston ferns don’t like sudden temperature or air movement changes. Drafty spots can dry out their fronds quickly, causing them to turn brown and crispy. I keep my fern away from open windows, air conditioning vents, and heating units. These areas can create sudden bursts of hot or cold air that stress the plant.
Doorways are another no-go for my Boston fern. Whenever someone comes in or out, it creates a draft that can ruffle those delicate fronds. Instead, I place my fern in a stable temperature and humidity spot. This helps it maintain its lush, green appearance. I’ve found that bathrooms or kitchens can be great spots for ferns. These rooms tend to have higher humidity, which ferns love. Here’s a quick table of basic needs for a Boston fern:
| Need | Requirement |
|---|---|
| Temperature | 60-75°F (15-24°C) |
| Watering | Keep soil moist, not soggy |
| Lighting | Bright, indirect light |
| Pot type | Well-draining with drainage holes |
| Pot size | Slightly larger than root ball |
| Humidity | High (50-80%) |
| Soil | Rich, well-draining potting mix |
I’ve maintained a healthy, thriving plant by following these tips for a healthy Boston fern houseplant and keeping my fern away from drafts.
6. Fertilize Monthly During Growth
I’ve found that Boston ferns need regular feeding to stay lush and green. During spring and summer, I fertilize my fern once a month. I use a water-soluble fertilizer with a 20-10-20 ratio. This mix gives my fern the right balance of nutrients for healthy growth. I always dilute the fertilizer to half-strength. Boston ferns are sensitive, and too much food can harm them. In winter, I cut back on fertilizing. I only feed my fern every two to three months during this time. Here’s a quick table of basic Boston fern care needs:
| Care Aspect | Requirement |
|---|---|
| Temperature | 60-75°F (15-24°C) |
| Watering | Keep soil moist, not soggy |
| Lighting | Bright, indirect light |
| Pot Type | Well-draining with holes |
| Pot Size | Snug fit, repot when roots fill pot |
| Humidity | High, 50-80% |
I always follow the tips for a healthy Boston fern houseplant by watering my fern before fertilizing. This helps prevent root burn and ensures the plant can absorb the nutrients well. Remember, it’s better to under-fertilize than over-fertilize. If I’m ever in doubt, I skip a feeding. My fern will let me know if it needs more nutrients based on its appearance.
7. Trim Dead Fronds Regularly
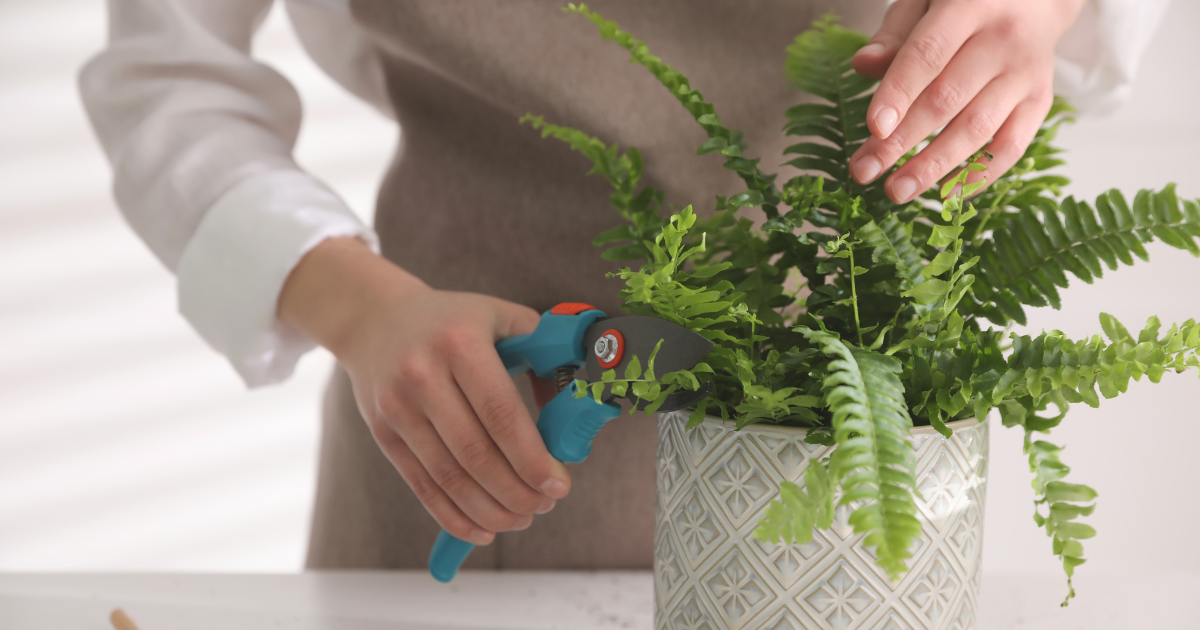
I always make sure to trim dead fronds from my Boston fern. It’s a simple task that keeps the plant looking fresh and healthy. I use clean, sharp pruning shears to cut off any brown or yellow fronds at the base. This helps the fern focus its energy on new growth. I like to check my fern every week or two for dead fronds.
It’s amazing how quickly they can appear! When I’m trimming, I also remove any diseased leaves. This stops problems from spreading to the rest of the plant. I find that regular trimming keeps my Boston fern looking full and lush. It’s a quick job that makes a big difference. Here’s a table of basic needs for a Boston fern:
| Need | Requirement |
|---|---|
| Temperature | 60-75°F (15-24°C) |
| Watering | Keep soil moist, not soggy |
| Lighting | Bright, indirect light |
| Pot Type | Well-draining with drainage holes |
| Pot Size | Large enough for roots to spread |
| Humidity | High (50-80%) |
| Soil | Rich, well-draining potting mix |
I hope these tips for a healthy Boston fern houseplant help you keep your Boston fern thriving!
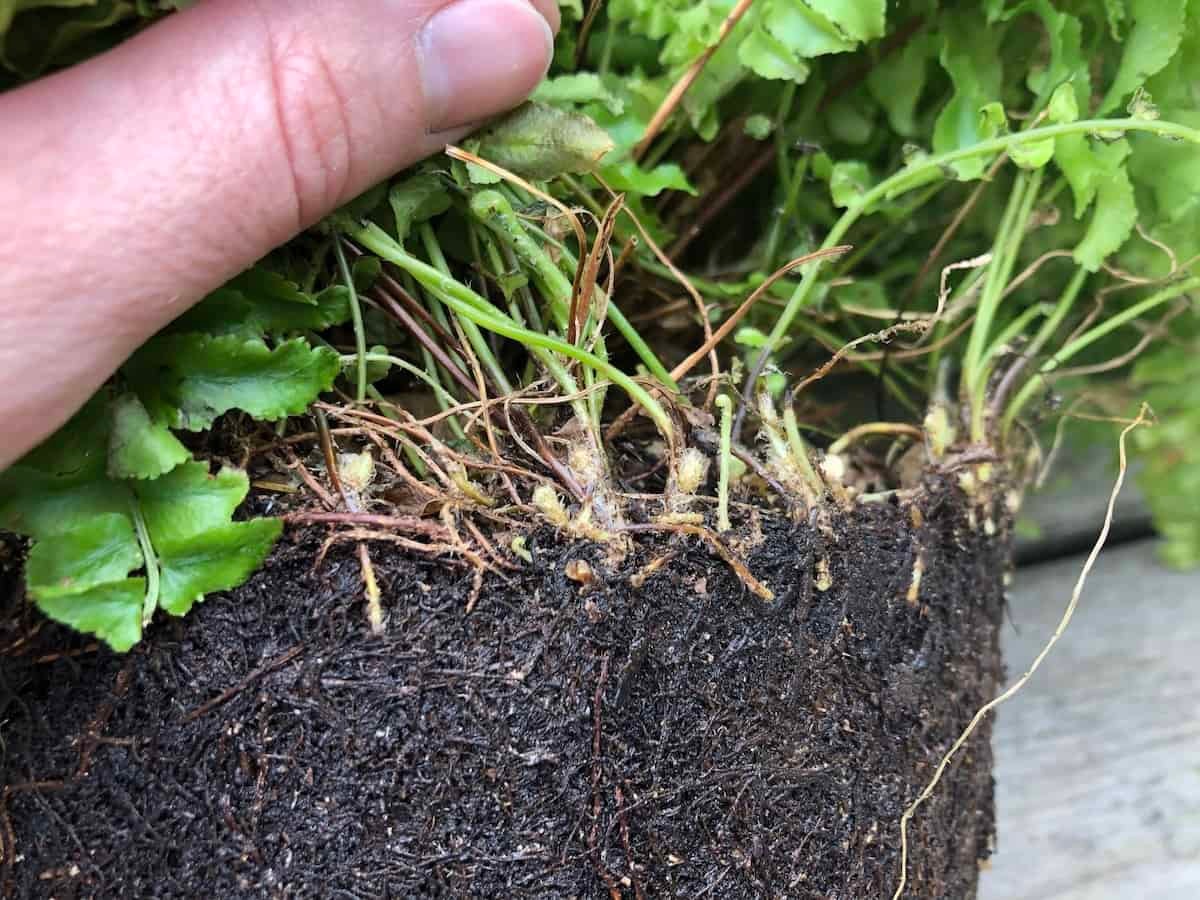
8. Repot When Root-Bound
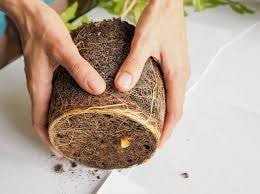
Boston ferns can get root-bound over time. I’ve found that repotting is essential for their health and growth. To check if your fern needs repotting, I gently remove it from its pot. If I see roots circling tightly or poking out of drainage holes, it’s time for a new home. I choose a pot about 2 inches larger in diameter. Good drainage is key, so I ensure the new pot has holes at the bottom.
When repotting, I carefully loosen the root ball and trim any dead or damaged roots. Then, I place the fern in fresh, well-draining potting Soil. After repotting, I water thoroughly and keep the fern in a shaded spot for a few days. This helps it adjust to its new container. Here’s a quick guide to basic Boston fern care and Tips for a Healthy Boston Fern Houseplant:
| Need | Requirement |
|---|---|
| Temperature | 60-75°F (15-24°C) |
| Watering | Keep soil consistently moist |
| Lighting | Bright, indirect light |
| Pot Type | Well-draining with holes |
| Pot Size | 2 inches larger when repotting |
| Humidity | High (50-80%) |
| Soil | Rich, well-draining potting mix |
I repot my Boston fern every 2-3 years or when I notice slowed growth. Spring is the best time for this task, as the plant is entering its active growing season.
9. Use Rainwater if Possible
I’ve found that Boston ferns love rainwater. It’s free of chemicals and minerals that can build up in the Soil over time. If I can’t collect rainwater, I use distilled or filtered water for my fern. Tap water can be harmful due to added chemicals. When I water my Boston fern, I thoroughly soak the Soil. I let the excess drain out completely before returning it to its spot. I check the soil moisture every few days. When the top inch feels dry, it’s time to water again. Here’s a handy table I use to remember my Boston fern’s basic needs:
| Need | Requirement |
|---|---|
| Temperature | 60-75°F |
| Watering | Every 2-3 days |
| Lighting | Bright, indirect |
| Pot Type | With drainage holes |
| Pot Size | Allow 1 inch space at top |
| Humidity | Above 50% |
| Soil pH | 6.0-6.5 |
Mistreating my fern once or twice a day helps keep it happy, which is one of the essential tips for a healthy Boston fern houseplant. A pebble tray filled with water under the pot also increases humidity, ensuring your fern thrives in its environment.
10. Check for Pests Often
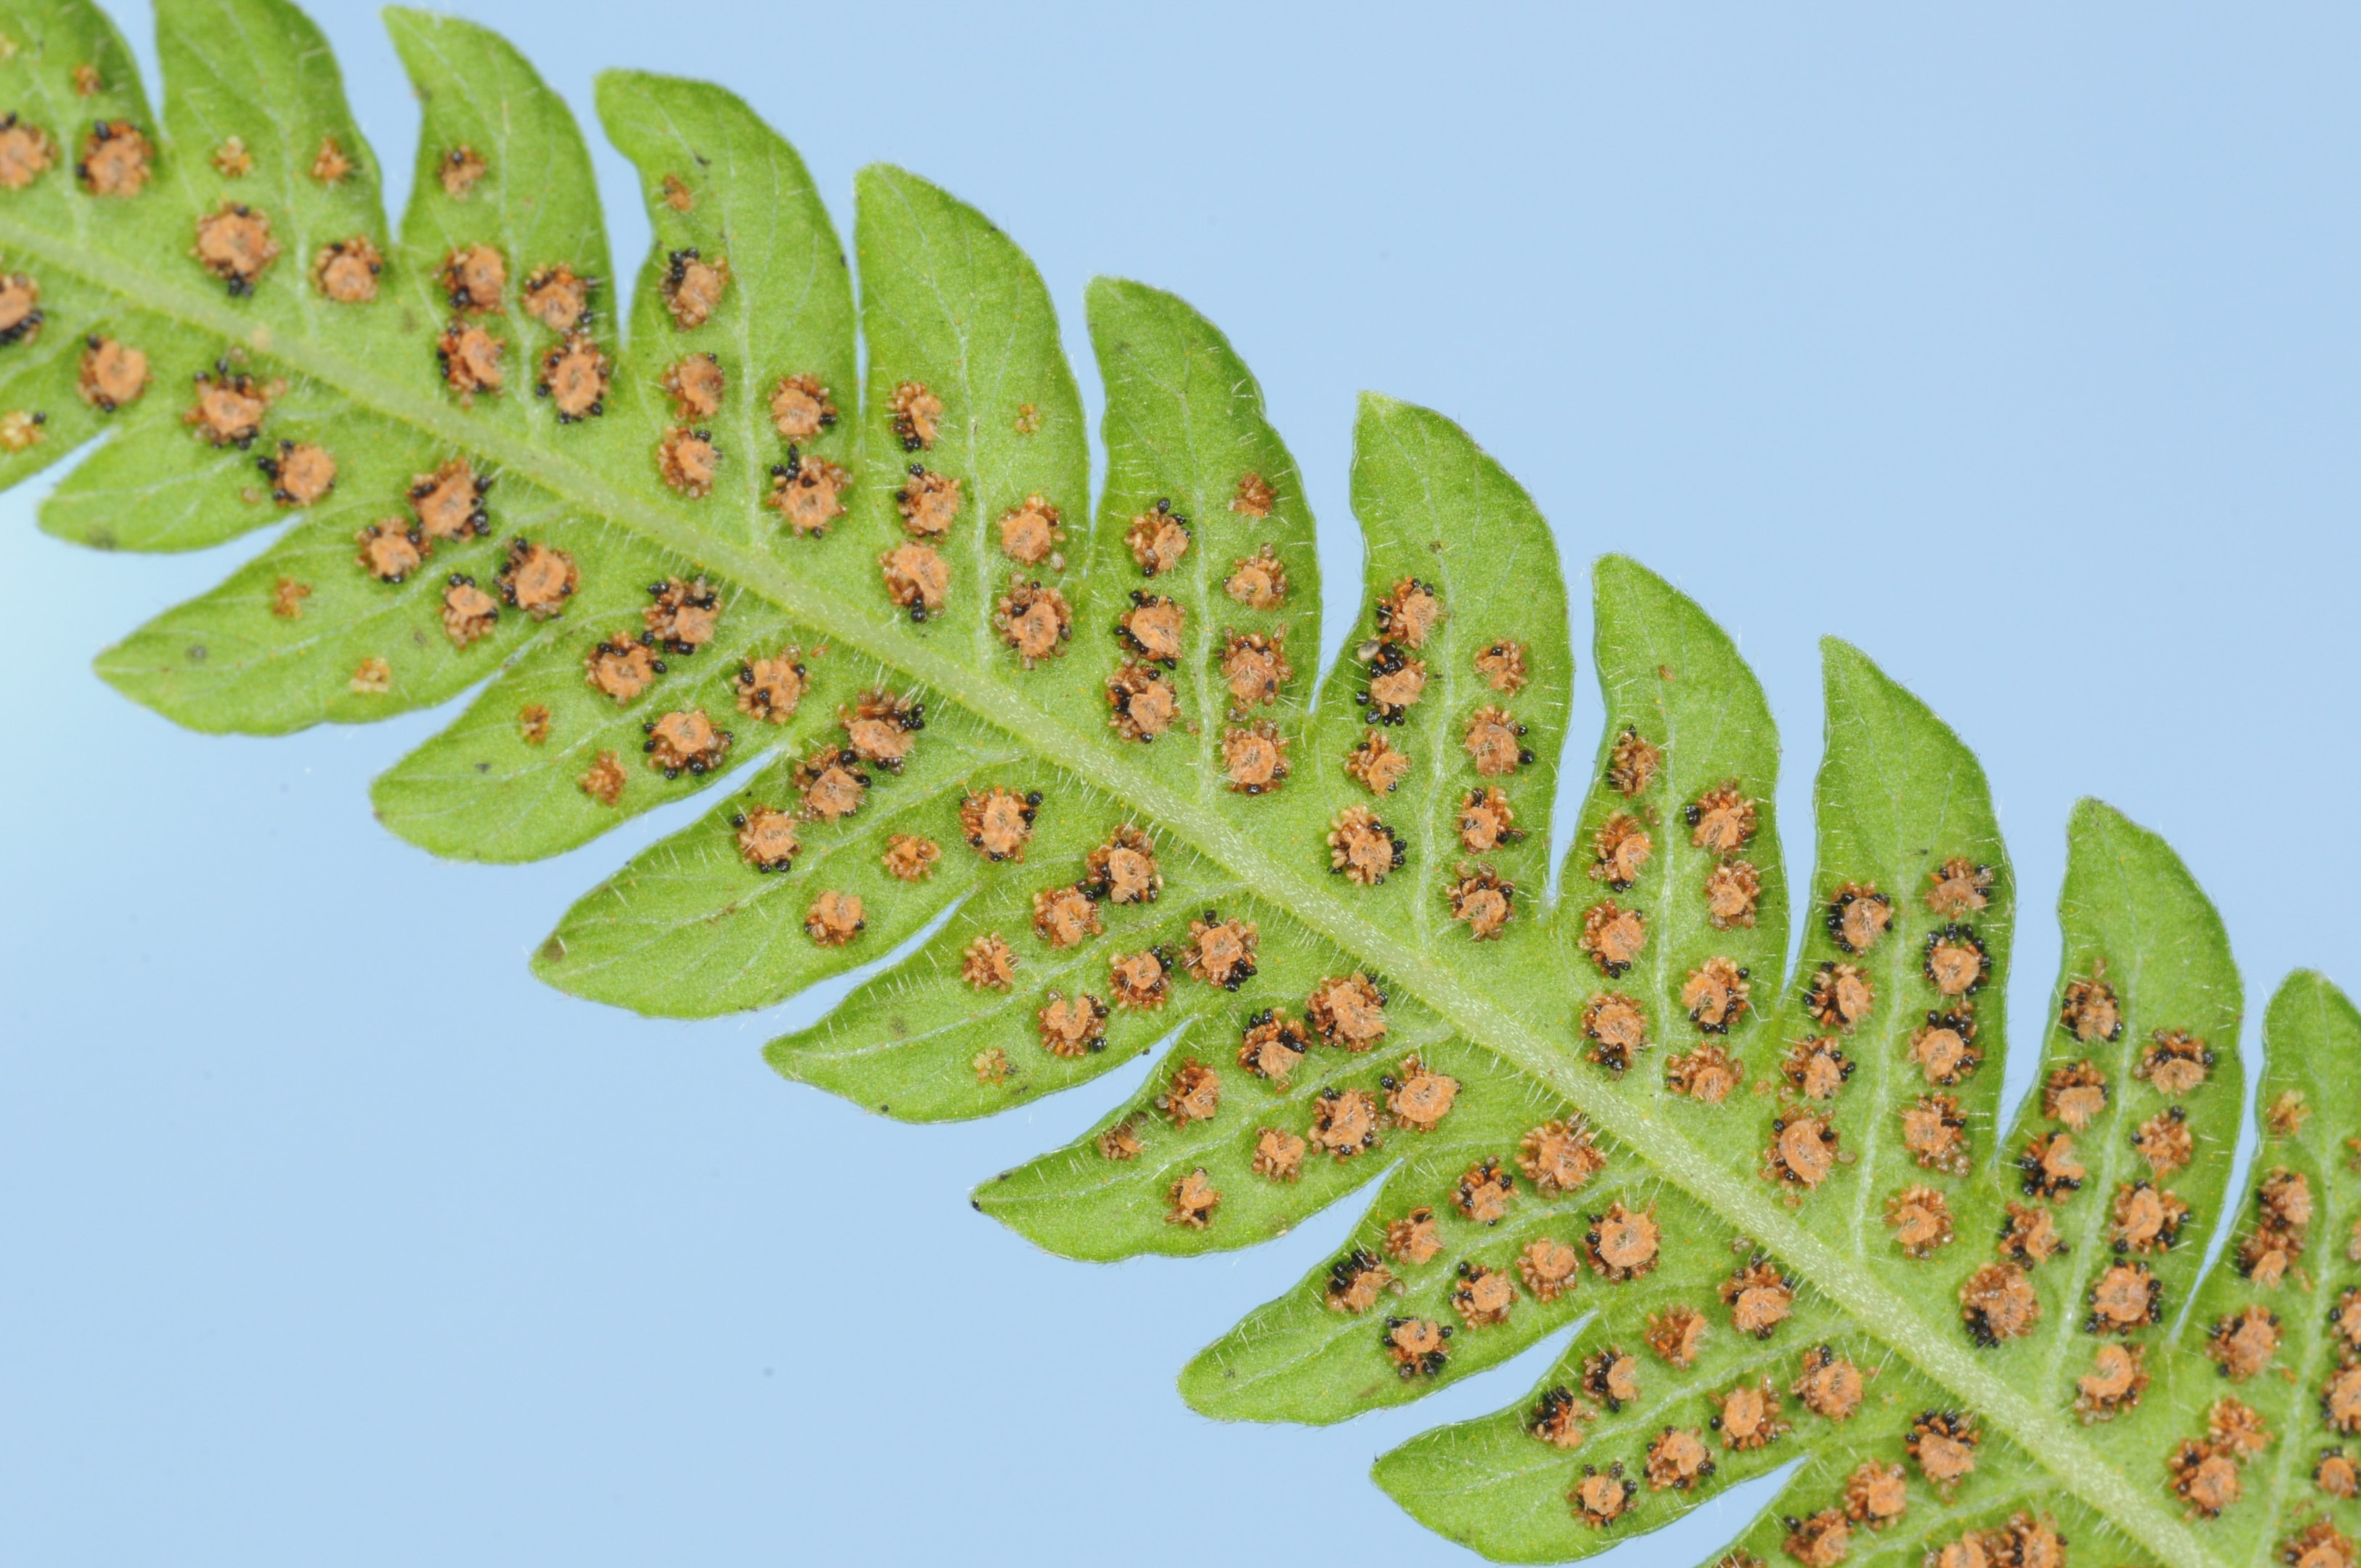
I always watch for pests on my Boston fern, especially since regular inspection is one of the essential tips for a healthy Boston fern houseplant. These plants can attract some unwanted visitors, and I make it a habit to inspect the leaves and stems regularly. Some common pests I look for are mealybugs, fungus gnats, and scales. These tiny critters can damage my fern if left unchecked. As part of my routine, I gently turn over the fronds to check the undersides, ensuring my plant remains healthy and thriving.
That’s where pests often hide. If I spot any bugs, I take action right away. For minor infestations, I wipe the leaves with a damp cloth. Sometimes, I use insecticidal soap if needed. Prevention is key, so I mist my fern regularly to keep pests at bay. Healthy plants are less likely to get pests. I make sure my fern has the right care to stay strong. Here’s a quick guide to Boston fern needs:
| Need | Requirement |
|---|---|
| Temperature | 60-75°F |
| Watering | Keep soil moist |
| Lighting | Bright, indirect light |
| Pot type | Well-draining with holes |
| Pot size | 2-3 inches larger than root ball |
| Humidity | 50-60% |
| Fertilizer | Monthly during growing season |
I keep my Boston fern pest-free and thriving by checking often and providing good care.
Tips for a Healthy Boston Fern Houseplant: Understanding Boston Fern Houseplant Needs
Boston ferns need specific care to thrive indoors. I’ll share what these plants require for light, temperature, and humidity to keep them healthy and lush.
Ideal Light Conditions
Boston ferns prefer bright, indirect light. I’ve found that placing them near north or east-facing windows works well. They can tolerate some direct morning sun, but I avoid harsh afternoon rays. Too much direct light can scorch their delicate fronds. If the leaves turn yellow or brown, I move the plant to a shadier spot. In low light, the fern’s growth may slow down. I rotate my fern every few weeks to ensure even growth. This helps all sides get enough light. If natural light is limited, I use fluorescent bulbs to supplement.
Optimal Temperature
Boston ferns like cool to moderate temperatures. I keep mine between 60-75°F (15-24°C) for best results. They can handle brief periods outside this range, but extreme temps can stress the plant. I ensure my fern isn’t too close to air conditioning vents in summer. Cold drafts can damage the leaves. I move it away from heating sources during winter to prevent drying out. Nighttime temperatures can drop a bit lower without issues. But if it gets too cold, I might see some browning on the fronds.
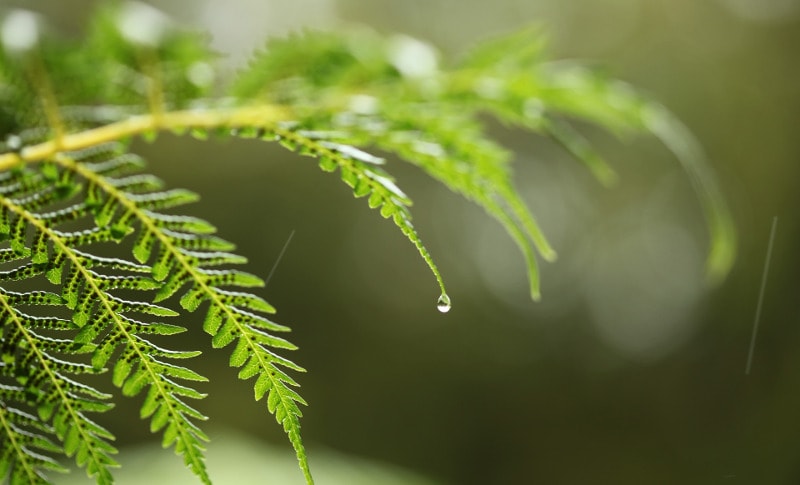
Humidity Requirements
High humidity is crucial for Boston ferns. I aim for 50% or higher relative humidity. These ferns naturally grow in damp forests and need moist air to thrive. To boost humidity, I use a few methods:
- Misting: I spray the leaves 1-2 times daily with room temperature water.
- Pebble tray: I place the pot on a tray filled with pebbles and water.
- Humidifier: In dry rooms, I run a small humidifier nearby.
I might see brown tips on the fronds if the air is too dry. Grouping plants also helps create a more humid microclimate.
Soil and Fertilization Guidelines
Boston ferns need the right Soil and food to thrive. I’ll share tips for choosing the best potting mix and fertilizer to keep your fern healthy and lush.
Best Soil Mix
I use a mix that drains well but holds moisture for my Boston ferns, which is one of the essential tips for a healthy Boston fern houseplant. I combine equal parts peat moss, loamy Soil, and perlite. This mix gives roots room to breathe while staying damp. Sometimes, I add a bit of bark to improve drainage. The Soil should feel light and fluffy, not heavy or dense. When repotting, I make sure the new pot has drainage holes. I fill it about one-third full with my soil mix, place the fern, then add more Soil around it, ensuring it gets the best conditions for growth—another key tip for a healthy Boston fern houseplant.
Fertilizer Choices
I feed my Boston ferns with a water-soluble 20-10-20 fertilizer. I dilute it to half-strength and apply it monthly in spring and summer. I cut back to feeding every 6-8 weeks in fall and winter. Over-fertilizing can burn the fronds, so it’s better to under-feed than overdo it. I’ve found that liquid seaweed or fish emulsion works well as natural options. These give a gentle boost without risking a nutrient burn. If I notice pale fronds, I might add a bit of iron to my fertilizer mix. This often perks them right up!
Here’s an additional video about Boston fern care.
By: English Gardens
Nurturing Your Boston Fern for a Flourishing Indoor Oasis
In conclusion, nurturing a Boston fern houseplant is a fulfilling journey that requires attention to detail and a deep understanding of its needs. By following these ten tips, from providing the right lighting conditions to ensuring consistent moisture and humidity levels, anyone can enjoy the lush beauty of this elegant plant. Regular maintenance, such as trimming dead fronds and repotting when necessary, will help your fern flourish and maintain its vibrant appearance.
Moreover, being proactive about potential issues, like pests and environmental stressors, can significantly enhance your fern’s health. With dedication and care, a Boston fern can thrive indoors, adding beauty and air-purifying benefits to your home. Embrace these guidelines, and watch your Boston fern become a stunning centerpiece in your indoor garden!
Frequently Asked Questions
How Often Should I Water My Boston Fern to Keep It Healthy?
I water my Boston fern when the top inch of Soil feels dry. This is usually every 7-10 days. I make sure the Soil stays moist but not soggy.
Can Boston Ferns Thrive When Planted Outdoors, and What Are the Best Conditions?
Yes, Boston ferns can grow outside. I plant mine in a shady spot with rich, well-draining Soil. They like high humidity and temperatures between 65-75°F.
What Are the Ideal Indoor Conditions for a Boston Fern to Flourish?
I keep my indoor Boston fern in bright, indirect light. I maintain high humidity by misting or using a pebble tray. The best temperature range is 65-75°F.
What Benefits Can I Expect When Keeping a Boston Fern Plant at Home?
My Boston fern helps clean indoor air. It adds a lush, tropical feel to my home. The plant’s cascading fronds make a beautiful display in hanging baskets.
How Can I Tell if My Boston Fern is Receiving Too Much Water?
I check for signs of overwatering, like yellowing leaves, a musty smell, or mold on the soil surface. If the Soil feels constantly wet, I know I’m watering too much.
Why Become a Member of Our Community?
Unlock Exclusive Insights: Gain vital tips that will help your plants flourish and thrive like never before.
Assistance from Professionals: Connect with our knowledgeable team on social media platforms such as Facebook and Twitter. Our gardening experts are eager to support you on your plant journey.
Network with Fellow Plant Lovers: Join other plant aficionados, exchange your stories, and cultivate a nurturing community. Sign up today! Follow Houseplant Joy on Facebook, Instagram, and Twitter for daily motivation and to enhance your plant experience! #HouseplantJoy #GreenThumbsUnite #HouseplantLove
