HousePlantJoy is supported by our audience. When you purchase through one of our links, we may earn a small affiliate commission. As an Amazon Associate I earn from qualifying purchases. Your cost is not affected.
==================

Key Highlights
- Repotting a ZZ plant is essential for its overall health and growth.
- Signs that a ZZ plant needs repotting include root rot, roots growing out of drainage holes, and a cracked pot.
- Choosing the right pot with proper drainage holes and using a well-draining potting mix is crucial for successful repotting.
- Repotting a ZZ plant should be done during its active growth season, typically in spring or early summer.
- After repotting provide proper aftercare by adjusting watering needs, light exposure, and temperature conditions.
- Repotting a ZZ plant can promote new growth, prevent root rot, and ensure the plant has access to fresh nutrients.
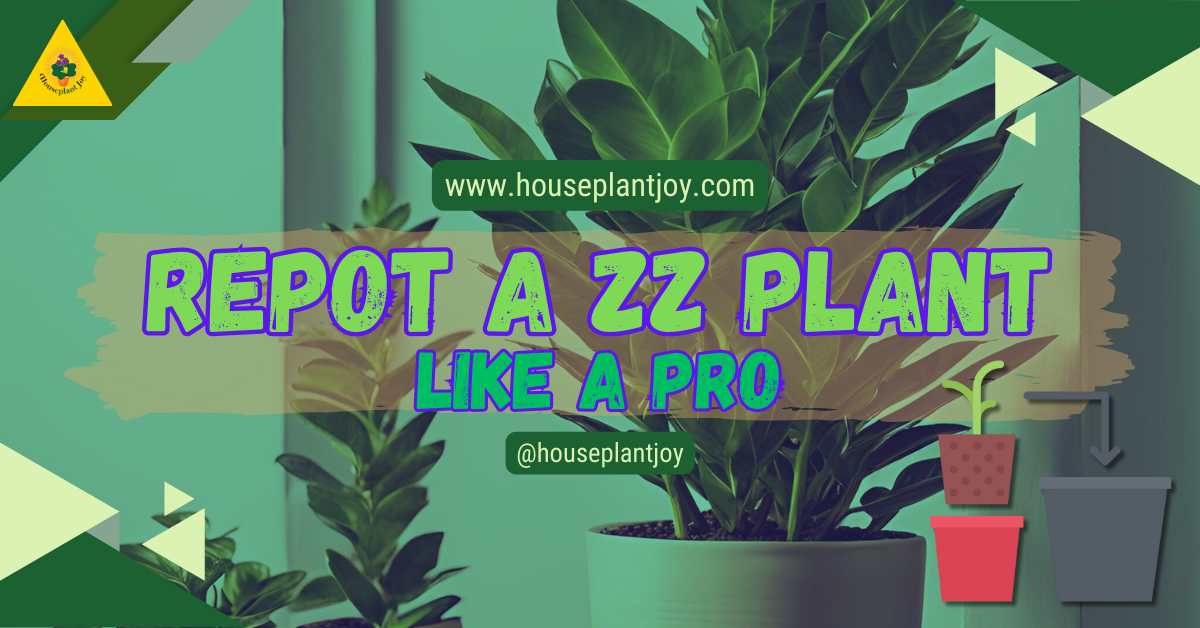
Repot a ZZ Plant: A Step-by-Step Guide for Healthy Growth
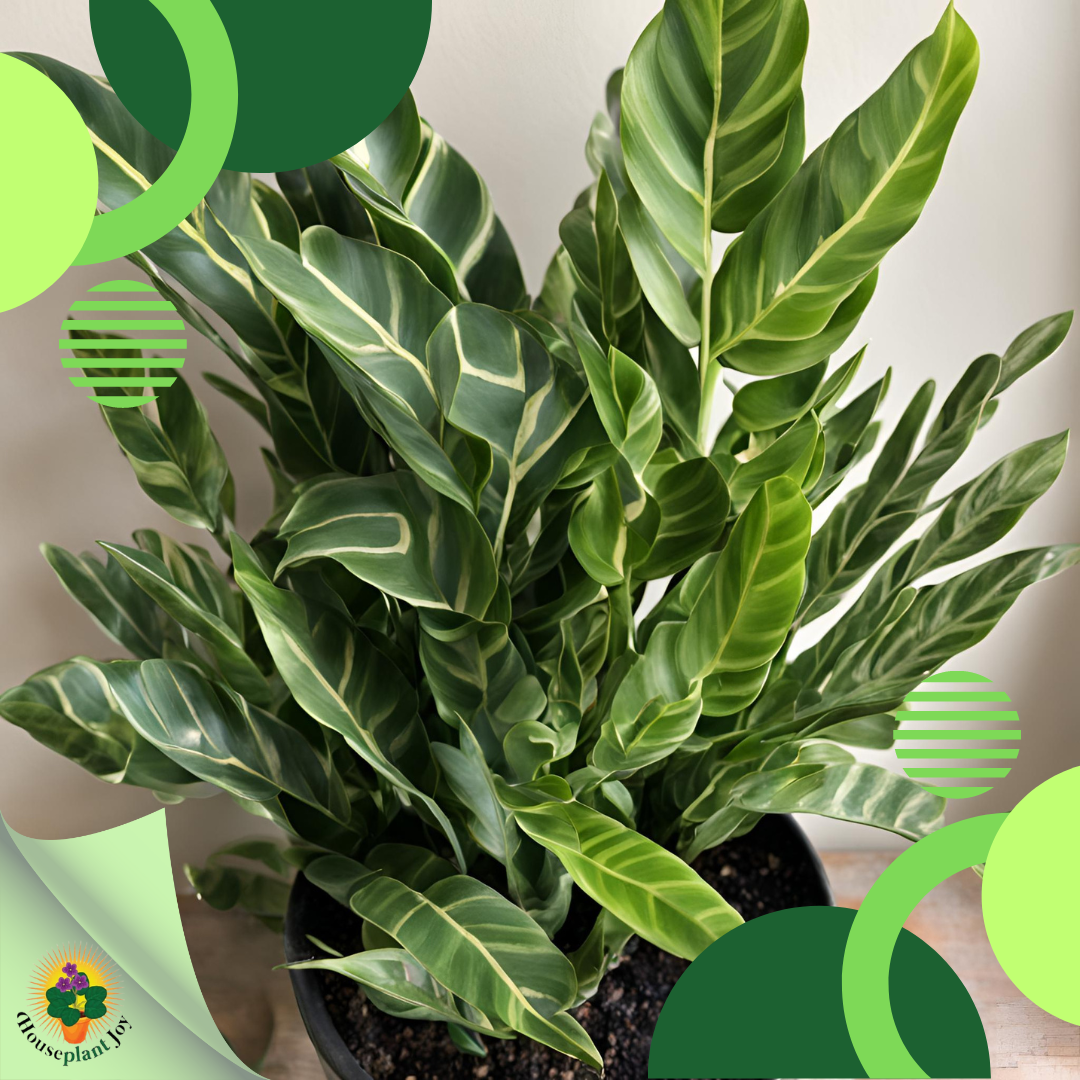
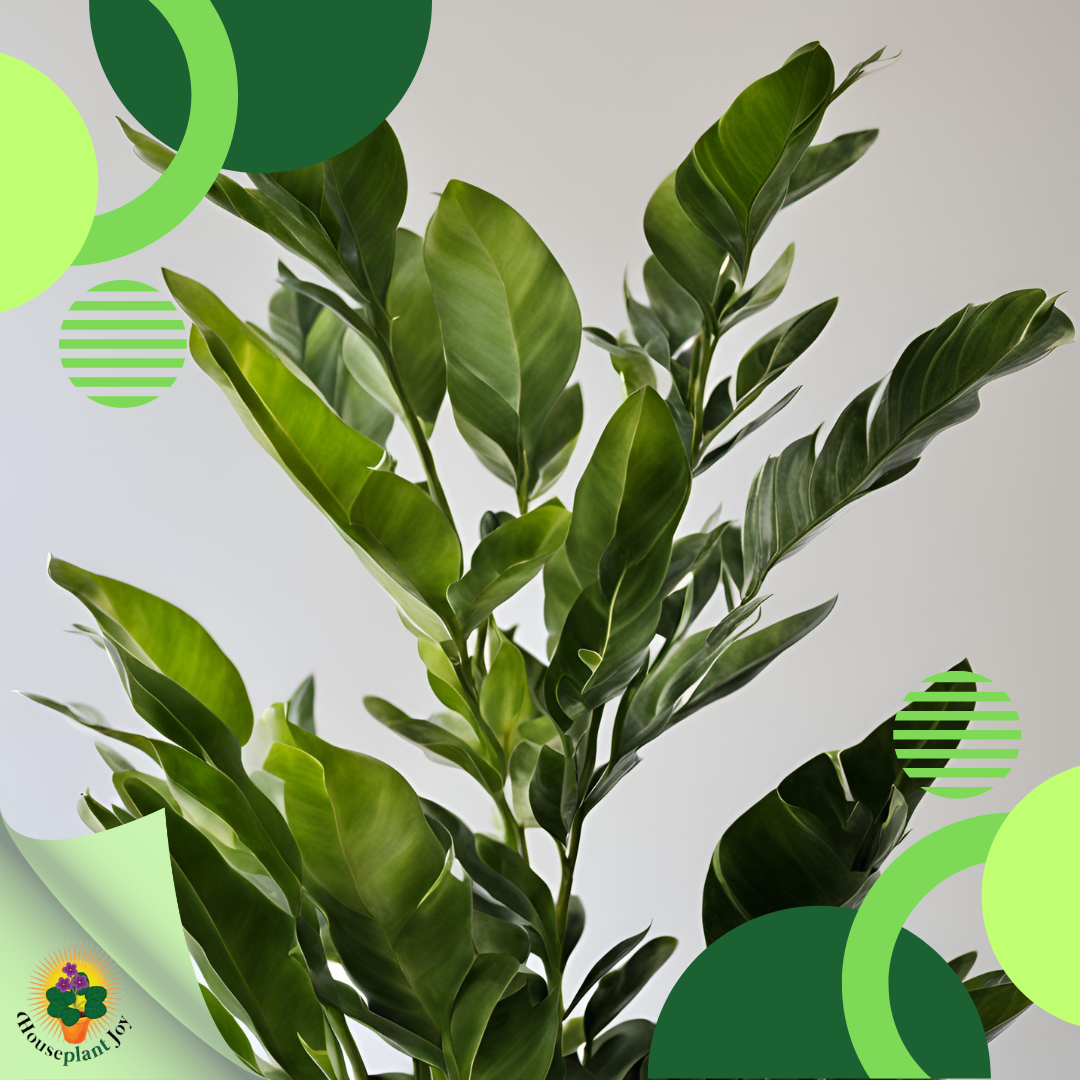
The ZZ plant, scientifically known as Zamioculcas zamiifolia, is a popular choice among indoor plant enthusiasts due to its resilience and low-maintenance nature. This tropical perennial plant is native to Eastern Africa and is well-known for its glossy, dark-green leaves that add a touch of lushness to any space. With its ability to adapt to different lighting conditions and tolerate infrequent waterings, the ZZ plant is a versatile addition to any indoor garden.
While the ZZ plant is relatively easy to care for, it still requires proper attention and occasional repotting to ensure its continued health and growth. Repotting a ZZ plant involves transferring it to a new pot with fresh soil, providing it with more space for root growth and access to essential nutrients. This process not only helps prevent the plant from becoming root-bound but also allows you to address any issues such as root rot or depleted soil.
In this comprehensive guide, we will walk you through the steps to repot a ZZ plant like a pro. From recognizing the signs that it’s time to repot to choosing the right potting mix and providing post-repotting care, we will cover everything you need to know to ensure a successful and healthy repotting process for your ZZ plant. So let’s dig in and learn how to give your ZZ plant the fresh start it deserves.
Getting to Know Your ZZ Plant
Before diving into the specifics of repotting a ZZ plant, it’s essential to familiarize yourself with this unique houseplant. The ZZ plant, also known by its scientific name Zamioculcas zamiifolia, is native to Eastern Africa, particularly Kenya and northeastern South Africa. It belongs to the same family as philodendron, anthurium, and elephant ears, which are called aroids.
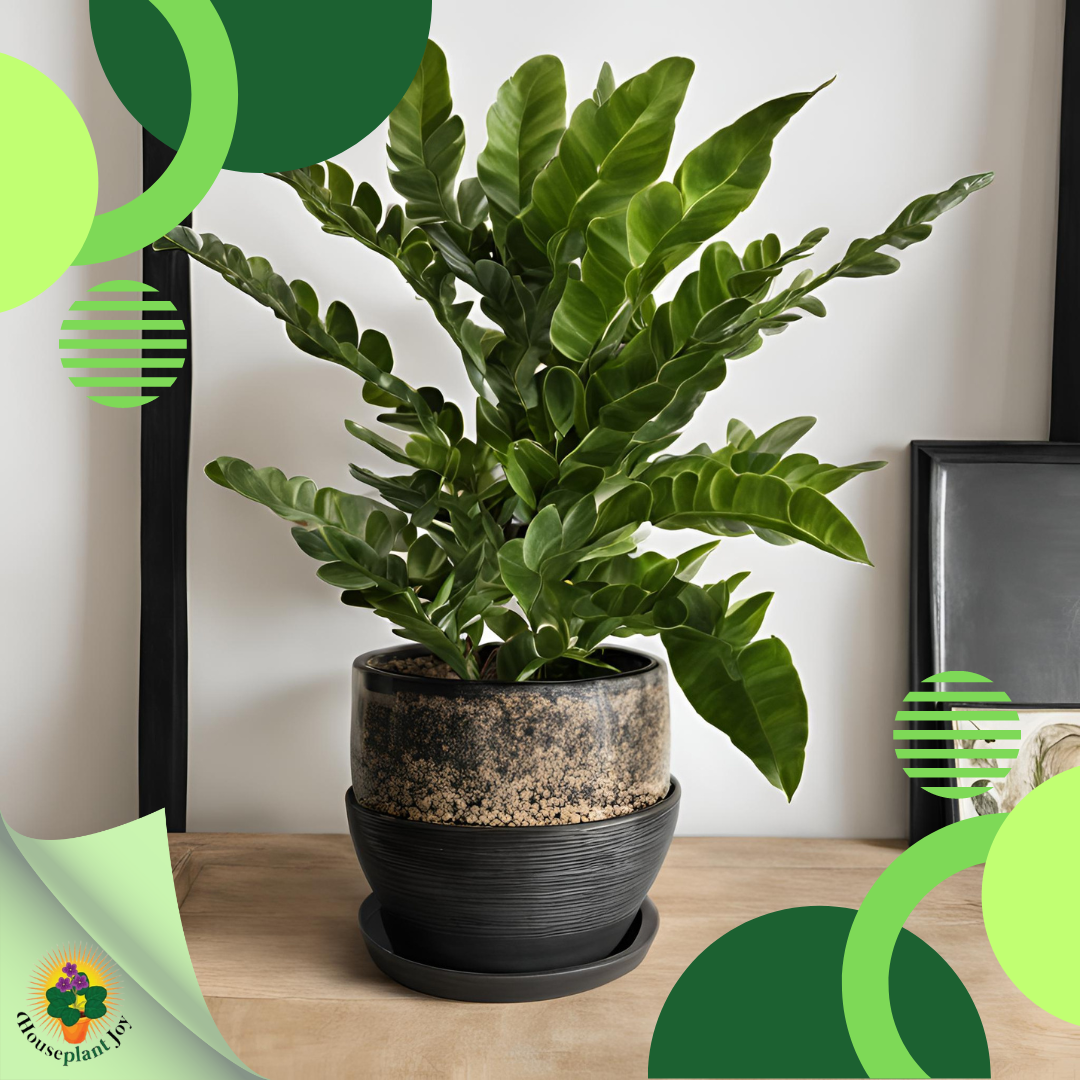
ZZ plants are known for their lush, upright, zigzagged foliage, which resembles cycads. However, unlike cycads, ZZ plants store water in their rhizomes, allowing them to survive in dry conditions. These plants have adapted to thrive in low light conditions and can tolerate neglect, making them an excellent choice for indoor environments. ZZ plants can grow up to 3-4 feet in height and 3 feet in width, but they often grow more slowly as houseplants compared to their native setting. With the right care and occasional repotting, ZZ plants can provide years of beauty and greenery to your indoor space.
Understanding the ZZ Plant’s Unique Traits
The ZZ plant, scientifically known as Zamioculcas zamiifolia, possesses several unique traits that make it an ideal choice for indoor plant enthusiasts. One of its standout features is its ability to thrive in low light conditions. While ZZ plants can tolerate a wide range of lighting, they prefer indirect light and can even survive in areas with minimal natural light. This makes them suitable for spaces like offices or rooms that are not well-lit.
Another interesting aspect of the ZZ plant is its ability to store water in its rhizomes. These underground structures act as reservoirs, allowing the plant to survive extended periods of drought. This characteristic makes the ZZ plant highly resilient and forgiving when it comes to watering.
One thing to note about ZZ plants is that they contain calcium oxalate crystals, which can be mildly toxic if ingested. While ZZ plants are generally safe to have around pets and children, it’s essential to keep them out of reach to avoid potential ingestion.
Overall, the ZZ plant’s unique traits, such as its adaptability to low light conditions and its ability to store water, make it an excellent choice for indoor plant enthusiasts looking for a low-maintenance and resilient green companion.
Recognizing When It’s Time to Repot
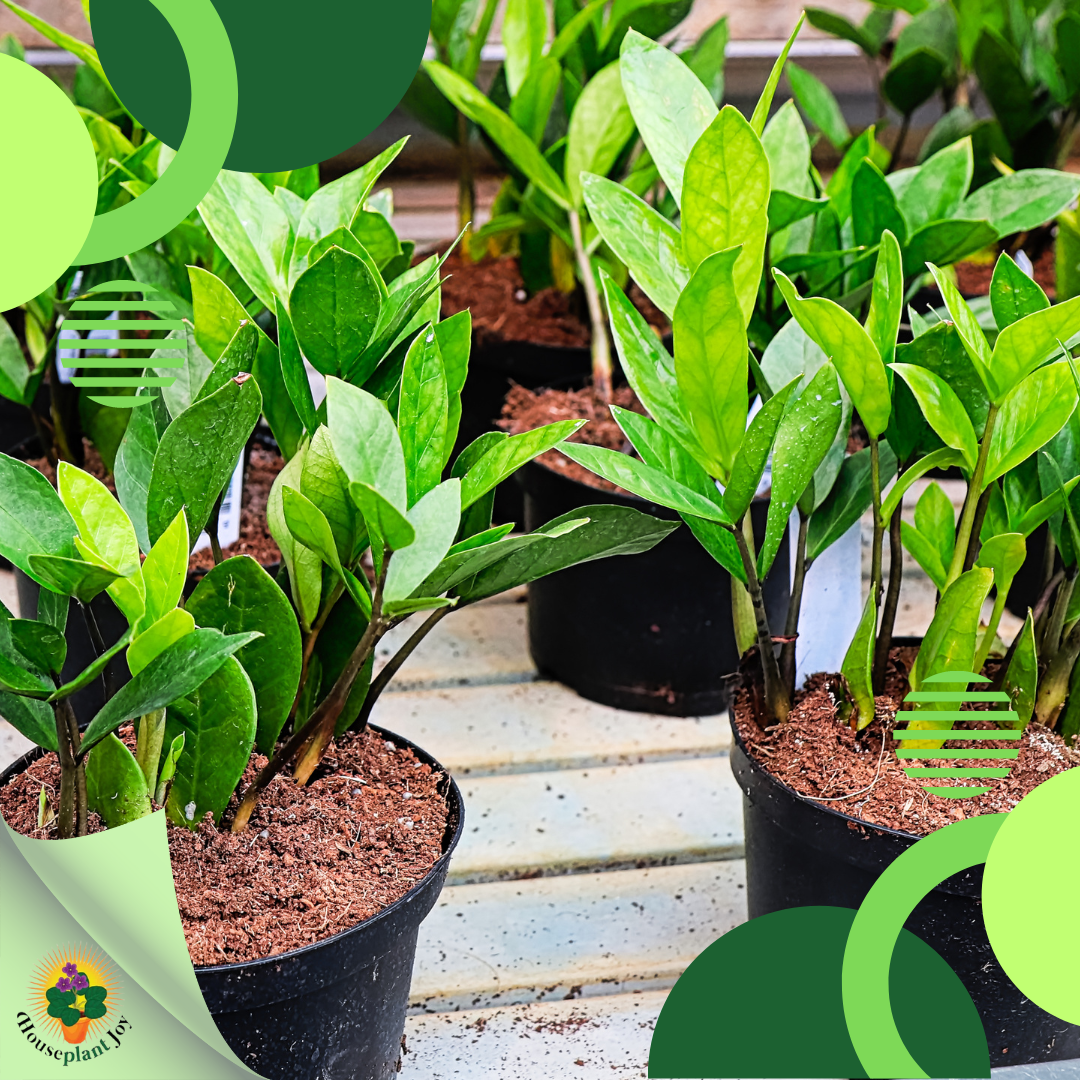
Knowing when to repot your ZZ plant is crucial for its overall health and growth. Several signs indicate that it’s time to repot your ZZ plant.
Firstly, if you notice that the roots of your ZZ plant are visible or growing out of the drainage holes at the bottom of its current pot, it’s a clear indication that the plant has become root-bound and needs more space for root growth. Additionally, if the potting soil appears depleted of nutrients or if you observe slowed or stunted growth in your ZZ plant, it might be time to consider repotting.
Another sign that it’s time to repot your ZZ plant is the presence of new growth. If you notice new shoots emerging from the base of the plant or along the stems, it indicates that the plant is actively growing and may benefit from a larger pot with fresh soil to support its growth.
By recognizing these signs, you can ensure that your ZZ plant receives the necessary care and attention it needs to thrive. Repotting will provide the plant with a fresh start and promote healthy growth in the long run.
Preparing for Repotting
Before repotting your ZZ plant, it’s crucial to gather the necessary tools and materials to ensure a smooth and successful process. Here are the essential tools and materials you’ll need:
- Gardening gloves: These will protect your hands from the ZZ plant’s toxic sap, which contains calcium oxalate.
- A sharp knife or trowel: This will be used to gently remove the ZZ plant from its current pot and loosen the root ball.
- Potting mix: Choose a well-draining potting mix suitable for succulents or create a mix using equal parts of potting soil, perlite, and coarse sand.
- Fresh potting soil: This will be used to fill the new pot and provide the ZZ plant with the necessary nutrients.
- A larger pot with drainage holes: Select a pot that is 1-2 inches larger in diameter than the current pot. Make sure it has drainage holes to prevent waterlogging.
By having these tools and materials ready, you’ll be well-prepared to repot your ZZ plant and provide it with a fresh and healthy environment for optimal growth.
Essential Tools and Materials
Sharp knife for cutting roots, fresh potting mix to promote growth, a sturdy new pot with drainage holes for root health, and coarse sand for aeration are essential. Ensure the right pot size for proper root growth. A transplant shock reducer, succulent soil mix, and proper aftercare tips are crucial. Take care not to damage the zz plant’s root system during the repotting process.
Choosing the Right Pot
Choosing the right pot for repotting your ZZ plant is essential for its overall health and well-being. Here are some factors to consider when selecting a pot:
- Size: Choose a pot that is 1-2 inches larger in diameter than the current pot. A slightly larger pot will provide the ZZ plant with room for root growth without excessive space that can lead to overwatering.
- Drainage holes: Ensure that the new pot has adequate drainage holes at the bottom to prevent water from accumulating and causing root rot. Good drainage is crucial for the health of the ZZ plant.
- Material: Opt for a pot made from breathable materials like clay or terracotta, as they allow for better airflow to the roots. This helps prevent moisture buildup and promotes healthy root development.
- New container: If you’re repotting multiple ZZ plants or dividing a ZZ plant into multiple pots, consider using separate containers for each plant to provide ample space for growth.
By choosing the right pot, you’ll create a suitable environment for your ZZ plant’s roots to thrive and ensure its long-term health and growth.
Step-by-Step Guide to Repotting a ZZ Plant
Now that you’ve gathered the necessary tools and chosen the right pot, it’s time to dive into the step-by-step process of repotting your ZZ plant. Follow these instructions carefully to ensure a successful repotting experience:
- Step 1: Gently Remove the Plant from Its Current Pot: Wear gardening gloves to protect your hands from the ZZ plant’s toxic sap. Turn the current pot upside down and tap the bottom to ease the plant out of the pot. Be careful not to damage the roots in the process.
- Step 2: Inspect the Root System for Health Issues: Examine the roots for any signs of root rot, such as mushy or darkened areas. Trim away any diseased or damaged roots using sterilized gardening scissors or snips.
- Step 3: Prepare the New Pot with Proper Soil Mix: Add a layer of fresh potting mix to the bottom of the new pot. Ensure that the potting mix is well-draining and suitable for succulents or create a mix using equal parts of potting soil, perlite, and coarse sand.
- Step 4: Repotting the Plant in the New Pot: Place the ZZ plant in the center of the new pot, making sure it sits at the same depth as it did in the previous pot. Fill the pot with fresh potting mix, covering the root ball and leaving some space at the top for watering.
- Step 5: Watering After Repotting: Water the ZZ plant thoroughly after repotting, allowing the water to drain out of the bottom of the pot. Ensure that the soil is evenly moist but not waterlogged.
By following these steps, you’ll successfully repot your ZZ plant and provide it with a fresh start in a new and healthy environment.
Step 1: Gently Remove the Plant from Its Current Pot
The first step in repotting your ZZ plant is to gently remove it from its current pot. Here’s how to do it:
- Wear gardening gloves: Put on a pair of gardening gloves to protect your hands from the ZZ plant’s toxic sap.
- Prepare the plant: Before removing the ZZ plant, water it a day or two in advance to help loosen the soil and make it easier to remove from the pot. Watering also ensures that the plant is adequately hydrated before the repotting process.
- Turn the pot upside down: Carefully turn the current pot upside down while supporting the plant at the base. You can tap the pot’s bottom or gently squeeze the sides to loosen the plant.
- Remove the plant: Once the plant is loose, gently slide it out of the pot. Be mindful not to pull or tug too hard, as you don’t want to damage the roots or the plant.
- Inspect the root ball: Take a moment to examine the root ball of the plant. Look for any signs of root rot, such as mushy or discolored roots. If you notice any unhealthy roots, trim them away using sterilized gardening scissors or snips.
By following these steps, you’ll safely remove your ZZ plant from its current pot, allowing you to proceed with the repotting process.
Step 2: Inspect the Root System for Health Issues
After removing the ZZ plant from its old pot, take some time to inspect its root system for any signs of health issues. Look for signs of root rot, such as mushy or discolored roots. If you notice any brown spots or mushy roots, it’s important to address them before repotting the plant. Using sterilized gardening scissors or snips, carefully trim away any diseased or damaged roots. Be sure to make clean cuts and remove any debris from the healthy roots. This will help promote new growth and prevent further damage to the plant. Once you have inspected and trimmed the root system, move on to the next step.
Step 3: Prepare the New Pot with Proper Soil Mix
Preparing the new pot with the proper soil mix is an important step in repotting a ZZ plant. Start by selecting a new pot that is slightly larger than the current one to allow room for the plant to grow. Ensure that the new pot has drainage holes at the bottom to prevent water from pooling and causing root rot.
Next, add a layer of fresh potting soil to the bottom of the new pot. This will provide a good foundation for the plant and help with water drainage. Use a well-draining potting mix that is suitable for succulents, as ZZ plants prefer soil that doesn’t retain too much moisture. Make sure to leave enough space at the top of the pot for the ZZ plant’s root ball and future growth. Once the new pot is prepared, you are ready to move on to the next step.
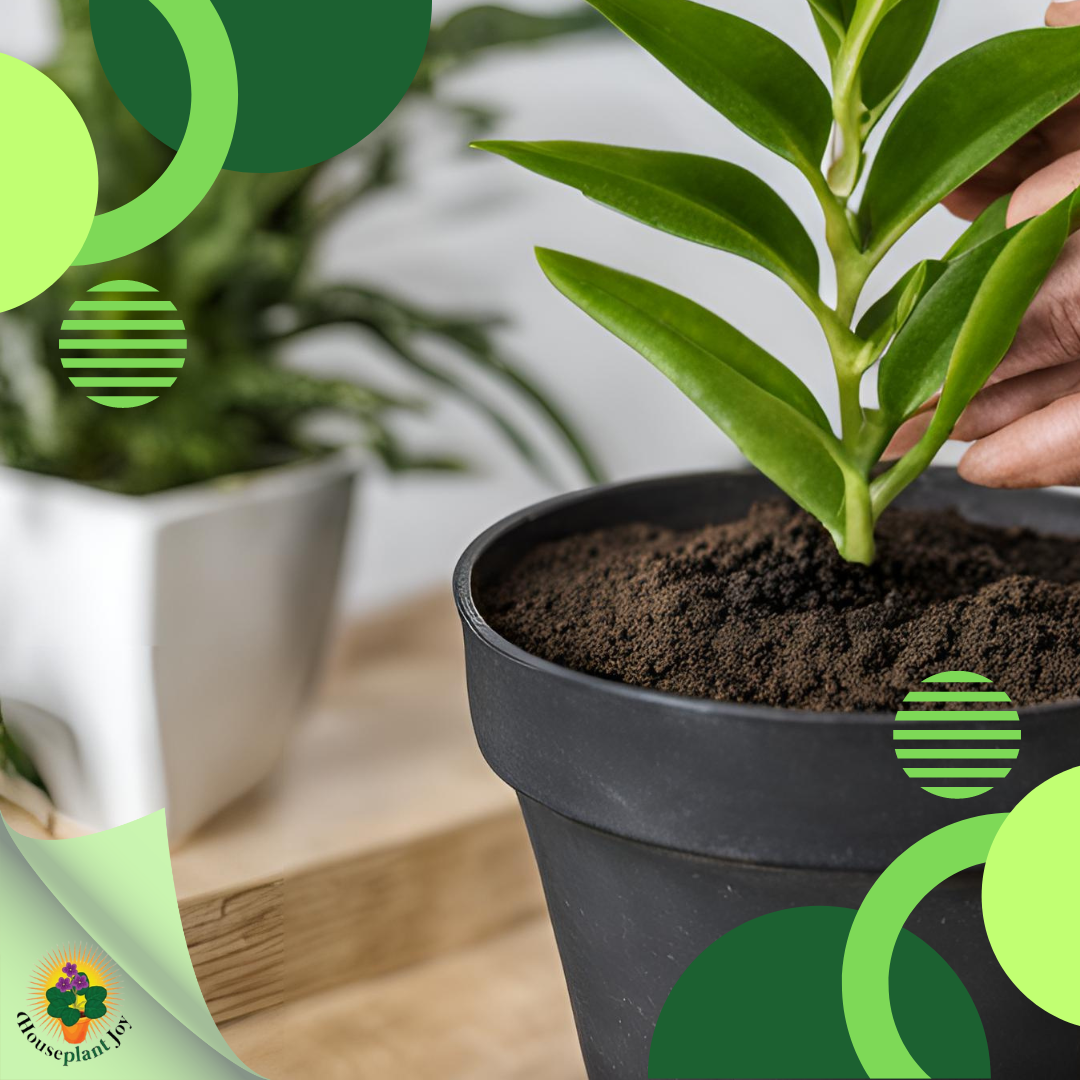
Step 4: Repotting the Plant in the New Pot
It’s time to repot the ZZ plant in its new home. Start by placing the ZZ plant in the center of the new pot, making sure it is positioned at the same depth as it was in the previous container. Gently fill in the space around the root ball with fresh potting soil, ensuring that the roots are fully covered. Press the soil down lightly to secure the plant in place, but be careful not to compact it too much. The goal is to provide a stable environment for the ZZ plant while allowing proper drainage. Once the plant is securely repotted, move on to the next step.
Step 5: Watering After Repotting
After repotting the ZZ plant, it’s important to give it enough water to help it settle into its new pot. Start by thoroughly watering the plant, ensuring that the fresh soil is evenly moist. This will help the ZZ plant establish its roots in the new soil and reduce the risk of transplant shock. However, be careful not to overwater the plant, as ZZ plants are susceptible to root rot. Wait for the top inch or two of the soil to dry out before watering again. It’s also important to monitor the plant’s moisture levels and adjust your watering schedule accordingly. With proper watering, the ZZ plant will thrive in its new pot and soil.
Post-Repotting Care
After repotting a ZZ plant, it’s important to provide proper care to ensure its continued health and growth. This includes monitoring its watering needs, adjusting light and temperature conditions, and troubleshooting any common issues that may arise. By following these post-repotting care tips, you can help your ZZ plant thrive in its new pot and soil.

Monitoring Watering Needs
Proper watering is crucial for the health of a ZZ plant, especially after repotting. ZZ plants prefer to dry out between waterings, so it’s important not to overwater them. Monitor the moisture level of the soil by checking the top inch or two. If it feels dry, it’s time to water the plant. During the growing season, which is typically spring and summer, ZZ plants may require more frequent watering. However, be careful not to water too much, as this can lead to root rot. With proper care and attention to watering needs, your ZZ plant will continue to thrive in its new pot.
Adjusting Light and Temperature
ZZ plants are known for their adaptability to different lighting conditions. After repotting, it’s important to adjust the light and temperature to ensure the plant’s continued health. ZZ plants thrive in bright indirect light, which means they need bright but filtered sunlight. Avoid placing the plant in direct sunlight, as this can cause leaf burn. If you have low light conditions in your home, ZZ plants can still thrive, although they may grow more slowly. Consider placing the plant near a window with filtered light or using artificial grow lights to provide the necessary light for optimal growth.
Troubleshooting Common Issues After Repotting
Even with proper care, ZZ plants may encounter some common issues after repotting. It’s important to be aware of these issues and know how to address them to ensure the plant’s continued health. By troubleshooting these issues, you can help your ZZ plant thrive in its new pot and soil.

Dealing with Leaf Yellowing or Dropping
Leaf yellowing or dropping is a common issue after repotting a ZZ plant. This can be caused by various factors, including transplant shock, excess soil, or changes in light or temperature. If you notice yellowing or dropping leaves, don’t panic. It’s often a temporary stress response, and the plant will usually recover on its own. However, you can help promote new growth by providing the plant with proper care and attention. This includes ensuring it is receiving the right amount of light, adjusting watering to prevent overwatering, and avoiding excessive fertilization. If the issue persists, consider taking leaf cuttings to propagate new ZZ plants.
Managing Slow Growth or Root Rot
Slow growth or root rot can occur after repotting a ZZ plant if it is not receiving proper care. If you notice that your ZZ plant is not growing as quickly as it should, it may be a sign that it is not getting enough light, water, or nutrients. Check the plant’s environment and adjust as needed to provide optimal growing conditions. If you suspect root rot, examine the roots for signs such as mushy or discolored roots. Trim away any affected roots and ensure that the plant is in well-draining soil to prevent further rot. With proper care, your ZZ plant will bounce back and resume healthy growth.
Enhancing Growth Post-Repotting
After repotting a ZZ plant, there are several ways to enhance its growth and ensure it thrives in its new pot and soil. By following these tips for fertilization, pruning, and maintenance, you can help your ZZ plant grow and flourish.
Fertilization Tips for a Thriving ZZ Plant
Fertilization is an important aspect of ZZ plant care, especially after repotting. During the active growing season, which is typically spring and summer, ZZ plants benefit from regular fertilization. Use a balanced, water-soluble fertilizer, following the instructions on the package for proper dilution and application. Be careful not to over-fertilize, as this can lead to salt build-up and damage the roots. Monitor the plant’s growth and adjust the fertilization schedule as needed. Fertilization will help promote new growth and keep your ZZ plant healthy and thriving.
Pruning and Maintenance Best Practices
Pruning and maintenance are essential for the overall health and appearance of a ZZ plant after repotting. Regular pruning helps remove dead or damaged leaves and promotes new growth. Use clean and sharp gardening scissors to trim the leaves as close to the base as possible. This will encourage the growth of new leaves and keep the plant looking fresh and vibrant. Additionally, regular maintenance tasks such as removing dust from the leaves and checking for pests will ensure the plant’s continued well-being. By following these best practices, your ZZ plant will have a fresh start and thrive in its new pot.
Repot a ZZ Plant: Conclusion for Optimal Growth and Health
Repotting your ZZ plant is a crucial aspect of its care routine to ensure optimal growth and health. Understanding the plant’s unique traits, recognizing the signs for repotting, and following a step-by-step guide are essential. By providing the right tools, choosing the correct pot, and monitoring post-repotting care, you can help your ZZ plant thrive. Remember to address any common issues that may arise post-repotting and implement fertilization and maintenance practices for enhanced growth. Following these tips will keep your ZZ plant flourishing for years to come.
Frequently Asked Questions
How Often Should I Repot My ZZ Plant?
ZZ plants typically need to be repotted every 2-3 years, or when they outgrow their current pot. It’s best to repot during the growing season, which is spring or early summer. Choose a pot that is slightly larger to accommodate the plant’s growth and prevent it from becoming root-bound.
Can I Repot a ZZ Plant During Winter?
It’s generally not recommended to repot a ZZ plant during the winter months. ZZ plants are tropical plants that prefer warm temperatures, and repotting during winter can cause stress to the plant. It’s best to wait until spring or early summer when the plant is in its active growing phase.
What Type of Soil is Best for a ZZ Plant?
ZZ plants prefer a well-draining soil mixture that is suitable for succulents. A mix of potting soil and succulent soil, with added perlite or pumice for improved drainage, works well for ZZ plants. Avoid using heavy or compacted soils that retain too much moisture.
How Do I Know If My ZZ Plant is Root-Bound?
You can tell if your ZZ plant is root-bound by checking the drainage holes of the current pot. If you see roots growing out of the holes or circling the root ball, it’s a sign that the plant has outgrown its pot and needs to be repotted into a larger container.
Is It Normal for Leaves to Yellow After Repotting?
Yes, it is normal for ZZ plant leaves to yellow after repotting. This can be a temporary stress response known as transplant shock. With proper care and attention, the plant will usually recover and produce new healthy growth.
Tips for Dividing a ZZ Plant During Repotting
If you want to propagate your ZZ plant or create new plants during repotting, you can divide the rhizomes. Gently separate the rhizomes and plant them in separate pots with fresh soil. This will give you new ZZ plants that can grow independently.
How to Handle Broken Stems or Leaves During Repotting
If you accidentally break a stem or leaves during repotting, don’t worry. ZZ plants are resilient and can recover from minor damage. Trim the broken parts neatly with clean scissors, and provide the plant with proper care to support its recovery.
Dive into Plant Paradise with Houseplant Joy!
Ready to immerse yourself in the wonderful world of plants? Follow us on:
| Platform | Link |
|---|---|
| houseplantjoyblog | |
| houseplantjoy20 | |
| houseplantjoy | |
| houseplantjoy | |
| YouTube | houseplantjoy |
| TikTok | houseplantjoy |
Discover captivating content, insightful product reviews, and connect with a vibrant community of plant enthusiasts just like you! Join us on our journey to nurture and celebrate greenery, starting with your beloved ZZ plant.
